Last updated November 17, 2026
Free written scope consultation - allowances, timeline, and change-order rules on paper before a single trade is scheduled
DIY vs Professional Driveway & Pavers: What’s Safe to Do Yourself
Almost every paver tutorial on YouTube begins at the sand-screeding step. That single edit skips roughly 60% of the labor on a real installation and 100% of the structural decisions that determine whether a driveway lasts 20 years or starts heaving after its second wet season. In San Francisco, with our clay-heavy soils and winter rain that arrives in concentrated bursts, a badly built base reveals itself fast. This guide draws the line where the professionals draw it: at the base, not the surface. You’ll learn what genuinely safe DIY work looks like, what equipment a correct base requires, and what the real numbers say about doing it yourself.
Quick Answer
Surface work on pavers is safe and reasonable to do yourself: laying a pattern, cutting field pavers, joint sanding, and sealing. Base work is not. Excavation to proper depth, subgrade compaction, and slope control require equipment most homeowners don’t own, and a base that fails takes the whole installation down with it. In San Francisco, DIY usually costs more once failed base rework is factored in.
Styles & brands we work with
- Kitchen remodeling
- Bathroom remodeling
- Home additions & ADU
- Roofing
- Windows & doors
- Driveway & pavers
- Fence
Table of Contents
- Where the Line Actually Falls: The Base, Not the Surface
- The Equipment a Correct Base Requires
- The Compaction Test Most DIYers Skip
- What’s Actually Safe to Do Yourself
- San Francisco Permit Reality Check
- Side-by-Side Cost: 400 Square Feet in San Francisco
- Common Mistakes to Avoid
- When to Call a Professional
Where the Line Actually Falls: The Base, Not the Surface
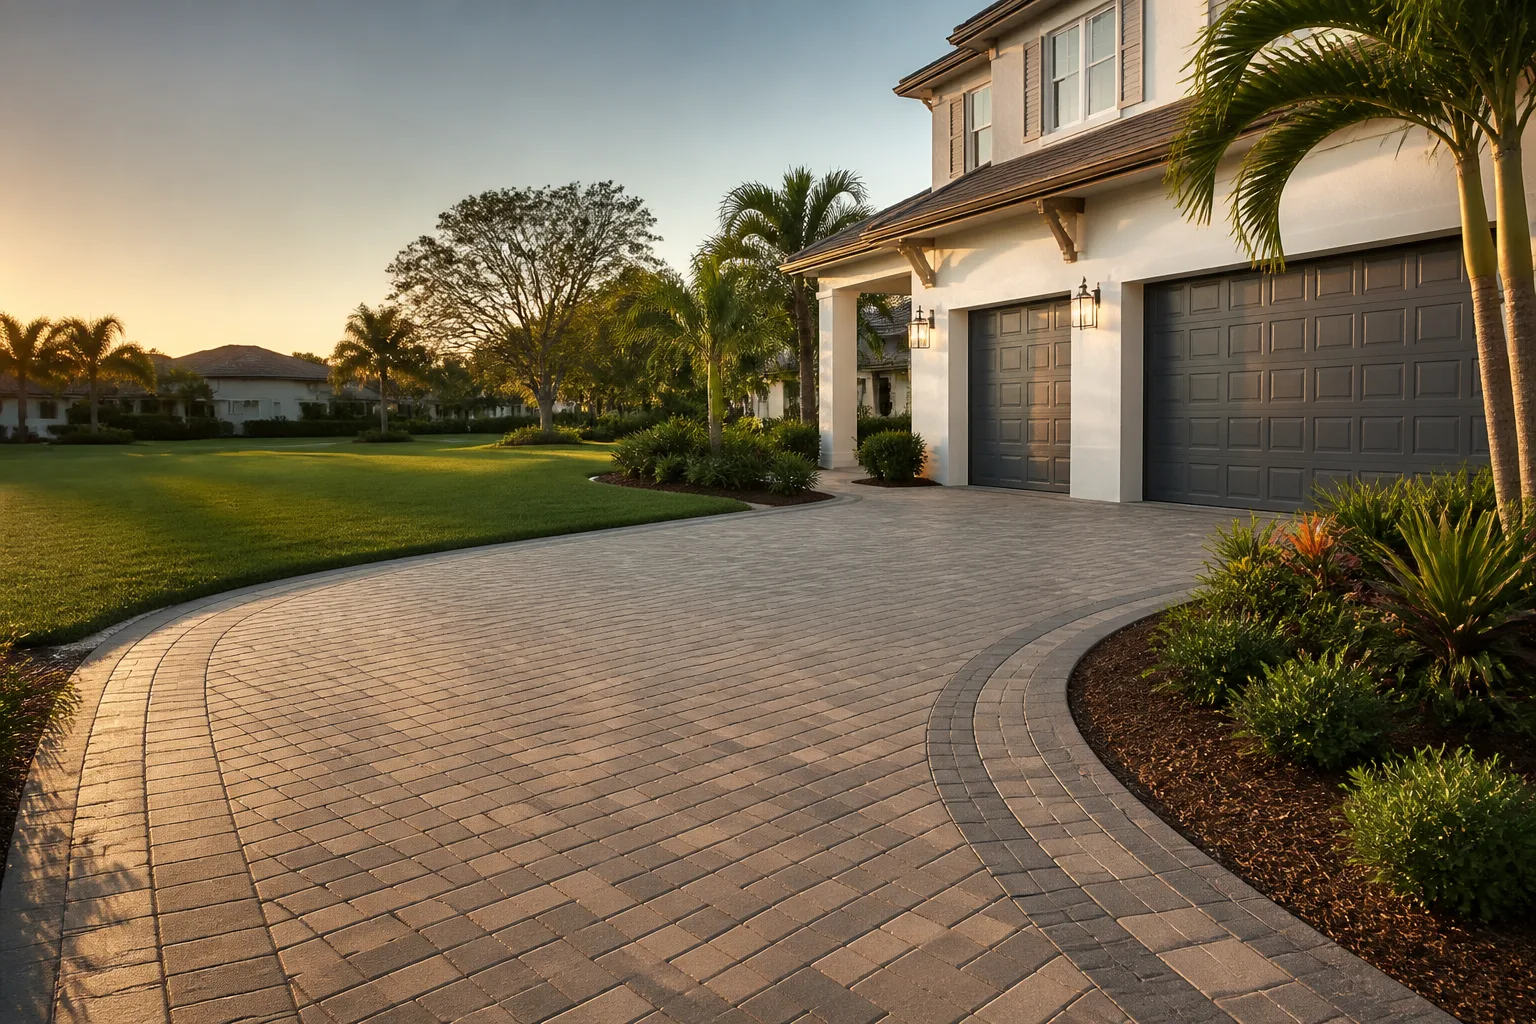
A paver driveway is a layered system. From the bottom up, it’s compacted subgrade, then a crushed aggregate base typically 4 to 6 inches deep (more in soft soil), then a 1-inch bedding sand layer, then the pavers, then joint sand. The pavers themselves are the visible layer and the least structural part. The base is what spreads the load of every vehicle and every rainstorm.
In our experience across San Francisco, when a paver driveway fails in the first few years, the pavers themselves are almost never the problem. Settlement, rocking pavers, and joint sand washing out trace back to one of three base defects: insufficient excavation depth, inadequate compaction, or slope that drains toward the house instead of away from it. The third is a specific concern on sloped San Francisco lots in neighborhoods like Noe Valley and Bernal Heights, where driveways frequently pitch toward garages.
The math on effort matters too. Excavating 400 square feet to a 6-inch base depth means moving roughly 9 cubic yards of soil and bringing in a comparable volume of aggregate. That’s ten to twelve wheelbarrow trips per cubic yard, compacted in lifts. Hauling and compaction typically account for the bulk of the labor hours on any paver installation, and it’s the part tutorials skip to keep viewers watching.
Before you commit, look up the current requirements for Driveway & Pavers in San Francisco, since driveway surfaces that affect grading or curb cuts trigger review regardless of material.
The Equipment a Correct Base Requires
The tools you need for base work aren’t optional. You cannot substitute a hand tamper for a plate compactor and get a passing result, no matter how long you swing it. Here’s the honest equipment list, with current rental costs typical in San Francisco:
- Plate compactor with a minimum of 3,500 lbs of centrifugal force: $85 to $150 per day in San Francisco. Smaller “vibratory plate” units sold to homeowners often run well below this threshold and won’t reach required density.
- Laser level for establishing finished grade and checking base elevation across the whole pad: $40 to $75 per day.
- Transit or water level for slope control. A water level costs under $20 and is genuinely accurate over short distances; a transit rents for $50 to $90 per day.
- Wet saw (for cutting pavers, not base): $70 to $110 per day.
- Wheelbarrows, shovels, landscape rake, string line, and a hand tamper for tight corners.
Add rental pickup and return trips, and the equipment line item on a small DIY project often lands between $250 and $400 for a single long weekend. Skipping the equipment doesn’t save that money; it changes where the money goes later. A pad built without proper compaction will show movement within a season or two, and the fix involves pulling up pavers, re-excavating, and re-laying. The labor you did is done twice.
The Compaction Test Most DIYers Skip
Compaction by eye is the single most common failure we see on homeowner-built pads. Gravel looks flat and firm; that tells you nothing about density. Here are two methods that give you a real answer before the sand goes down.
- Screwdriver probe test. Push a heavy screwdriver into the compacted base with firm hand pressure. In properly compacted aggregate it should penetrate less than half an inch, and you should feel resistance the whole way. If it sinks easily, the base is loose and needs another compaction pass with a light water spray (just enough to keep dust down, not to soak).
- Hand-feel and heel test. Walk the entire pad in boots. Listen for hollow or shifting sounds underfoot, feel for spongy spots, and press your heel into the surface. Any soft location indicates a thin or under-compacted area. Re-tamp and re-check.
- Elevation check with a laser level. Set the laser on a tripod and walk the pad with the receiver. Base should be flat within roughly 1/4 inch across each 10-foot section, with a consistent pitch of about 1.5% to 2% for drainage. In San Francisco, where winter rain comes hard and fast, slope control is not a nice-to-have.
Repeat these tests on every lift of base material, not just the top one. Each layer of 2 to 3 inches should be compacted before the next goes down. Compacting four inches at once leaves the bottom half loose no matter how much time you spend on the surface.
What’s Actually Safe to Do Yourself
Once the base is in and verified, surface work is genuinely within reach for a careful homeowner. Here’s the realistic DIY scope, with time estimates per 100 square feet:
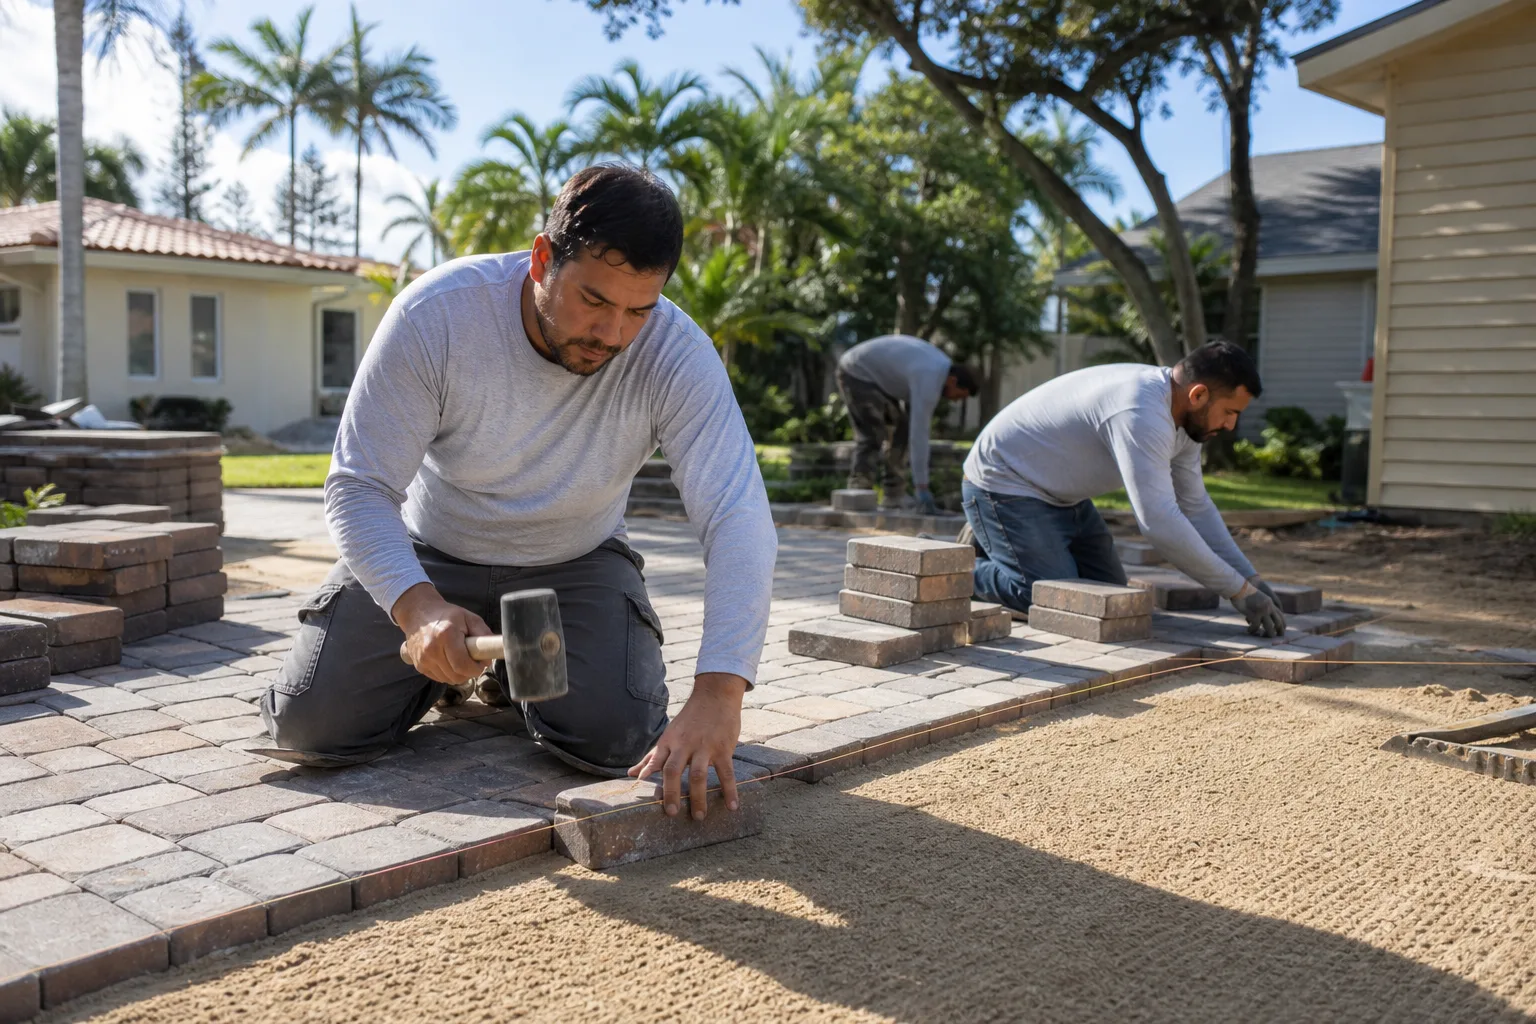
- Pattern laying and paver placement: 3 to 5 hours per 100 sq ft for a running bond or herringbone pattern on a prepared bed. Field pavers (uncut pieces) go down fast.
- Cutting field pavers with a rented wet saw: 2 to 4 hours per 100 sq ft for edges and corners. Wet saws are safer and cleaner than dry cutting, and the blade lasts noticeably longer.
- Joint sanding: 1 to 2 hours per 100 sq ft, using a polymeric or stabilized joint sand (we specify brands like Techniseal for joint stabilization; worth asking about).
- Sealing: 1 to 2 hours per 100 sq ft once the pavers have cured and dried for at least 30 days.
That’s the work tutorials focus on, and it’s honest DIY territory for someone with patience. The rest of the job, excavation, base, compaction, and slope control, is where doing it yourself risks the whole installation. A paver driveway in San Francisco rains on, gets driven on, and needs to drain, and that responsibility sits in the layer you can’t see.
San Francisco Permit Reality Check
San Francisco requires a permit for driveway work that alters drainage patterns or modifies a curb cut or sidewalk. That covers most re-paving projects where the surface type changes the way water moves off the property. Unpermitted driveway work can require removal and re-doing at the homeowner’s expense, and it can complicate a future property sale or an appraisal.
Where homeowners get caught:
- Changing a permeable surface (gravel or dirt) to a solid surface (pavers or concrete) without adjusting drainage – San Francisco’s stormwater rules trigger on this.
- Widening a driveway apron or curb cut. This requires a separate review and inspection process, and some curb cuts can’t be legally widened depending on the street and block.
- Repaving a driveway that slopes steeply toward the street without a drainage plan. The permit requirement applies even when the driveway shape doesn’t change.
Before you buy materials, check the permit path with San Francisco Department of Public Works. It’s a 20-minute conversation that protects the whole project. Related exterior work, like perimeter fencing, has its own requirements worth checking in our guide to Fence Installation in San Francisco, since fence and driveway permits often run together on adjacent property lines.
Side-by-Side Cost: 400 Square Feet in San Francisco
Here’s the honest number comparison for a 400 sq ft paver driveway in San Francisco. We’re using current local material and rental costs, and we’ve included the base-rework contingency that most DIY cost comparisons leave out.
| Line Item | DIY | Professional |
|---|---|---|
| Pavers (Belgard, Techo-Bloc, or equivalent) | $1,600 to $2,400 | included |
| Base aggregate and bedding sand | $500 to $800 | included |
| Compaction, laser, wet-saw rentals | $250 to $400 | included |
| Permit and inspections | $200 to $500 | included |
| Base-rework contingency (30% chance, $1,200 to $2,800) | $0 or $1,200 to $2,800 | not applicable (base warrantied) |
| Labor (excavation through seal) | your time (60 to 100 hours) | included |
| Total | $2,550 to $6,100 | $5,800 to $8,400 |
The DIY low end looks like a $3,000 to $5,000 savings until you account for the base-rework contingency. In San Francisco, where a poorly compacted base on clay soil fails within one or two wet seasons, that contingency is real, and it costs both money and time. A professional flat-written price includes the base built correctly and warranty on it. That’s precisely how a written price with a written scope works here: the number you agree to before work starts is the number you pay.
If your project also involves a garage, entry, or new structure on the property, get pricing on scope before you break ground. See our Home Additions & ADU in San Francisco guide for how foundation, grading, and driveway work interlock.
Common Mistakes to Avoid
- Skipping the compactor rental to “save time.” A hand tamper cannot reach the density a plate compactor achieves. In San Francisco’s clay and sandy subsoils, that difference shows up as settlement after the first heavy rain.
- Excavating too shallow. Four inches of base looks like plenty on paper until you factor in the vehicle load. Residential driveways need 6 inches minimum of compacted aggregate, sometimes more where the subgrade is soft.
- Draining toward the garage. Many San Francisco properties have driveways that pitch toward the house for street access. If paver re-laying leaves a low spot near the garage door, you’ll have a wet garage in January.
- Sand-screeding over uncompacted base. This is the mistake the tutorials enable. If the base is loose, the bedding sand goes in flat and the pavers follow, but the whole assembly moves within a year.
- Not checking permit requirements. San Francisco DPW requires permits for drainage-altering driveway work. Unpermitted pavers can require removal at your cost, which erases the entire DIY budget.
- Laying pavers on wet subgrade. In San Francisco’s wet winters, base material loses density once saturated. Never lay over a base that hasn’t dried and been re-tested.
- Using the wrong joint sand and skipping seal. Polymeric joint sand holds pavers together and resists erosion. Skipping it, or skipping sealer, is a short-term savings that shortens the driveway’s life.
When to Call a Professional
Call a professional contractor for any paver project where the base requires excavation beyond a light surface layer, where slope or drainage toward the house is a concern, where a curb cut is involved, or where the driveway is the main access point for a property on a hillside. In our experience in San Francisco, half the DIY projects we’re called in to fix show base failure. The fix costs more than doing it right the first time.
Rowan Construction Group San Francisco offers free estimates across our driveway and paver work, backed by a written flat price and written scope before work starts, and the 365-Day Done Right Promise. If the base isn’t ready to receive pavers, we’ll say so, and we’ll show you why with the documented photo record we take on every visit. Call (844) 797-6388 for a free estimate.
See the difference
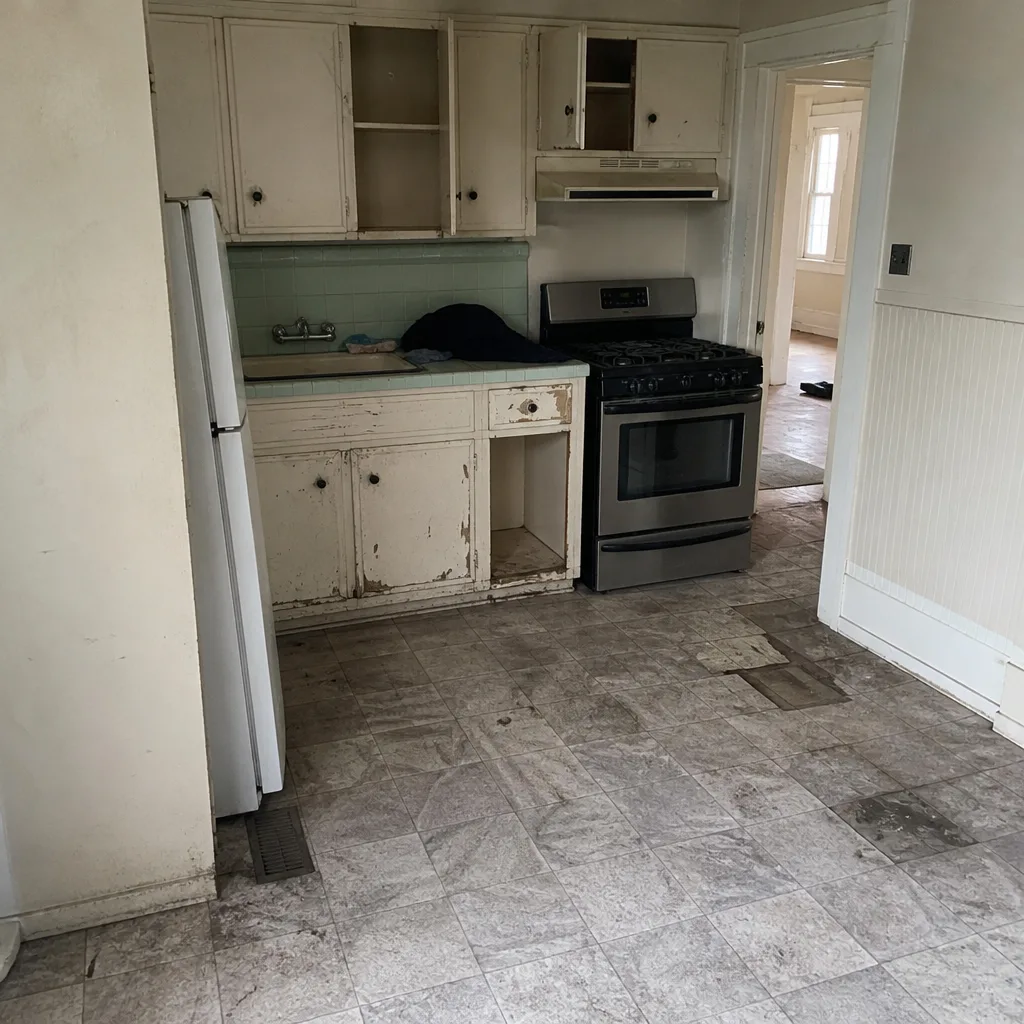 Before
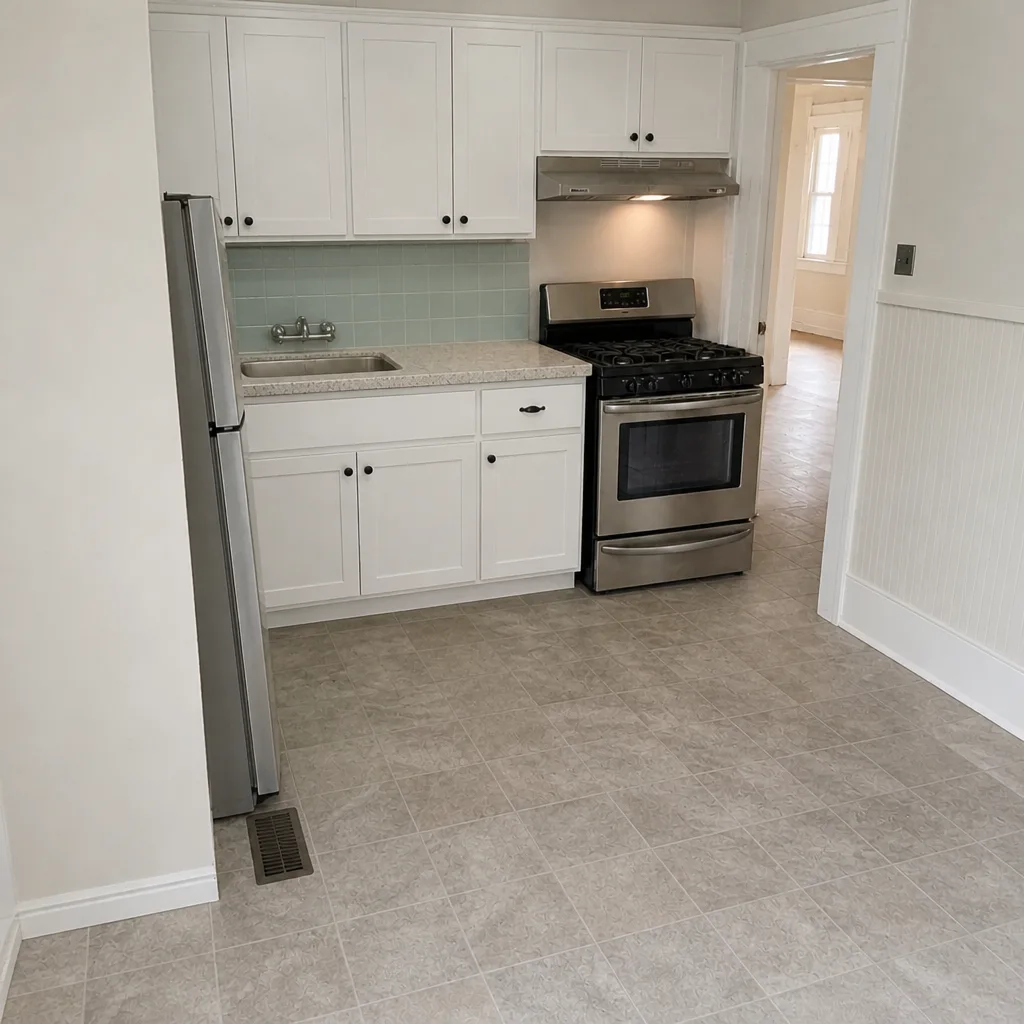 After
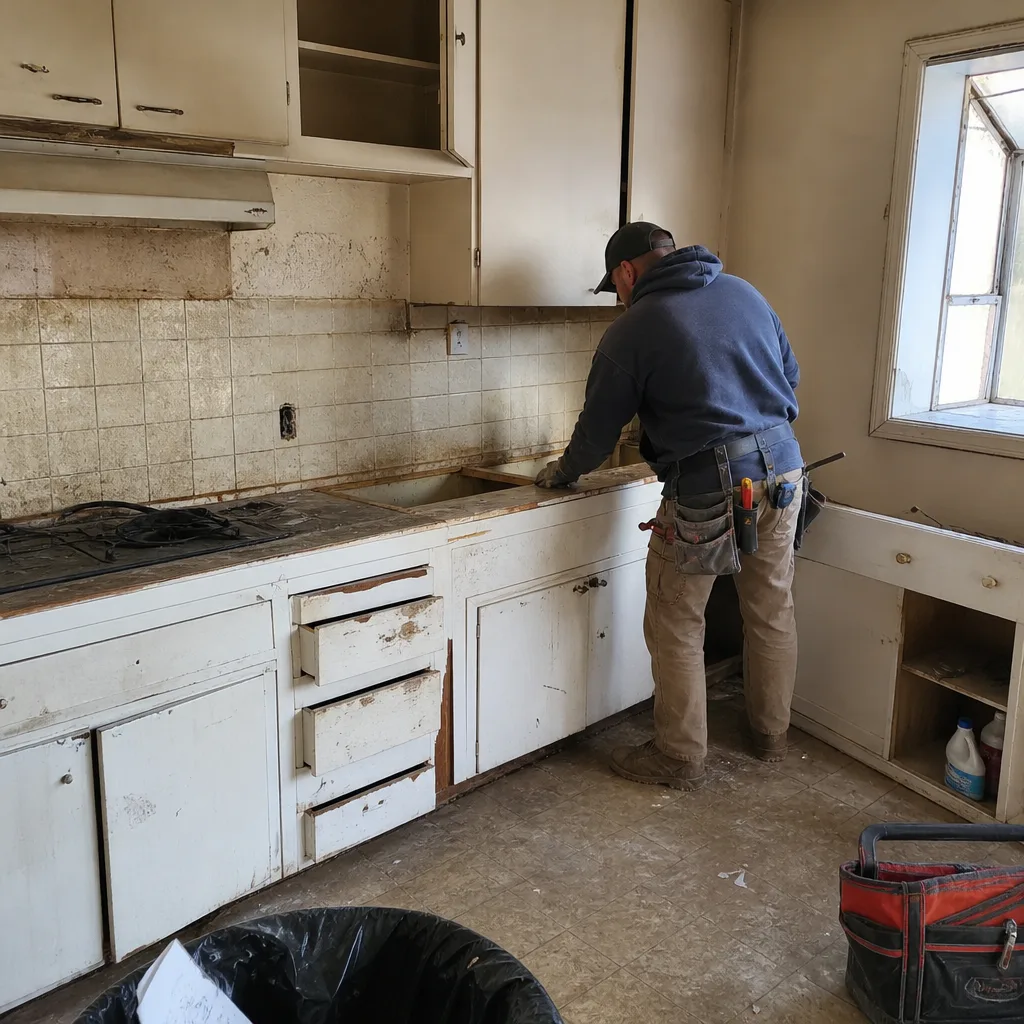 Before
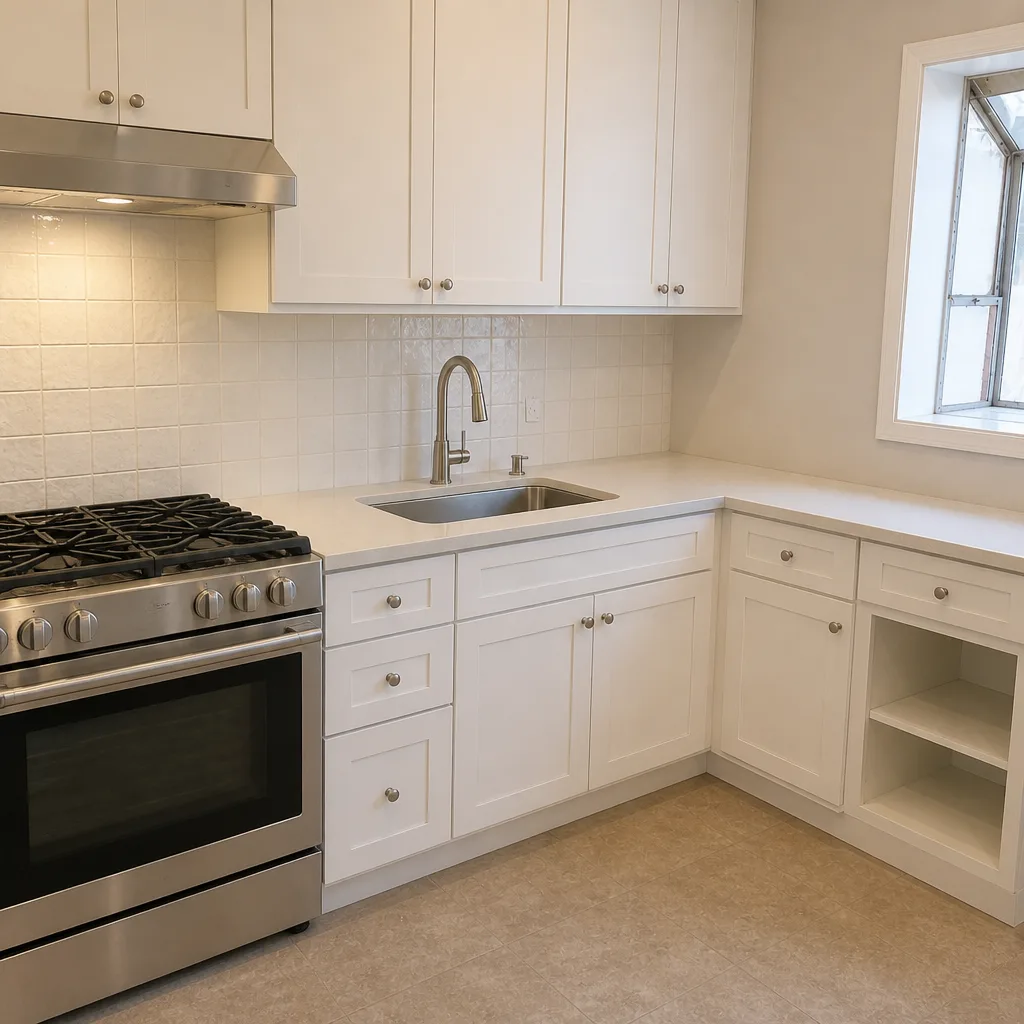 After
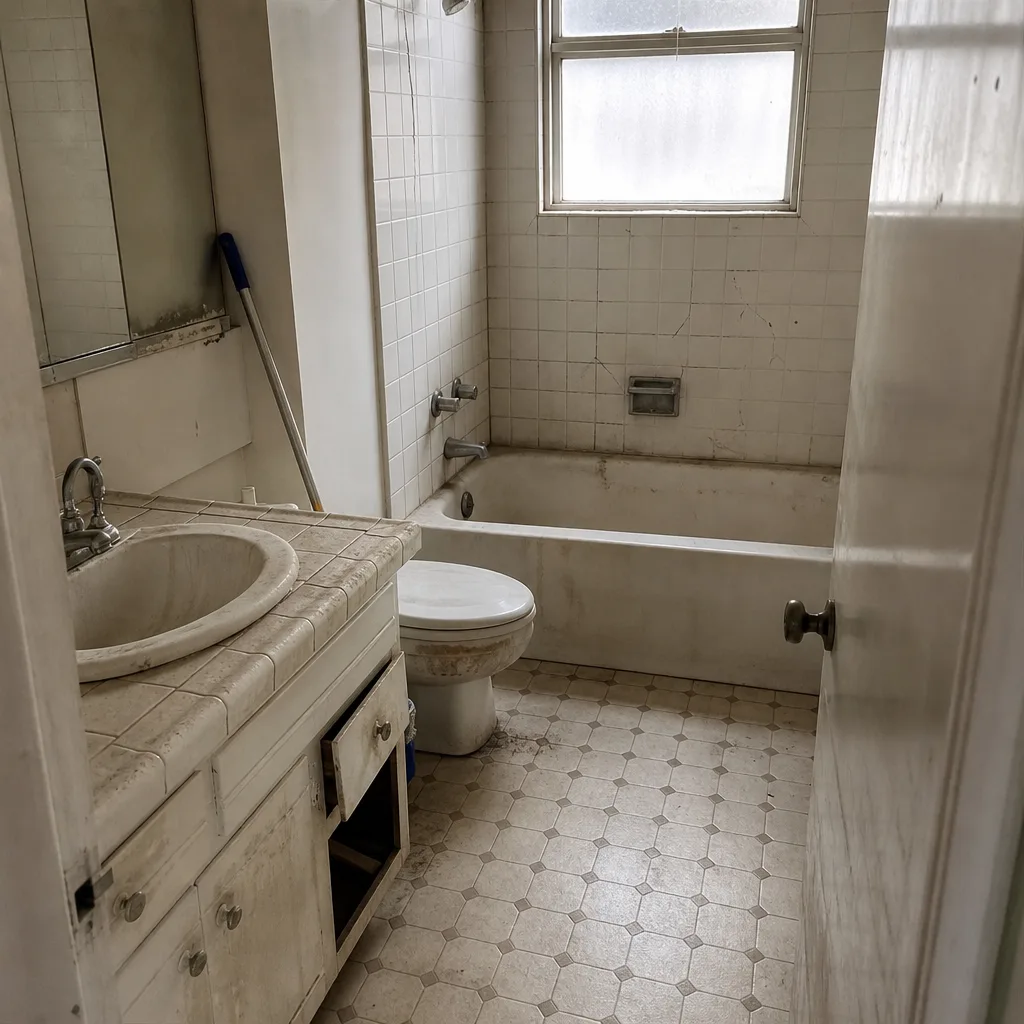 Before
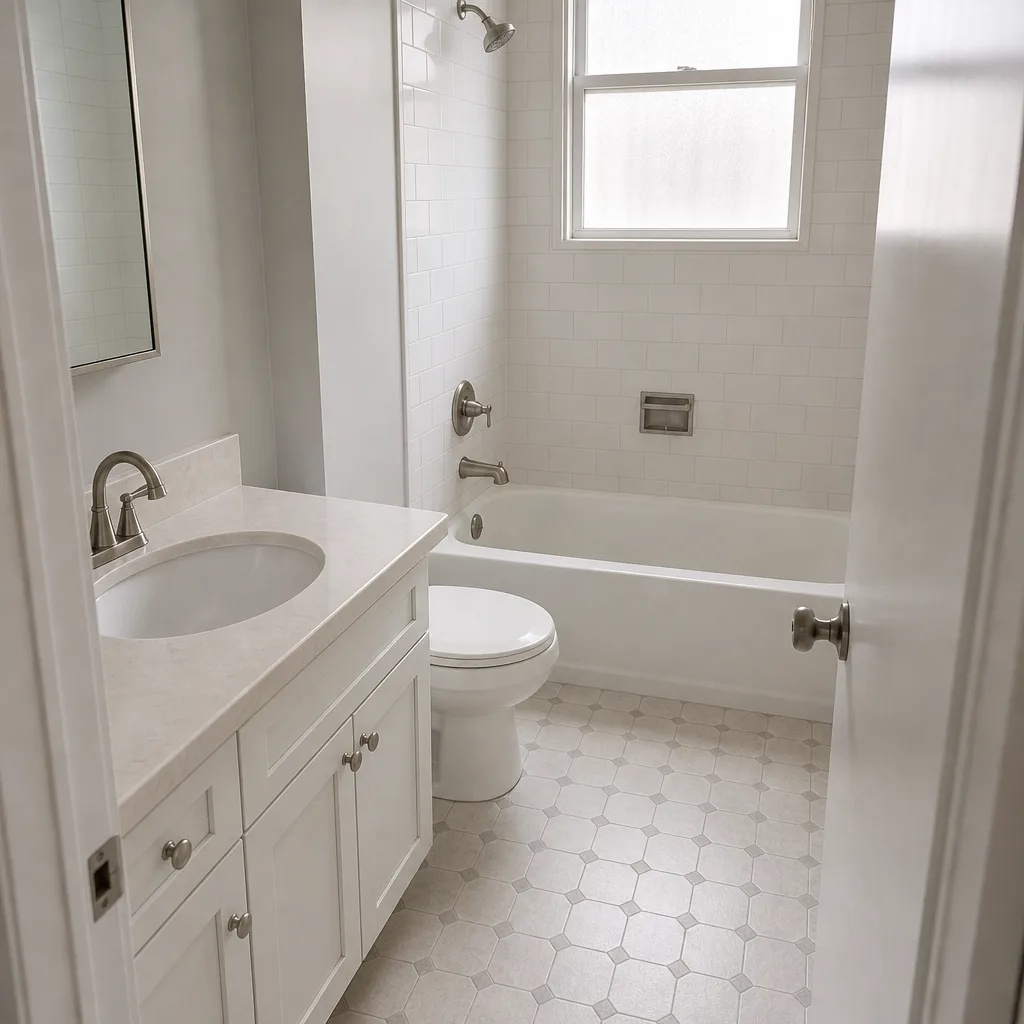 After
Frequently Asked Questions
Not correctly. Pavers need a properly built base underneath, and laying over concrete or loose gravel produces uneven surfaces and joint stones that shift. The base is the structural layer; it must be excavated and compacted, not borrowed from whatever’s underneath.
A full professional installation on 400 square feet typically lands between $5,800 and $8,400 in San Francisco, depending on paver choice and site access. DIY materials run $2,550 to $4,200 before any base rework. Call (844) 797-6388 for an exact quote, which we provide in writing before any work starts.
Not on our projects. Under our written price and scope, no work proceeds on a change until the change order is signed. That’s the discipline that keeps Rowan projects within a few percent of the agreed price.
Yes, in most cases. San Francisco DPW requires a permit when the work alters drainage patterns or modifies a curb cut. Even like-for-like replacement over a different surface type usually triggers review. Call (844) 797-6388 if you want to talk through your specific situation.
Professionally, a 400 to 600 square foot driveway takes roughly 3 to 5 days from excavation to joint sand, plus curing time before sealing. DIY with the same scope runs 60 to 100 hours of work spread over several weekends, not counting weather delays.
We work in Belgard and Techo-Bloc pavers, both engineered for residential driveways with proper base support. Both brands come with published specifications we match to your site’s grade and drainage. Call (844) 797-6388 to talk through options for your driveway.
The Bottom Line
DIY is safe and reasonable on the surface layer of a paver driveway: pattern laying, cutting field pavers, joint sanding, and sealing once the base is in place. DIY is a poor trade on the base layer, where excavation, compaction, and slope control determine whether the driveway lasts 20 years or starts moving after one San Francisco winter. The equipment alone runs $250 to $400 to rent, and a failed base eats any savings and then some. Get the base built correctly, whether by you or by a contractor who warrants it, and the rest of the work is genuinely within reach. Rowan Construction Group San Francisco will give you a written price and a free estimate if you want a professional hand, with a documented photo record on every visit, calls answered by a live person 24/7, and background-checked, uniformed technicians. Call (844) 797-6388 to get started, or visit the Rowan Construction Group San Francisco home to see the full range of what we build.
Written by the team at Rowan Construction Group San Francisco.