Last updated November 17, 2026
Free written scope consultation - allowances, timeline, and change-order rules on paper before a single trade is scheduled
DIY vs Professional Fence Installation: What’s Safe to Do Yourself
The most expensive DIY fence mistake in San Francisco isn’t a crooked post. It’s a fence built 4 inches onto a neighbor’s property. Once that fence is up and the survey shows the encroachment, the remedy is full removal and relocation at the homeowner’s expense, plus legal costs that routinely blow past $5,000 before the first board is re-set. The good news is that most fence work doesn’t carry that kind of risk. This guide draws a hard line between the tasks where DIY genuinely saves money and the tasks where a small error compounds into a five-figure problem, and it does it with real numbers for San Francisco.
Quick Answer
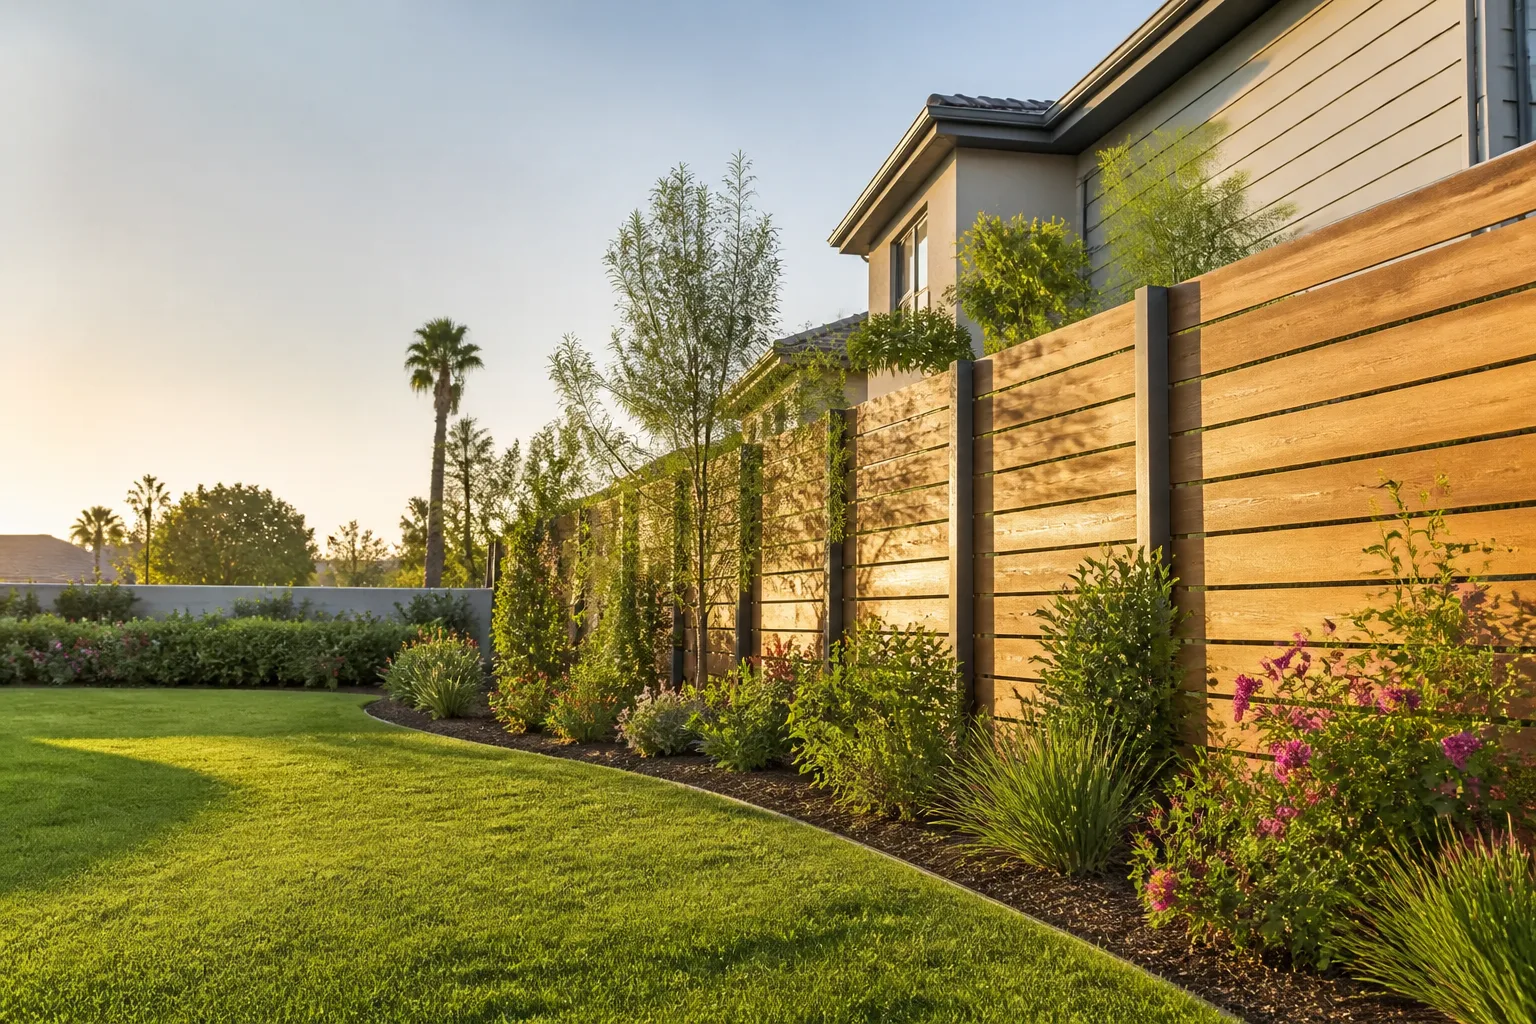
In San Francisco, DIY is safe and cost-effective for panel installation on existing sound posts, board and hardware replacement, and staining or sealing. DIY stops being a good idea the moment you’re digging new post holes near a property line, building anything over 6 feet, or working inside a historic district or HOA overlay. Those jobs carry permit, liability, and structural risk that a homeowner can’t absorb cheaply. A typical 100-linear-foot cedar fence runs $6,500 to $11,000 contracted in San Francisco versus roughly $4,200 to $5,400 DIY, but the gap disappears fast when a footing fails or a permit gets flagged.
Styles & brands we work with
- Kitchen remodeling
- Bathroom remodeling
- Home additions & ADU
- Roofing
- Windows & doors
- Driveway & pavers
- Fence
Table of Contents
- What’s the line between DIY and professional fence work?
- Which fence tasks are safe to do yourself?
- Which fence work carries permit or liability risk in San Francisco?
- How deep do fence post footings need to be?
- What equipment separates a DIY job that works from one that doesn’t?
- DIY vs contracted: the real cost comparison for 100 linear feet
- Common mistakes to avoid
- When to call a professional
What’s the line between DIY and professional fence work?
The line runs between the visible structure and the post-in-ground work. Everything above grade – the panels, the pickets, the rails, the gate hardware, the finish – is largely reversible and forgiving. If you hang a panel slightly out of plumb, you can take it down and redo it in an afternoon. Everything below grade is different. A post set 6 inches too shallow in Bay Area soil, or a footing poured at the wrong diameter, shows up as a leaning fence two winters later. At that point you’re not repairing a board, you’re digging out a cured concrete collar and starting over.
There’s a second line, and it’s legal rather than physical. The moment your fence touches a property line or exceeds a height threshold, you’ve entered a space governed by survey data, city code, and in some cases a design review board. We’ve watched homeowners win the physical battle and lose the legal one, and the cost of losing is always higher. Here’s how we think about the split:
- Above-grade work on sound posts: genuinely DIY territory.
- Below-grade work (new posts, footings, post replacement): professional territory, both because of the concrete math and because of the property-line exposure.
- Anything requiring a permit: professional territory, because unpermitted work has to be removed or retroactively permitted, and retroactive permitting is often more expensive than doing it right the first time.
- Historic district or HOA property: professional territory, because material and style approvals can kill a design after the materials are already purchased.
A useful sanity check: if a mistake in the task can be undone with hand tools and a Saturday, DIY it. If a mistake requires a jackhammer, a surveyor, or a lawyer, don’t.
Which fence tasks are safe to do yourself?
Four categories of fence work are structurally sound for a homeowner to handle. These are the tasks where the effort-to-savings ratio is genuinely in your favor, and where a mistake is cosmetic rather than structural. We’ve seen homeowners in Noe Valley and the Sunset save real money on these projects without creating problems down the road.
- Panel installation on existing sound posts. If your posts are solid and plumb, replacing the panels, pickets, or rails is well within a homeowner’s ability. A 100-foot run of pre-assembled cedar panels takes a weekend with two people. Material cost runs roughly $18 to $30 per linear foot for cedar dog-ear or flat-top panels.
- Individual board and picket replacement. A single rotten board or a storm-damaged picket is a 20-minute job. Pull the nails, slide the new board in, fasten with stainless or hot-dipped galvanized exterior screws. $40 to $80 in materials and a couple of hours.
- Hardware replacement. Gate hinges, latches, and post caps are simple swaps. Stainless or galvanized hardware runs $15 to $60 per gate. Budget 1 to 2 hours.
- Staining and sealing. A 100-foot cedar fence takes 4 to 6 hours with a sprayer and back-brush. Quality penetrating sealer runs $35 to $60 per gallon, and you’ll need 3 to 4 gallons. In San Francisco’s fog belt, resealing every 2 to 3 years is realistic, so this is the highest-value DIY task on the list.
Add to that list: painting, minor gate adjustment, and cleaning. None of these touch the structural system or cross into permit territory. Everything else in this guide is where the calculus shifts.
Which fence work carries permit or liability risk in San Francisco?
Fence permits in San Francisco are governed by the Department of Building Inspection, and the rules stack local overlays on top of state building code. Three categories of work almost always require a professional:
- Any new post installation near a property line. If you’re within a few feet of the line, you need to know exactly where the line is. A survey in San Francisco typically runs $800 to $2,000 depending on lot complexity. Without one, you’re building on faith, and faith is what gets fences removed.
- Any fence over 6 feet. Below 6 feet, most San Francisco residential fences fall under the general exemption for fences as accessory structures. Over 6 feet, the fence is treated as a structure, and a building permit is required. Height is measured from finished grade, and there are exceptions – check the current DBI guidance for your specific district before assuming.
- Historic district overlay or HOA property. San Francisco has numerous historic districts, each with its own design review requirements. If your property is inside one, the material, height, and style of your fence may be regulated. HOAs layer their own CC&R approvals on top. A pre-approved design that matches your neighbor’s fence exactly can still fail review if the material isn’t on the district’s approved list.
The cost of an unpermitted fence isn’t just the permit fee. It’s the retroactive permit application, the design review, the potential removal and rebuild, and – if the fence was built across a property line – the survey, legal fees, and relocation. In San Francisco, we’ve seen the full remediation exceed $5,000 before the fence is re-set. On any new post work in this city, that risk profile is why professional installation pays for itself even at two or three times a DIY budget.
How deep do fence post footings need to be?
Post footing depth and diameter are set by the International Residential Code, with adjustments for frost depth, soil type, and wind exposure. San Francisco has effectively no frost depth requirement, but the Bay Area is a high-wind zone in exposed areas, especially on ridgelines and near the coast. For a 6-foot fence, a standard footing is 24 to 30 inches deep and 12 inches in diameter. For an 8-foot fence, 36 inches deep and 12 to 14 inches in diameter is standard in high-wind zones. These are table values – your specific site conditions can push them one step larger.
Here’s the calculation most DIYers skip. A 12-inch diameter footing at 30 inches deep holds about 2.4 cubic feet of concrete. A 40-pound bag of Quikrete yields about 0.3 cubic feet. That’s eight bags per post – a number that surprises almost everyone. A 100-foot fence with posts every 8 feet is 13 posts, so roughly 104 bags of concrete. At $6 to $8 per bag in San Francisco, that’s $620 to $830 just in concrete, before you’ve rented an auger or bought a post level.
Underestimate the bag count by half and you’ll make three trips to the hardware store mid-pour, and the footing will set unevenly because you poured too slowly. That’s the most common DIY failure mode we see: not a bad design, but an under-resourced pour.
What equipment separates a DIY job that works from one that doesn’t?
The difference between a fence that stays plumb for 15 years and one that starts leaning by year three usually comes down to $200 worth of rental and setup. If you’re going to do the above-grade work yourself, these three items are non-negotiable:
- A one-man auger. Rental in San Francisco runs $80 to $120 per day. Hand-digging 13 post holes in Bay Area clay is a full weekend of work and typically produces inconsistent depths. The auger produces uniform, vertical holes.
- A post level. About $15 to $25. It straps to the post and reads plumb on two axes simultaneously, which a torpedo level can’t do on a post. Without it, posts drift out of plumb as you backfill.
- A string line setup. About $20 in materials: braided line, two stakes, and line levels. The string line is how you keep posts in a straight row. Without it, a 100-foot fence can wander 3 to 4 inches off center.
Two more pieces of equipment worth naming because they change the finished result. A tamper ($40 to rent) lets you compact the soil as you backfill, which prevents settling. A long-handled spade and a digging bar ($30 to $60) save you when the auger hits a root or a rock the auger can’t clear. Skipping any of these shows up in the finished fence as a wobble, a lean, or a sag.
DIY vs contracted: the real cost comparison for 100 linear feet
Here’s a line-item comparison for 100 linear feet of 6-foot cedar privacy fence in San Francisco, using realistic mid-2026 numbers. The DIY side assumes you’re doing everything – new posts, concrete, panels, hardware, permit – and that you rent equipment rather than buy it.
- DIY materials, cedar, panels and posts: $3,200 to $4,000
- Concrete (roughly 104 bags): $620 to $830
- Hardware (hinges, screws, gate kit): $150 to $300
- Permit (if required): $200 to $500
- Equipment rental (auger, tamper): $120 to $200
- Misc (string line, post level, sealer): $100 to $150
- DIY total: $4,390 to $5,980
- Contracted total in San Francisco: $6,500 to $11,000
The raw savings look significant: $1,000 to $5,000 on this size of job. But the break-even analysis is where the picture shifts. If you save $3,000 in labor but spend 80 hours over four weekends, your effective hourly rate is under $40 – reasonable for a homeowner who enjoys the work. If a single footing fails and needs to be re-dug and re-poured, you’ve lost $500 to $1,200 and two more weekends. If a survey reveals a property-line encroachment, you’ve lost the cost of the whole fence and potentially more. In San Francisco, where a survey costs $800 to $2,000 and property lines are often tighter than a homeowner expects on a narrow lot, that single risk event absorbs the entire labor savings and then some.
Our rule of thumb: on above-grade work, DIY savings are real. On below-grade work that touches a property line, they’re a bet against the survey. Most homeowners we talk to after a fence failure took the bet and lost.
If you want to see how Rowan Construction Group handles fence installation in San Francisco with a written price before work starts, our team can provide a free estimate and a line-item breakdown. Or review our Fence Installation in San Francisco page for the full scope.
Common Mistakes to Avoid
- Building without a property-line survey. The fence looks fine until a neighbor disputes it. In San Francisco, where lot widths can be as tight as 25 feet, an offset of even 4 inches is a real encroachment. A survey in this city costs $800 to $2,000 – a fraction of the cost of removing and relocating a fence.
- Pouring footings without a bag count. Eight bags per post at 30 inches deep, not three or four. Underestimating means an under-supported post and a fence that sags within two winters.
- Assuming 6 feet is the standard without checking. San Francisco’s height measurement is from finished grade, not from the top of a slope. On a hillside lot in Glen Park or Twin Peaks, a 6-foot fence on the downhill side may be well over 6 feet from the neighbor’s grade.
- Skipping the string line. Posts set one at a time by eye drift out of line. It’s the single most common aesthetic failure in a DIY fence, and it’s invisible until the panels go up.
- Not verifying historic or HOA approval before buying materials. A fence that matches the neighbor’s in style can still be rejected if the material isn’t on the district’s approved list. Review happens before purchase, not after.
- Sealing at the wrong time. New cedar needs to dry 2 to 4 weeks before sealing. Sealing wet wood traps moisture and causes premature failure.
- Staining in the fog belt without checking the forecast. San Francisco’s marine layer can leave sealer uncured for 48 hours. The finish needs a dry window of 24 to 48 hours – the kind of thing that’s manageable, but only if you plan for it.
When to Call a Professional
Call for a professional when the work is below grade, on a property line, or inside a historic district or HOA overlay. Also call when the fence exceeds 6 feet, when a footing is failing or a post is leaning, and when you want the work done once rather than re-done. For San Francisco properties with a slope, a narrow lot, or any shared line with a neighbor, professional involvement pays back even at a higher sticker price.
Rowan Construction Group provides free estimates in San Francisco, with a written price before any work starts and a documented photo record as a standard deliverable. Call (844) 797-6388 to schedule yours. If you bring a competitor’s written estimate, we’ll review it line by line at no charge through our Free Second Opinion offer. Our crews are background-checked and uniformed, technicians have up to 19 years of experience, and calls are answered by a live person 24/7.
Related services: if the fence work is part of a larger yard or access project, our Driveway & Pavers in San Francisco team and our Home Additions & ADU in San Francisco group both handle layout and property-line questions. And if you need a broader contractor relationship across trades, start at the Rowan Construction Group San Francisco home page.
See the difference
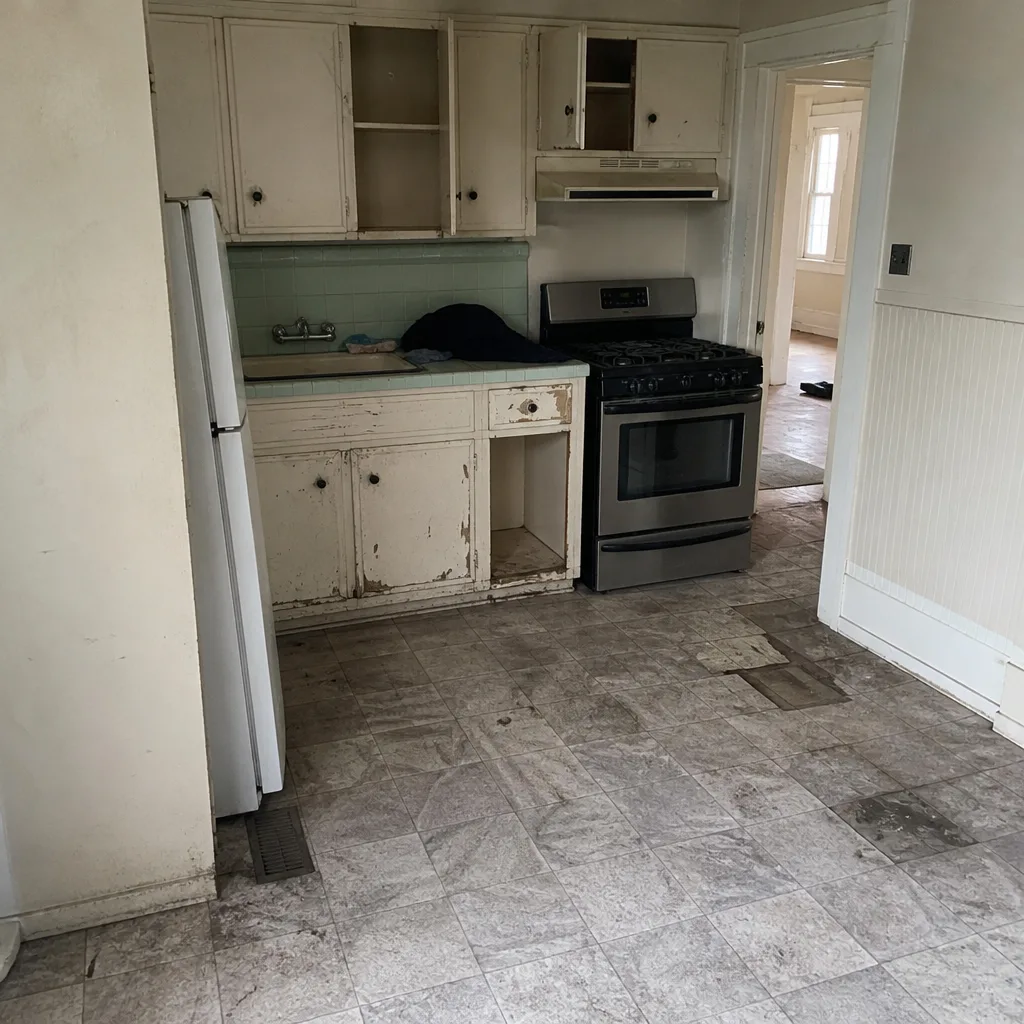 Before
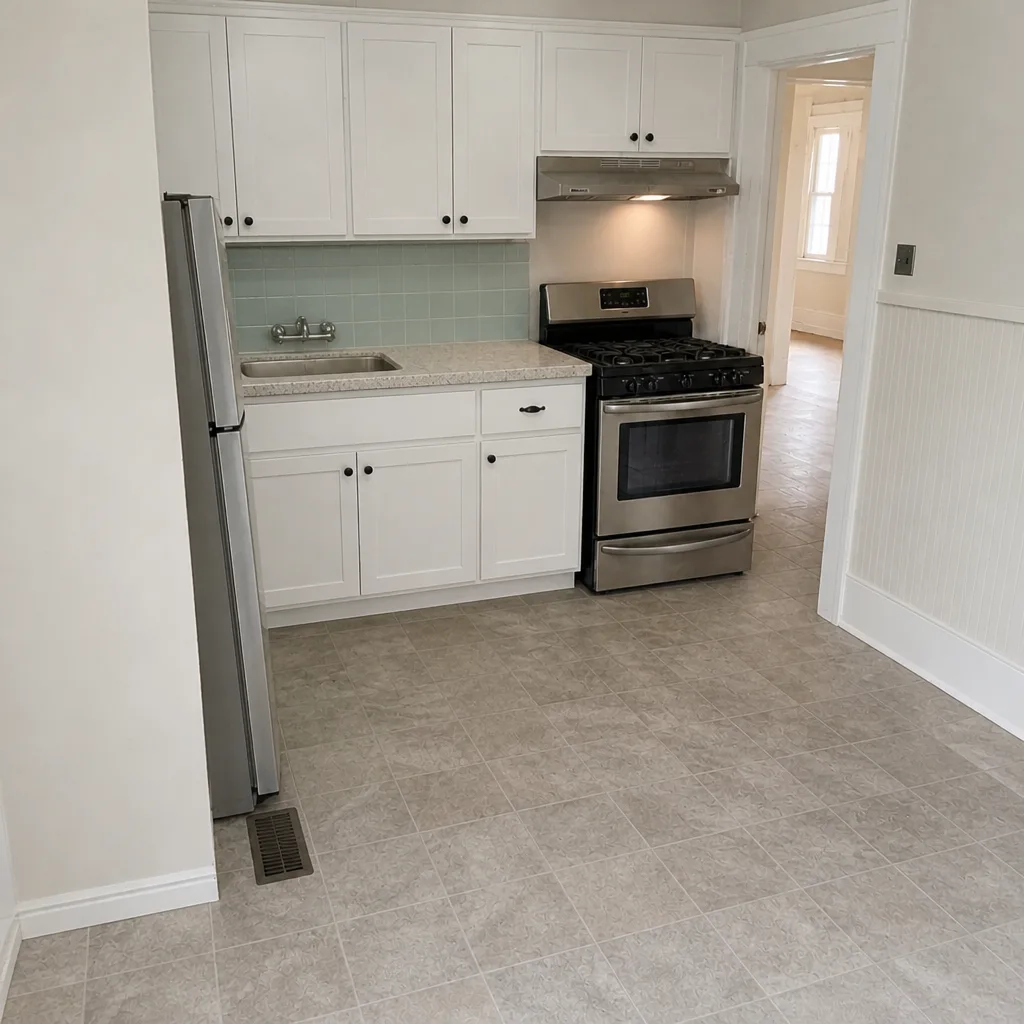 After
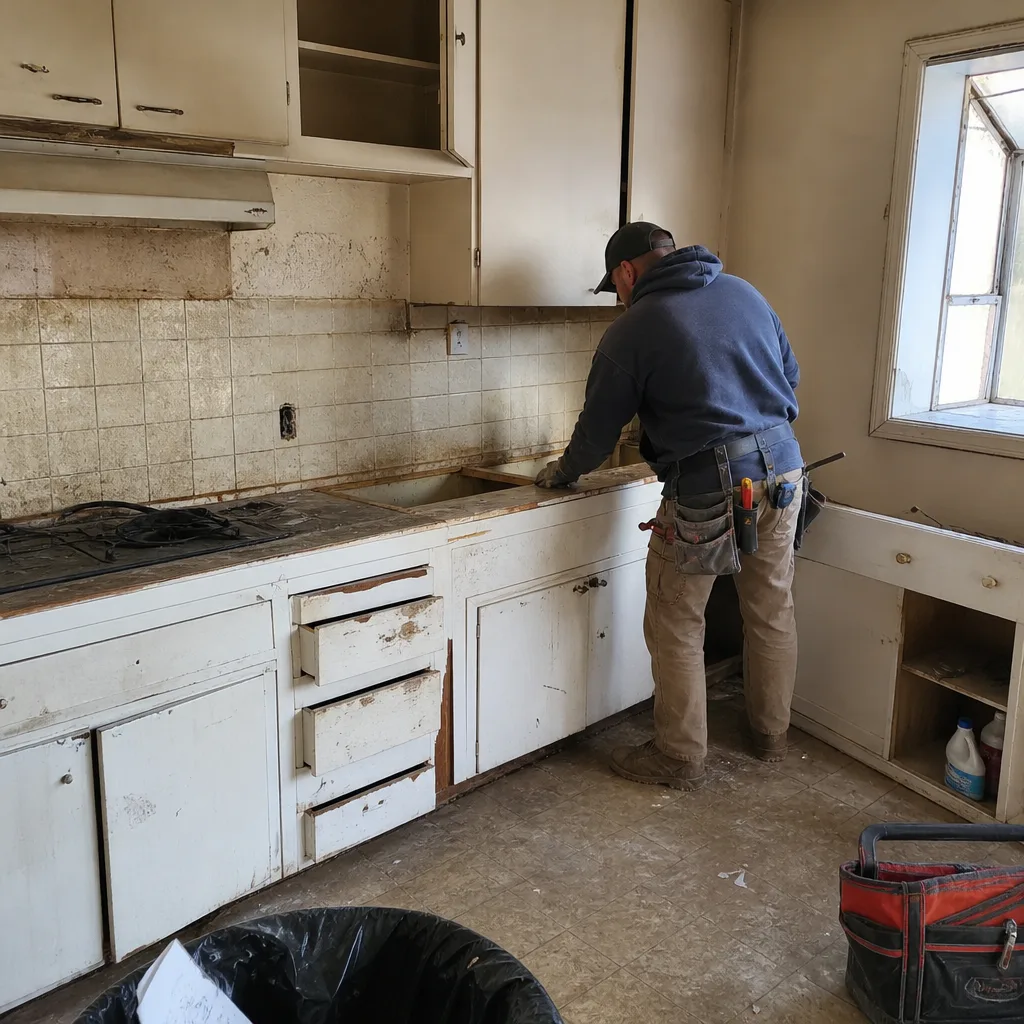 Before
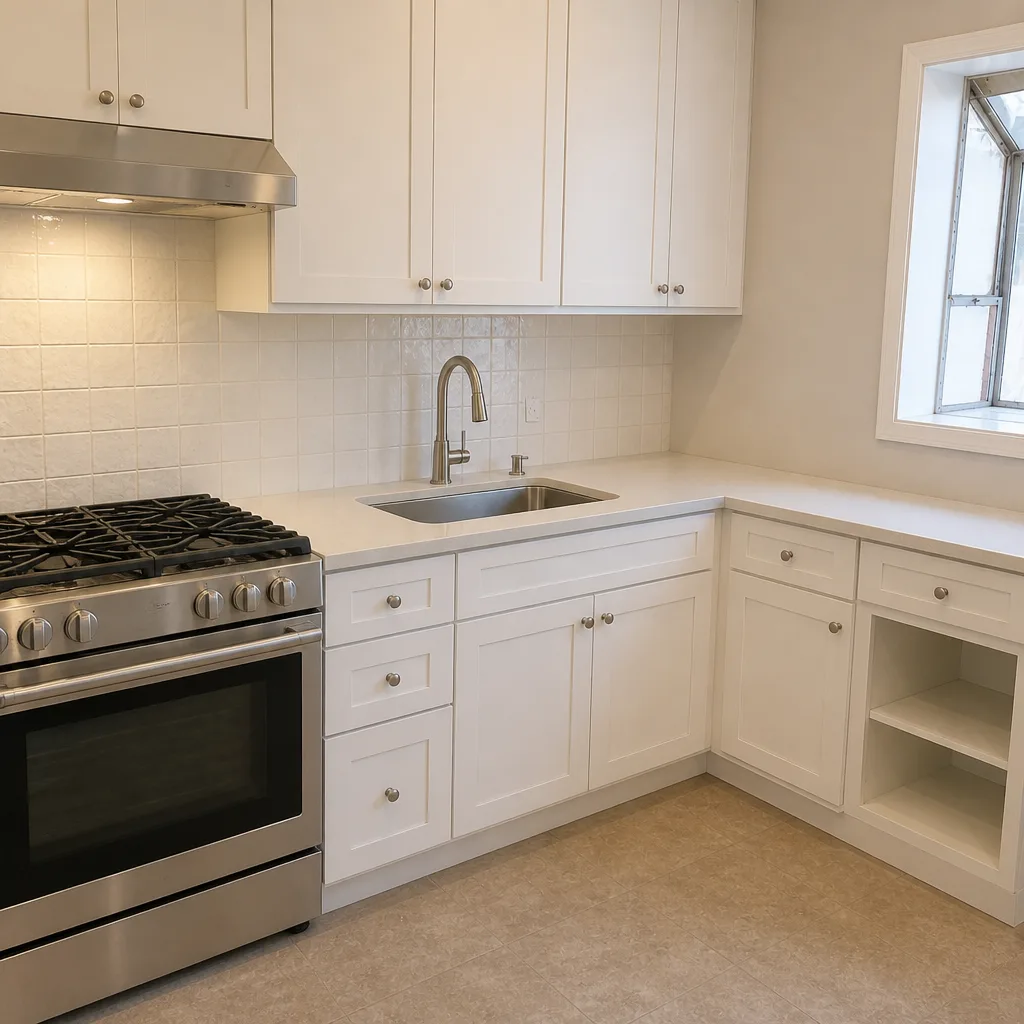 After
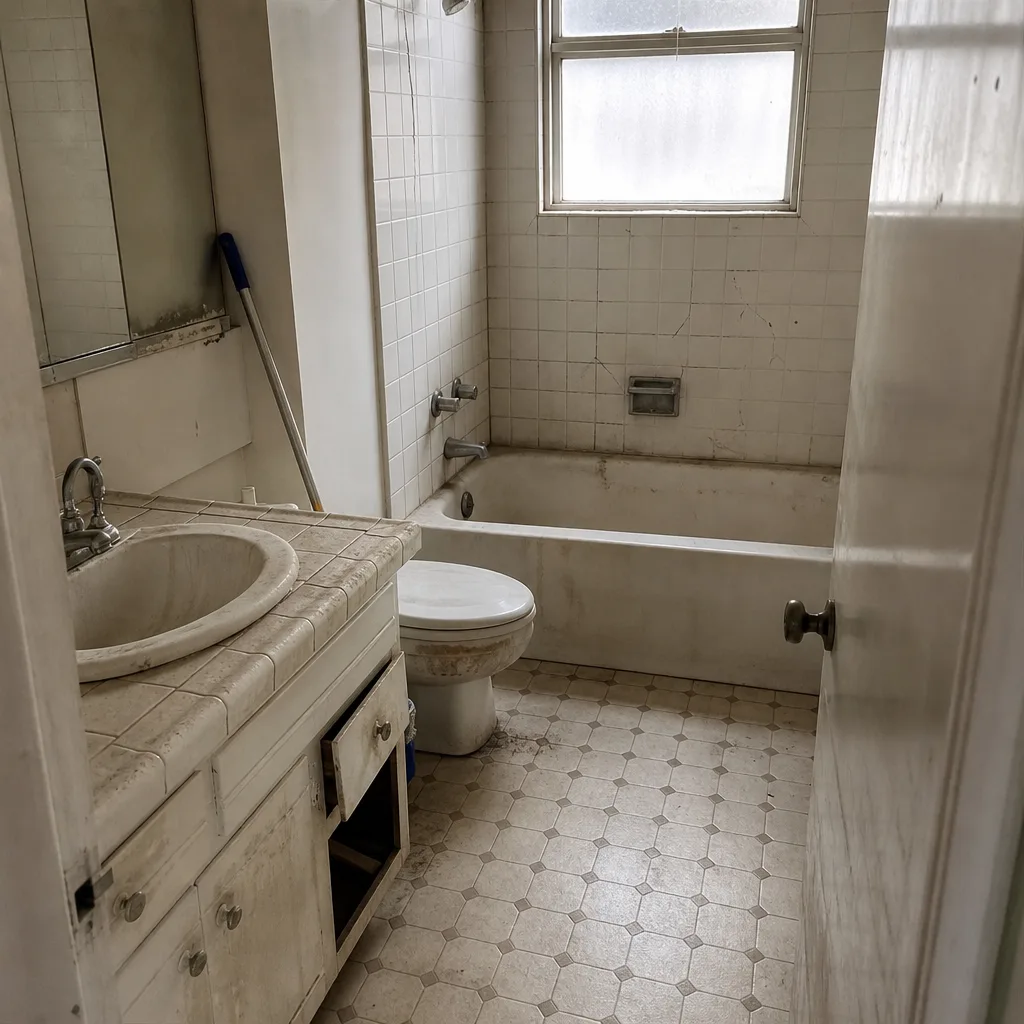 Before
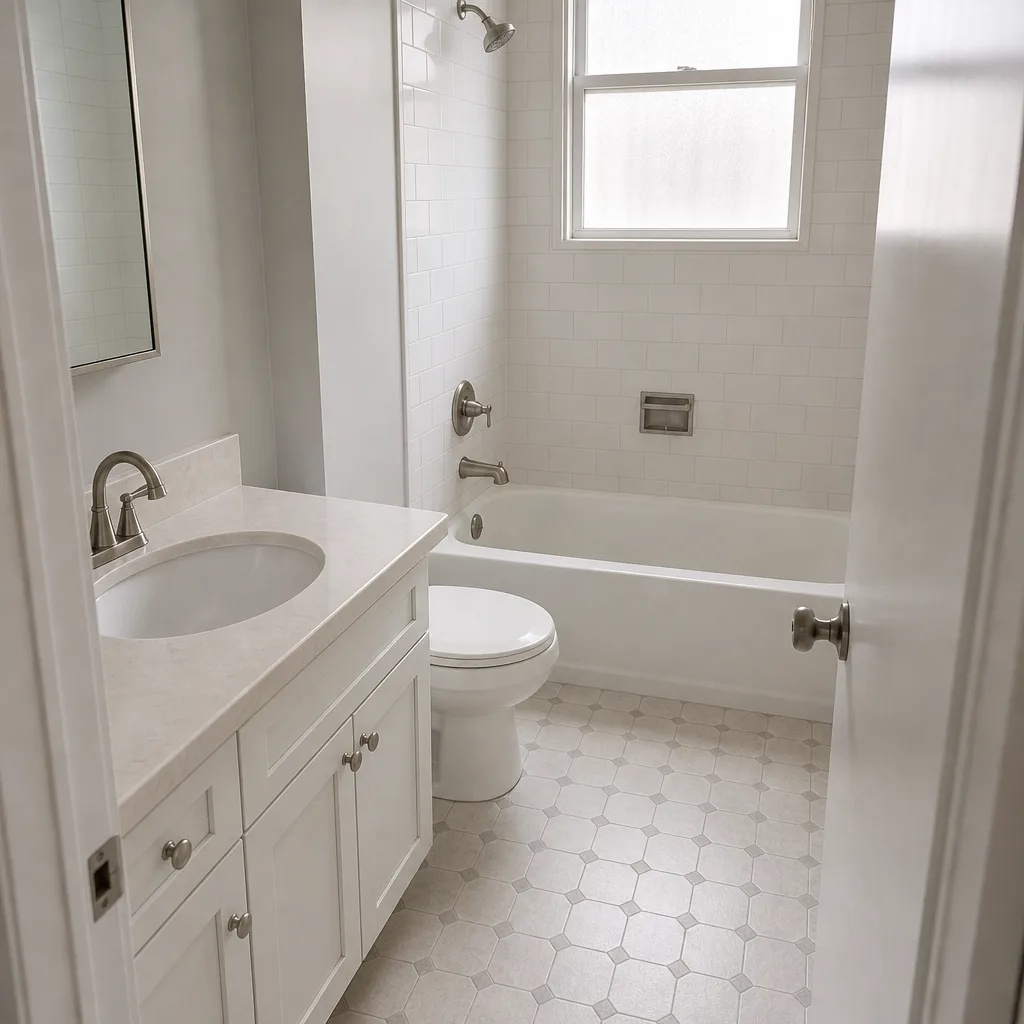 After
Frequently Asked Questions
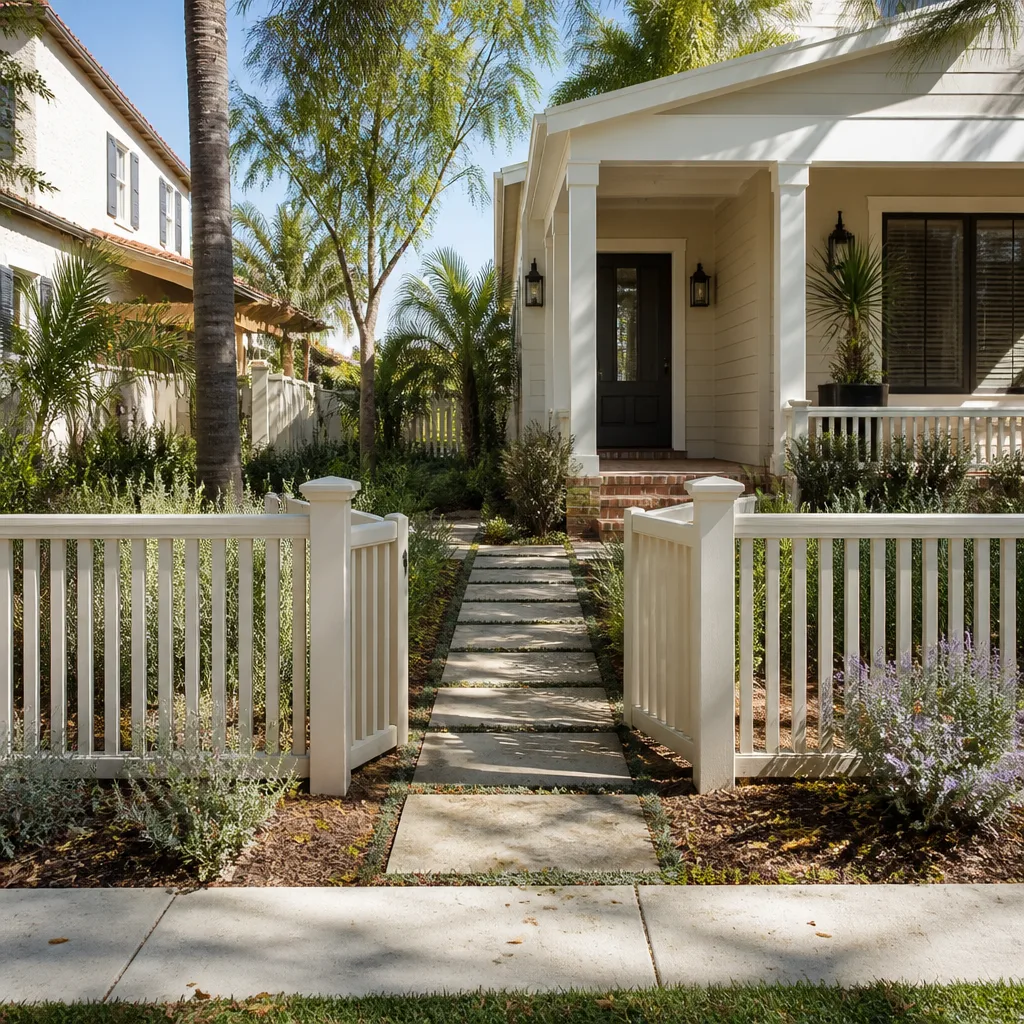
Yes, for above-grade work on sound existing posts. Panel installation, board replacement, hardware upgrades, and staining or sealing are all within a homeowner’s ability and save real money. New post installation, footings, work near a property line, and any fence over 6 feet are the tasks where DIY risk outweighs the savings in San Francisco. Call (844) 797-6388 for a free estimate on any fence work.
A fully contracted 100-foot, 6-foot cedar privacy fence in San Francisco runs $6,500 to $11,000. The same fence built as a full DIY project runs $4,390 to $5,980, plus 60 to 80 hours of your time. The savings are real on above-grade work and become a bad bet on work that touches a property line. Call (844) 797-6388 for a line-item estimate – estimates are free.
A building permit is required when a fence exceeds 6 feet in height, measured from finished grade. Fences at or under 6 feet are generally exempt as accessory structures, but historic district overlays and HOA CC&Rs can layer additional approval requirements regardless of height. Check the current DBI rules for your specific address, or call (844) 797-6388 and we’ll walk through what your project needs.
For a 6-foot fence in the Bay Area, the standard footing is 24 to 30 inches deep and 12 inches in diameter. For an 8-foot fence in a high-wind zone, 36 inches deep and 12 to 14 inches in diameter is standard. Concrete volume is the piece most homeowners underestimate: roughly eight 40-pound bags per post at 30 inches deep. Call (844) 797-6388 if you want the footing sized for your specific site.
Not if it’s built correctly and the property line is verified. A DIY fence creates a problem only when it crosses a property line, is built to the wrong height, or skips required permit or historic district review. Any of those can require removal at the homeowner’s cost, plus survey and legal fees that can exceed the fence’s value. Call (844) 797-6388 for a free review before you build.
The biggest mistake is building without a survey. A fence 4 inches onto a neighbor’s property in San Francisco can require full removal and relocation, and the total cost – survey, legal, removal, rebuild – routinely exceeds $5,000 before the first board is re-set. It’s the one error that turns a $4,000 DIY project into a $10,000 problem. Call (844) 797-6388 before you dig.
The Bottom Line
Fence installation divides cleanly. Above-grade work – panels, boards, hardware, staining – is genuinely DIY territory, and the savings are real if you rent an auger, use a post level, and set up a string line. Below-grade work touches the structural system and the property line, and in San Francisco, where lot lines are tight and historic districts are dense, a single error on that side of the line costs more than the entire labor savings. The discipline that makes the difference is the written price before work starts, whether the price is your material list or a contractor’s line-item quote. If the work involves new posts, a property line, a height over 6 feet, or a historic district, call Rowan Construction Group at (844) 797-6388 for a free estimate. Every project gets a written price, a written scope, a documented photo record, and the 365-Day Done Right Promise: if it’s not done right, we make it right.
Written by the team at Rowan Construction Group San Francisco.