Last updated November 17, 2026







Free written scope consultation - allowances, timeline, and change-order rules on paper before a single trade is scheduled
Bathroom Remodeling Maintenance Schedule: What to Do and When
Silicone caulk at a tub-to-wall joint has a functional life of 3 – 5 years under normal shower use. Most homeowners treat it as permanent and don’t inspect it until water has already soaked into the substrate behind the tile. We’ve pulled that substrate out of San Francisco bathrooms many times, and the damage almost never traces back to cheap tile or a bad fixture. It traces to a joint nobody looked at for six years. What follows is a dated, task-specific calendar for the bathroom you just remodeled, or the one you’re about to. You’ll get exact intervals, the warranty language that hinges on them, and the dollar difference between upkeep and repair.
Quick Answer
Inspect caulk and grout every 90 days, reseal natural stone every 12 months, and replace silicone at wet joints every 3 – 5 years before it fails. The single highest-value habit is a 90-day caulk check at the tub, shower pan, and wall seams, since skipped inspections cause most of the substrate damage we see in San Francisco remodels.
Styles & brands we work with
- Kitchen remodeling
- Bathroom remodeling
- Home additions & ADU
- Roofing
- Windows & doors
- Driveway & pavers
- Fence
Table of Contents
- Why the Schedule Matters More Than the Materials
- The 30-Day Check: What to Look At First
- The 90-Day Inspection: Caulk and Grout
- The 6-Month Service: Fixtures, Drain, and Ventilation
- The Annual Deep Maintenance
- Which Tasks Void a Warranty If You Skip Them
- San Francisco Water Hardness and What It Does to Valves
- Signs You Already Missed a Task
- Maintenance Cost vs. Repair Cost
Why the Schedule Matters More Than the Materials
A bathroom built with Kohler fixtures and Schluter waterproofing still fails if the wet joints go uninspected. The membrane under the tile is excellent at stopping water. What it can’t do is stop water that enters through a hairline gap in caulk above it and wicks sideways into the setting bed. In our experience across San Francisco bathrooms, the failure mode is almost always the joint, not the tile.
The numbers back this up. A tube of high-quality silicone runs $8 – $14 and takes about 45 minutes to apply correctly with proper cure time. A substrate repair, which means removing tile, cutting out water-damaged backer board, and rebuilding the waterproofing layer, runs $1,200 – $3,500. The gap between those two numbers is the entire argument for a calendar.
San Francisco adds a wrinkle. The city’s marine climate keeps interior humidity higher than a dry-climate bathroom, and older homes in neighborhoods like Noe Valley and the Inner Sunset often have small bathrooms with underpowered exhaust fans. Moisture lingers. Caulk and grout in those rooms age faster than the manufacturer’s spec sheet assumes. A 90-day check isn’t excessive there; it’s the baseline.
The 30-Day Check: What to Look At First
New construction and fresh remodels settle. Wood framing moves as it adjusts to interior humidity, and the caulk lines you saw on day one will have shifted by day 30. This first check catches the early movement before it becomes a gap.
Run through this list once, roughly 30 days after the job finishes:
- Look for hairline gaps at the tub-to-wall and shower-pan-to-wall joints. A gap you can catch a fingernail in is already open.
- Press on tile at inside corners. Any tile that flexes or sounds hollow when tapped has a bond problem, not a cosmetic one.
- Check the toilet base for rocking. A toilet that shifts will eventually break its wax seal, and that leak shows up on the ceiling below.
- Run the exhaust fan and hold a tissue to the grille. If the tissue doesn’t pull tight, the fan is undersized or ducted wrong.
- Confirm cure times on any sealer you or your contractor applied. Most penetrating sealers want 24 – 72 hours before the surface sees water.
On a fresh remodel, that 30-day check is covered by the first-year inspection most crews build into the job. Under the Haven Standard, the written price is settled before work starts, so a call-back at day 30 is a warranty visit, not a new line item. If you’re comparing contractors for a bathroom project in San Francisco, ask what their first-year check includes.
The 90-Day Inspection: Caulk and Grout
This is the interval that saves bathrooms. Every 90 days, spend 15 minutes with dry hands and a flashlight checking the caulk and grout at every wet location. We recommend putting it on the calendar the same week you change your HVAC filter, so it becomes a habit rather than a project.
What to check, and what each finding means:
- Caulk pulling away from a surface: the seal is broken. Remove it fully with a plastic scraper, clean with isopropyl alcohol, and reapply 100% silicone rated for wet areas. Partial patching over old caulk fails within months.
- Dark specks in silicone: that’s mold growing in or behind the seam. It won’t come out with bleach because it’s not on the surface. Cut it out and redo the joint.
- Grout lines that crumble when scratched with a fingernail: the grout has lost its binder. Rake it out to a consistent depth and regrout; don’t just smear new grout over the top.
- Cracked grout at inside corners: corners shouldn’t be grouted in the first place. If yours are, the crack is a warning that movement is happening where the material can’t flex. Have the corners converted to caulk.
Silicone caulk in a shower has a working life of 3 – 5 years no matter how well it was applied. Even a perfectly sealed joint should be treated as a scheduled replacement at year five, not a permanent solution. San Francisco homes with high-moisture bathrooms tend toward the shorter end of that range.
The 6-Month Service: Fixtures, Drain, and Ventilation
Twice a year, go beyond the joints. These tasks are about water pressure, drainage, and air, the three systems that quietly degrade while the surface looks fine.
Work through these in order:
- Clean the showerhead and aerator screens. Soak them in a 1:1 white vinegar and water solution for 30 – 60 minutes to break down mineral deposits. This matters more in San Francisco than most places, for reasons covered below.
- Clear the drain and clean the strainer. Hair and soap scum build into a slow clog that stresses the trap. A drain screen costs a few dollars and prevents most of it.
- Test the toilet flappers and fill valves. Lift the tank lid and watch a fill cycle. If the flapper doesn’t seat or the water level keeps running, you’re flushing money into the sewer.
- Vacuum the exhaust fan grille. Dust on the grille can cut airflow meaningfully in a small bathroom. Then verify the fan still runs quiet and clear.
- Check the fan’s termination. The duct should exhaust outdoors, not into the attic. In older San Francisco homes this crops up more often than you’d expect.
If your bathroom has a window that doesn’t open or a fan that runs but moves almost no air, the room needs a better ventilation answer. That’s a conversation worth having before the next remodel milestone, because persistent moisture shortens the life of everything in the room.
The Annual Deep Maintenance
Once a year, set aside a couple of hours. This is the pass that catches slow wear and lets you decide what gets repaired and what gets replaced.
The annual list:
- Apply penetrating sealer to natural stone tile. One coat per the manufacturer’s spec, every 12 months. Marble, travertine, and limestone in a shower or on a floor need this without exception. Porcelain and glazed ceramic do not.
- Refresh grout sealer on cementitious grout if water no longer beads on the surface. If a drop of water soaks in within a minute or two, it’s due.
- Inspect the valve cartridge area for mineral crusting and check that the handle moves smoothly through the full temperature range.
- Check the finish on metal fixtures. Kohler and Toto finishes are durable, but a compromised clear coat lets the metal underneath pit. Wipe dry after use rather than letting water sit.
- Recheck all glass-to-wall and glass-to-glass seams on shower doors. The caulk at a door hinge sees real load and wears faster than the field joints.
- Look at the ceiling and the walls below. A faint stain on the ceiling of the floor below is the classic first sign of a leak that started in the shower.
Owners we work with in San Francisco often fit the annual pass into a weekend when they’re also reviewing the roof and exterior, since roof maintenance follows its own calendar. The point is to make it routine, not to wait for a symptom.
Which Tasks Void a Warranty If You Skip Them
Fixture and material warranties are written by manufacturers, and several of them condition coverage on maintenance the homeowner has to perform. Skip the task, and the warranty claim gets denied, not out of bad faith but because the terms say so.
What the language actually covers:
- Kohler finishes and faucet warranties generally cover defects in materials and workmanship, but exclude damage from improper maintenance, abrasive cleaners, or neglect. Fail to keep the finish clean of mineral buildup, and a finish complaint may not be covered.
- Delta faucet warranties follow the same pattern. Cartridge leaks from sediment and scale are typically treated as maintenance-related unless the cartridge was defective from the start.
- Schluter bond the waterproofing warranty to proper installation and use. They explicitly require that the system be maintained and that any damage to the covering, including failed caulk or grout allowing water intrusion, be addressed. A failed joint that lets water migrate under the membrane voids coverage regardless of how well the membrane was installed.
Read the paperwork you received with your remodel. If you don’t have it, ask your contractor for it. The written warranty is part of the deliverable at Rowan, not an afterthought, and we hand over a written scope with every job so the paperwork exists when a claim comes up.
San Francisco Water Hardness and What It Does to Valves
San Francisco’s water runs to roughly 140 mg/L of dissolved minerals, which is moderately hard. That’s lower than many Sun Belt cities, but it’s higher than the national average and it’s consistent. The result is slow, steady deposition of calcium carbonate on the parts of your plumbing that see the most flow.
The three places it shows up first:
- Showerhead nozzles, where scale closes individual holes and drops flow pressure. This is why a 6-month vinegar soak isn’t optional in San Francisco.
- Valve cartridges, where mineral film builds on the ceramic disc and changes how the valve seats, which shows up as a drip you can’t fix by turning the handle harder.
- Handheld and body sprayers, where the small orifices and check valves clog faster than the showerhead itself.
In our experience, a bathroom with heavy use and no 6-month descaling schedule sees its first cartridge complaint earlier than one that gets routine attention, regardless of fixture quality. The fix is cheap: a periodic descale, a whole-home filter if scale is visible on sinks and glass, and no harsh cleaners that attack the finish. Hard water itself doesn’t damage a Kohler or Toto fixture; letting scale sit on it for years does.
Signs You Already Missed a Task
Most people read a maintenance guide after something has already started. Here’s how to tell a missed task from a healthy one, and what repair work likely comes first.
- A soft or spongy feel when you press on a tile near a wet joint means water has reached the substrate, and the backer board is breaking down. That’s a substrate repair, not a caulk job.
- Grout that’s darkened or stays wet longer than the rest suggests water sitting below the surface. Probe it; if it’s soft, the tile deck has to come up.
- Caulk you can peel up in one strip and find wet adhesive behind means water got in before the seal failed and has been trapped. That joint needs to come out fully along with any compromised grout, then a clean, dry rebuild.
- Water stains on a ceiling below the bathroom point to a toilet seal, a pan drain, or a valve leak. Call a professional before doing anything else, since a small leak can damage the framing above the ceiling in a matter of weeks.
- A shower that smells persistently musty usually means a failed seal or a failed membrane somewhere. It’s worth a professional evaluation before you re-caulk and wait for it to come back.
If more than one of these is present, the repair has probably moved past maintenance and into construction. That’s a different scope, and worth a line-item written quote before anyone starts work.
Maintenance Cost vs. Repair Cost
Here’s the comparison that most justifies the calendar. A full year of maintenance materials runs $80 – $150, which covers silicone and a caulk gun, penetrating sealer for stone tile, grout sealer, a descaling solution, and a drain screen or two. The tasks take about four hours spread across the year.
Against that:
- Substrate repair from neglected caulk: $1,200 – $3,500, depending on the square footage involved and whether the waterproofing membrane has to be replaced.
- Valve cartridge replacement caused by scale: $150 – $350 for the part and labor, versus a $10 descaling routine.
- Toilet wax seal replacement after a rocking toilet: $120 – $280, plus any water damage to the floor or ceiling below if it ran for weeks.
- Full shower tear-out for a failed membrane: $4,000 – $12,000, which is closer to a remodel than a repair.
The maintenance numbers are not a marketing figure. They’re what the tasks cost in materials at San Francisco prices. The repair numbers are what we see in estimates when a homeowner calls after finding a soft tile. If you’re looking at more than maintenance, a written price from a contractor is the right next step before you commit. Our Rowan Construction Group San Francisco home page outlines how we structure that estimate, and if you’re weighing a larger project, our Home Additions & ADU in San Francisco page covers how the same discipline scales up.
Common Mistakes to Avoid
- Treating caulk as permanent. Silicone has a 3 – 5 year working life in a shower. Homeowners who never replace it are relying on a seal that has already expired.
- Patching over old caulk. New silicone won’t bond to old silicone or to a dirty joint. The whole bead has to come out and the surface cleaned before reapplication.
- Using bleach on mold in silicone. The mold is growing in or behind the seal, not on the surface. Bleach won’t reach it, and the joint will need to be cut out and redone.
- Grouting inside corners. Corners move. Grout doesn’t flex, so it cracks. Corners should be caulked from the start, which matters most in older San Francisco homes where framing has already settled.
- Ignoring ventilation. A bathroom that never fully dries will age its caulk, grout, and paint prematurely. If the fan doesn’t clear a mirror in five minutes, get it looked at.
- Letting water sit on stone. Natural stone in a shower needs annual sealing. Water left on unsealed travertine or marble finds its way in and stains from the inside out.
- Waiving the 30-day check on a fresh remodel. The framing and caulk settle in the first month. Skipping that visit means the first problem goes unnoticed until it has grown.
A related note if you’re planning exterior work alongside interior maintenance: fence and hardscape maintenance run on their own schedules, and our Fence Installation in San Francisco and Driveway & Pavers in San Francisco pages detail those intervals for Jerith, Bufftech, Belgard, and ActiveYards systems.
See the difference
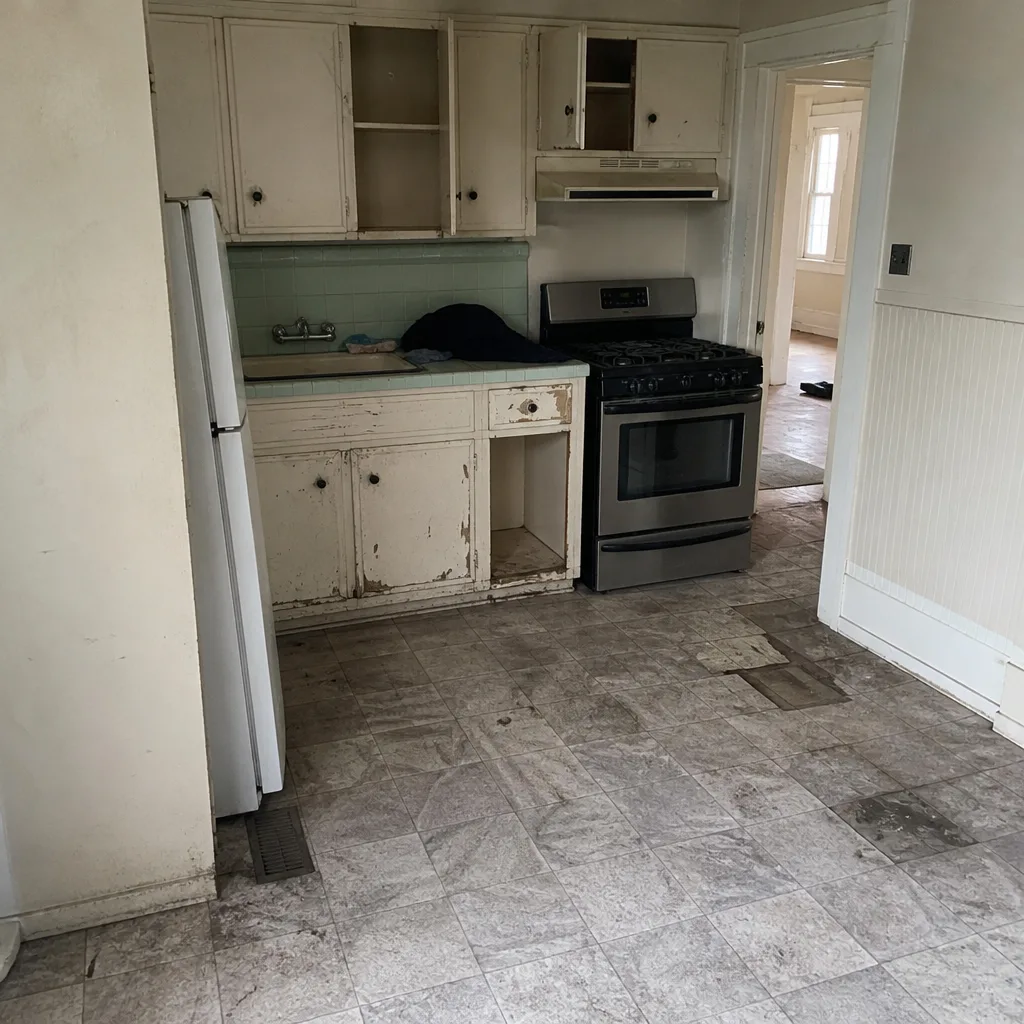 Before
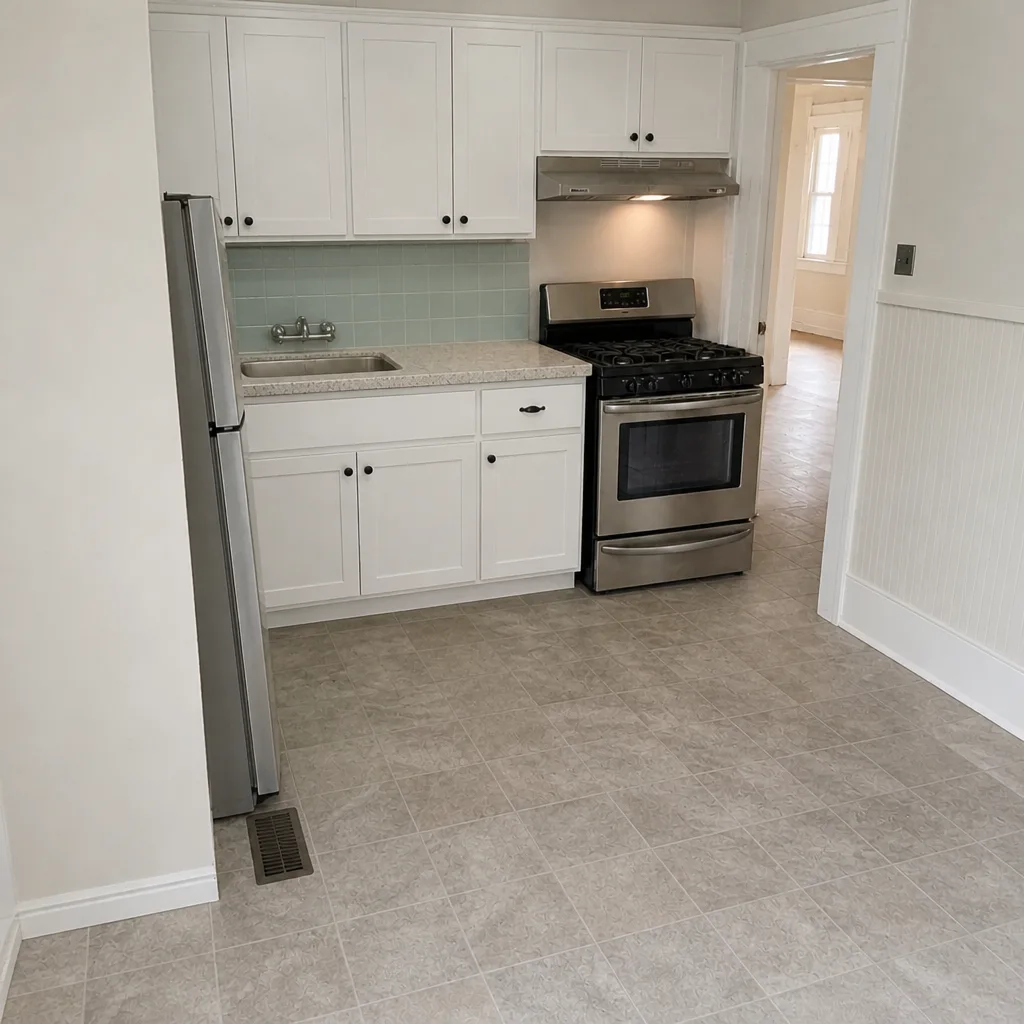 After
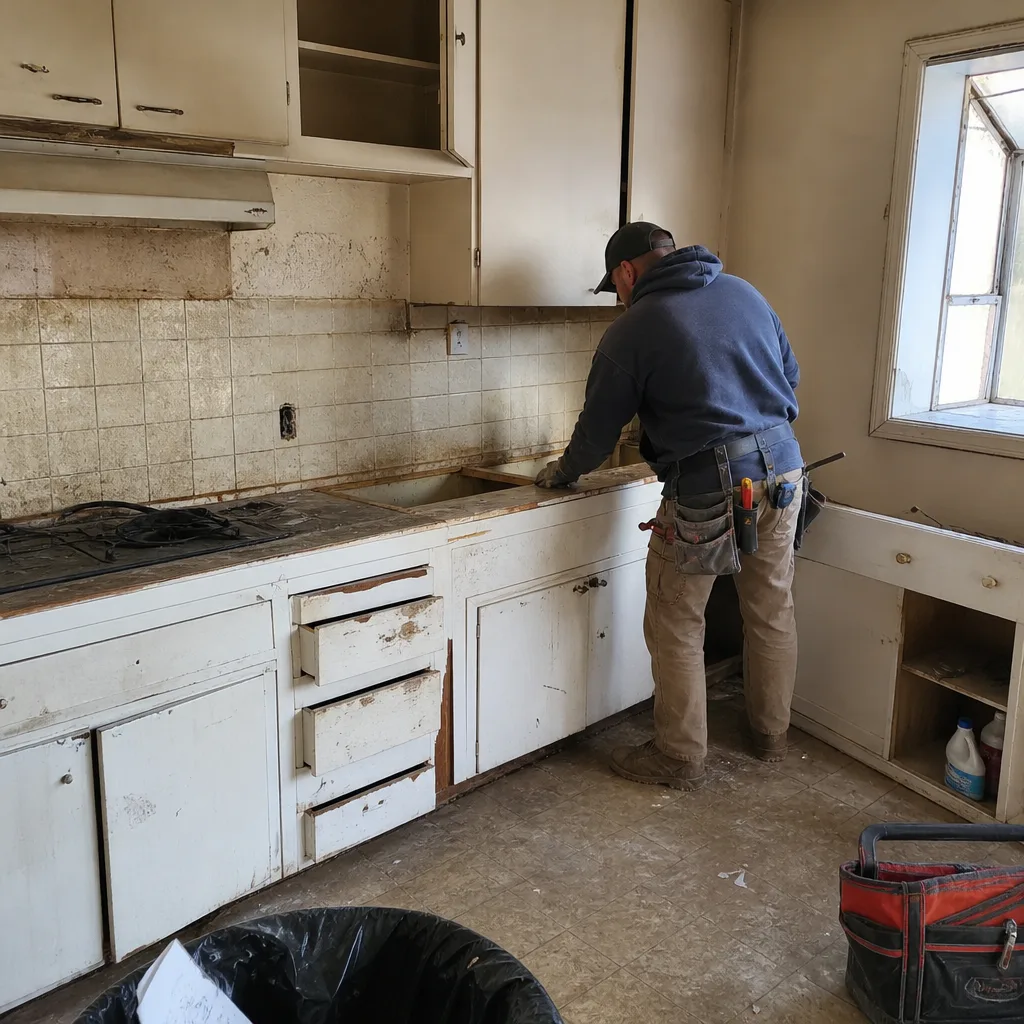 Before
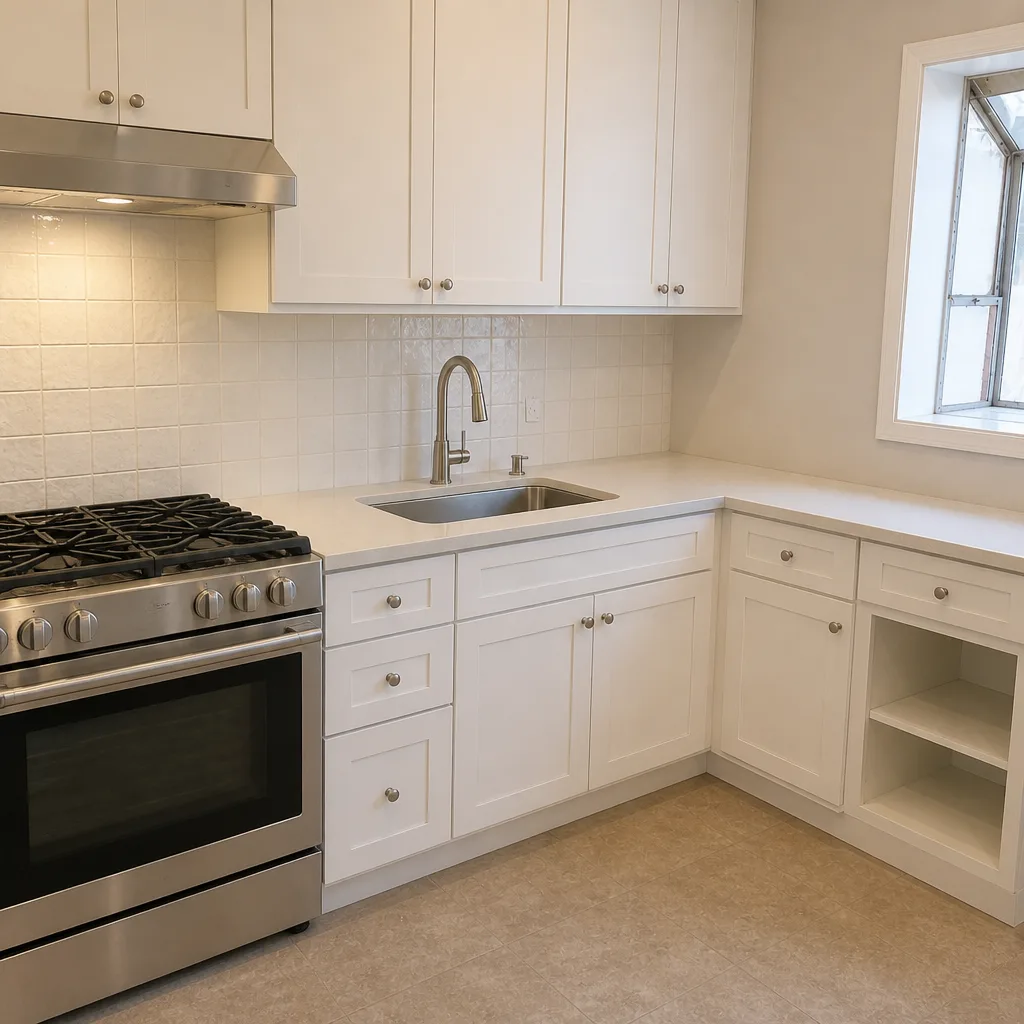 After
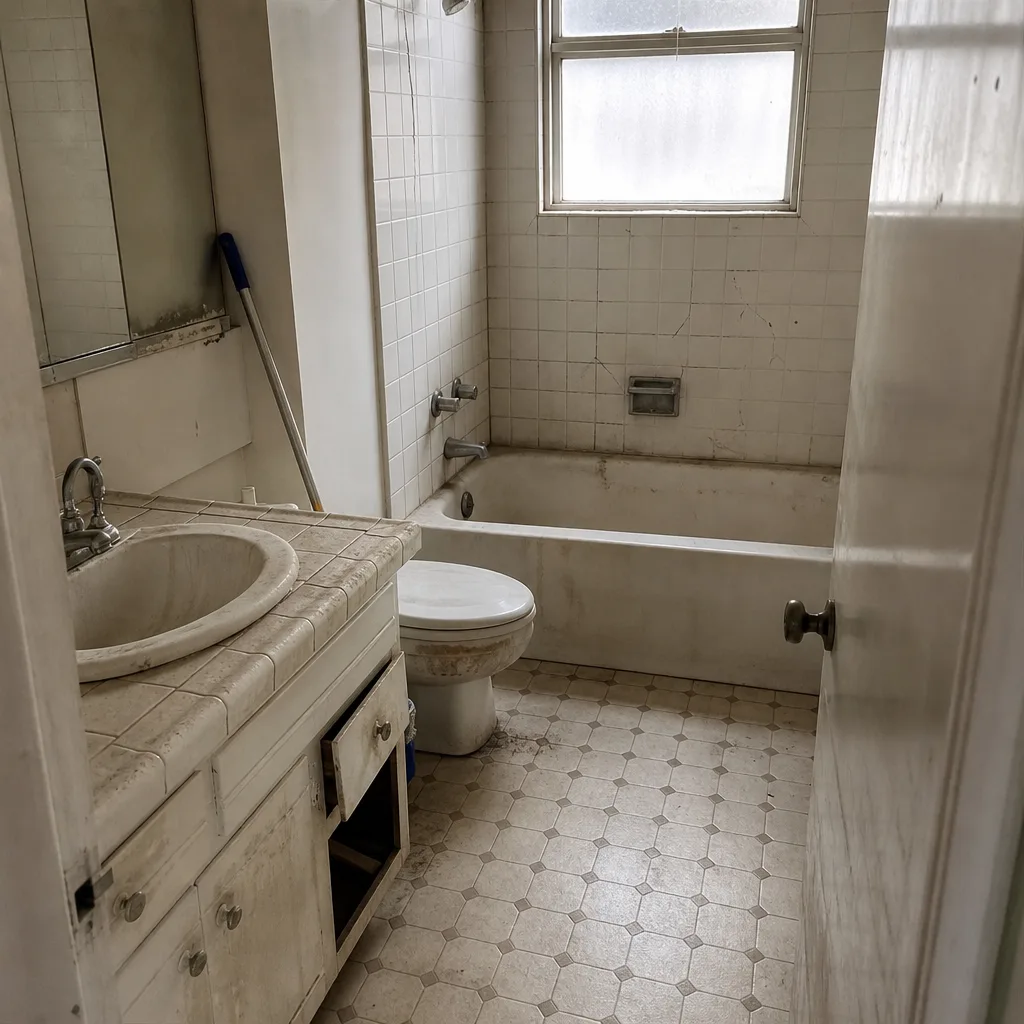 Before
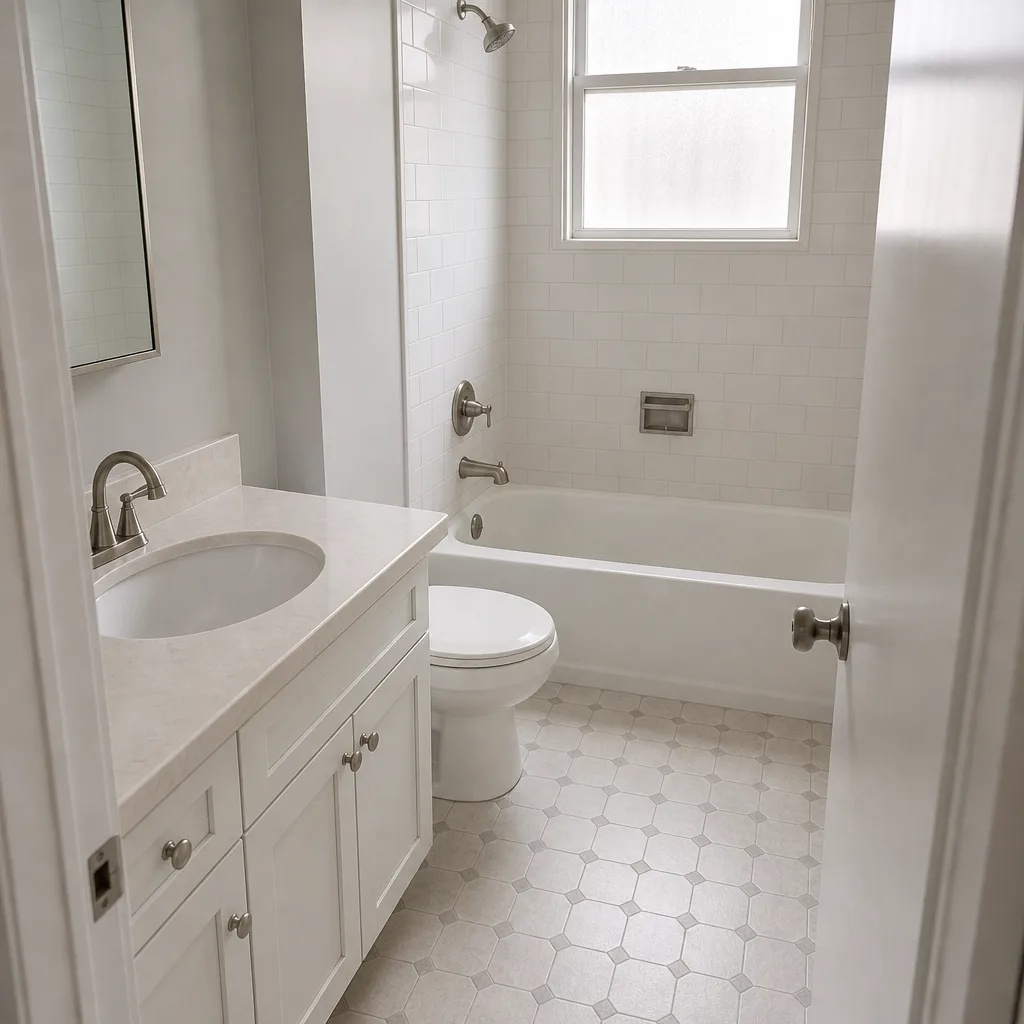 After
When to Call a Professional
Call a professional when the issue is behind the surface. A soft tile, a wet smell that comes back after re-caulking, a ceiling stain on the floor below, or a valve that drips after the cartridge has been replaced are all signs the problem is structural, not cosmetic. These aren’t fights to pick with a tube of silicone and a free afternoon. A shower pan that’s leaking into the subfloor, or a membrane that’s failed somewhere you can’t see, needs a proper diagnosis and a documented repair. Re-caulking a failing shower is a weekend fix that fails again in six months. If you’re unsure whether it’s maintenance or repair, a written evaluation settles it. Rowan Construction Group San Francisco offers free estimates in San Francisco: call (844) 797-6388. We provide a written price before any work starts, a documented photo record of what we found, and the 365-Day Done Right Promise on the repair.
Frequently Asked Questions
Inspect caulk every 90 days and plan to replace it every 3 – 5 years, even if it looks intact. San Francisco’s marine climate keeps interior humidity higher than drier regions, so bathrooms with weaker exhaust fans tend toward the shorter end. If the caulk pulls away, feels loose, or shows dark specks, replace it now rather than wait for the scheduled year.
Yes, in many cases it does. Schluter’s waterproofing warranty requires that any damage to the covering, including failed caulk or grout that lets water reach the membrane, be addressed promptly. Kohler and Delta warranties exclude damage from neglect and improper maintenance. If a claim comes up and the joints were left failed for years, the manufacturer will point to the maintenance terms.
San Francisco water runs about 140 mg/L of dissolved minerals, which is moderately hard and higher than the national average. That calcium deposits on showerhead nozzles and valve cartridges at a steady rate. A 30 – 60 minute vinegar soak every 6 months is the standard fix, and a whole-home filter helps in bathrooms with heavy use. It isn’t the fixture; it’s what’s in the water.
No. Porcelain and glazed ceramic are essentially non-porous and don’t need penetrating sealer. Natural stone like marble, travertine, and limestone in a shower or on a bathroom floor does need one coat per the manufacturer’s spec every 12 months. Cementitious grout between the tiles may need resealing if water stops beading on the surface.
Expect $80 – $150 per year in materials: silicone caulk, a caulk gun, stone sealer, grout sealer, a descaling solution, and replacement drain screens. Labor is yours if you do the checks, and the total time is roughly four hours spread across four quarterly visits. That compares to $1,200 – $3,500 for a substrate repair if a wet joint goes. Call (844) 797-6388 for a free estimate if you’re not sure how far the damage has gone.
If the surface looks fine and the joints are intact, it’s maintenance. If tile feels soft or hollow, grout stays wet, or the room smells musty after re-caulking, water has reached the substrate and the job is a repair. In older San Francisco homes, that distinction matters because framing behind the tile has usually seen more moisture than the surface shows. A written evaluation answers the question before you pick up a tool.
The Bottom Line
A bathroom remodel lasts as long as its maintenance calendar, not its material spec sheet. Inspect caulk and grout at the 90-day mark, apply annual sealer to stone, descale fixtures every 6 months, and replace silicone at wet joints every 3 – 5 years. Reading the warranty language from Kohler, Delta, and Schluter shows that skipped maintenance is what causes claims to be denied. San Francisco’s water and humidity make the schedule more important, not less. The gap between $80 – $150 in materials and $1,200 – $3,500 in substrate repair is the full argument. Call (844) 797-6388 for a free estimate if you’re already past maintenance and into repair, and we’ll give you the price in writing before work starts.
Written by the team at Rowan Construction Group San Francisco.