Last updated November 17, 2026


Free written scope consultation - allowances, timeline, and change-order rules on paper before a single trade is scheduled
Fence Installation Troubleshooting: Common Problems and How to Fix Them
A leaning fence post is not always a footing failure. In San Francisco’s expansive soils, a post set in undisturbed clay can be pushed laterally by soil movement during the wet season even when the concrete footing itself is solid – which is why re-plumbing that post without addressing drainage around its base fails again within about two years. That distinction matters because it steers the whole repair. This guide walks through the failure patterns we actually see on San Francisco lots – sagging gates, rotting posts, warping panels, corroding hardware – and separates the fix that lasts from the one that buys you a season.
Quick Answer
Most fence failures in San Francisco trace to three root causes: a post footing that doesn’t match the soil at that specific lot, hardware that corrodes faster than expected in the marine fog belt, and tension or frame geometry that was wrong from day one. Diagnosing which cause is active – with a footing probe, a soil moisture check, and a rail tension measurement – determines the correct repair. Treating the wrong cause wastes repair budget and the fence fails again inside two years.
Styles & brands we work with
- Kitchen remodeling
- Bathroom remodeling
- Home additions & ADU
- Roofing
- Windows & doors
- Driveway & pavers
- Fence
Table of Contents
- Why Is My Fence Post Leaning?
- How Do I Tell Post Rot at Grade from Rot Below Grade?
- Why Does My Fence Hardware Keep Corroding?
- Why Is My Wood Fence Panel Warping?
- How Do I Diagnose and Fix a Sagging Gate?
- What Installation Geometry Problems Cause Fence Failure?
- Repair or Replace? A Decision Guide
- Common Mistakes to Avoid
Why Is My Fence Post Leaning?
A leaning post has three possible causes, and they look nearly identical from the sidewalk. Before anyone starts digging, we run three diagnostic tests. Get the cause wrong and you’ll pour a new footing on a problem that was never about the footing.
The three causes:
- Footing failure. The concrete itself has cracked, heaved, or sunk below the frost-free depth. The post moves because the concrete under it is moving.
- Soil heave. The footing is intact, but expansive clay around it swells during the wet season and pushes the post laterally. This is the common case in San Francisco’s older neighborhoods, where clay-heavy soils and shallow lots leave little room for drainage.
- Rail tension. The rails or panel are pulling the post out of plumb because the frame geometry was set under tension at installation. No footing problem at all.
How we distinguish them:
- Footing probe. We sound the concrete with a rod at the base and check for movement or cracks. An intact, immobile footing rules out failure one.
- Soil moisture check at base depth. We dig a small test hole beside the post to base depth and feel the soil. Saturated, slick clay around an intact footing points to heave.
- Rail tension measurement. We measure across the rail span and check whether the post springs back when pressure is released. Spring-back means the frame is stressed, not the footing.
In San Francisco’s Sunset and Richmond districts, where fog keeps soil moisture high for months, we see soil heave far more often than true footing failure. That’s why the standard fix – re-plumb the post and add drainage to redirect water away from the base – works there, while pouring a new footing alone does not.
If you’re planning a new fence rather than repairing one, see our Fence Installation in San Francisco page for footing depth and material specs by lot type.
How Do I Tell Post Rot at Grade from Rot Below Grade?
Post rot presents in two ways, and the fix depends on which one you’re facing. Rot at grade line – right where the wood meets soil – is relatively easy to spot and easier to repair. Rot below grade, where the wood has already hollowed out beneath the soil line, is the one that catches homeowners off guard.
How to tell them apart:
- At-grade rot shows up as softening, cracking, or a visible line of discoloration at the soil line. Probe with a screwdriver at the surface and the wood gives easily in the first few inches. This is often surface-driven – poor drainage, soil contact with untreated wood, or a footing that traps water.
- Below-grade rot shows no obvious surface failure for months while the post hollows from the inside. The warning sign is a post that feels solid at the surface but wobbles when you push it. Probe deeper with a long screwdriver or a thin rod – if it sinks freely below the soil line, the post is gone.
The sister-post repair is a legitimate fix when the existing post is failing but the surrounding frame is still sound. We attach a new structural post directly adjacent to the failed one, tie it into the same footing or a fresh concrete base, and reattach the rails. Done right, it’s a permanent repair – not a patch. Done wrong – like bolting a new post to rotten material – it’s a temporary brace that fails within a season.
The rule we follow: sister-post is legitimate when the failed post is discrete and the rest of the frame is holding. It’s temporary when the rot originated in the footing or soil condition that’s affecting multiple posts. If three posts in a row are hollow, the problem isn’t the posts.
Why Does My Fence Hardware Keep Corroding?
Standard zinc-plated post hardware fails in three to five years in San Francisco’s fog belt. The marine air, combined with the salt in coastal neighborhoods like the Outer Sunset and the Marina, eats through the thin zinc coating much faster than the same hardware would last inland. We’ve seen zinc-plated brackets pit and seize within four years – sometimes faster on west-facing fences exposed to the ocean air.
What holds up instead:
- Hot-dipped galvanized hardware (G185 coating). The G185 designation refers to the zinc coating weight – heavier than standard galvanized and meaningfully more resistant to corrosion. Expect this to cost roughly 20-40 percent more than zinc-plated at the hardware level, and to last two to three times longer in San Francisco conditions.
- Stainless steel hardware. Higher upfront cost – sometimes double the galvanized price – but the right call for coastal lots or fences within a few blocks of the water. Stainless handles salt air better than anything else.
What we don’t recommend: sticking with zinc-plated and repainting. Paint hides the pit, not the problem. The fastener seizes underneath and the post fails unexpectedly.
When we install a new fence, the hardware spec goes in the written scope – not because it’s a sales pitch, but because “galvanized” and “zinc-plated” sound similar until you’re three years in. Under Clause 1 of the Haven Standard, the spec is in writing before a tool is picked up, so the hardware decision is documented, not assumed.
Why Is My Wood Fence Panel Warping?
Panel warping usually traces to one of three installation problems: improper drying of the lumber before installation, unprotected end grain that absorbs moisture unevenly, or too few fasteners to hold the boards flat.
Which cause is active:
- Improper drying. If the panel cupped or twisted within weeks of install, the lumber was likely installed too wet. It shrank unevenly as it dried and pulled the panel out of shape. This is a replacement case – the distortion is baked into the board.
- End-grain exposure. Unsealed cut ends wick moisture faster than the face grain and swell. This shows up as cupping or bowing at board ends. Correctable with end-grain sealer and, in some cases, refastening.
- Insufficient fastener count. When boards are held by too few fasteners, they warp with seasonal moisture movement because nothing keeps them flat. Correctable by adding fasteners at the proper spacing and resealing.
San Francisco’s seasonal swing matters here. The dry season shrinks wood, the wet season swells it, and the cycle repeats. A panel installed with two fasteners per rail where three are specified will warp noticeably by the second or third season. We see this often on older fences in Noe Valley and Bernal Heights where the original install used fewer fasteners than current practice recommends.
The repair call: cupping that closes with hand pressure and a fresh fastener is fixable. Panels that have twisted at the grain or cupped permanently need replacement. Don’t spend money resealing a board that’s already distorted – the sealant won’t pull it flat.
How Do I Diagnose and Fix a Sagging Gate?
Gate sag has three distinct causes, and they need different repairs. Misdiagnosing one for the other is the most common reason a gate sags again within months.
- Hinge failure. The hinges are worn, loose, or pulling out of the gate or post. Test: lift the gate slightly at the latch end. If the hinge moves relative to the gate or post, the hinge is the problem. Fix: tighten, replace, or upgrade to heavier hinges rated for the gate’s weight.
- Post out of plumb. The gate isn’t sagging – the post it hangs from is leaning, and the gate follows. Test: hold a level against the gate post itself, not the gate. If the post is out of plumb, the repair is to re-plumb or sister the post – not to touch the gate.
- Missing diagonal brace. A gate frame built without a diagonal brace will sag under its own weight as the frame settles into a parallelogram. Test: look at the gate frame from the side. A rectangular frame with no diagonal is the classic culprit. Fix: add a diagonal brace from the lower hinge corner to the upper latch corner – the repair is structural, not cosmetic.
In San Francisco, gates on sloped lots in neighborhoods like Diamond Heights and Twin Peaks sag more often than flat-lot gates because the gate is bearing weight unevenly along the slope. That’s an installation geometry problem as much as a hinge problem, and it’s why a gate replacement sometimes solves what a hinge adjustment can’t.
If you’ve inherited a gate that a previous owner installed without a brace, we can often retrofit the diagonal without replacing the gate. The right call depends on whether the frame is already distorted – a warped frame should be replaced, not braced.
What Installation Geometry Problems Cause Fence Failure?
Some fences fail because the geometry was wrong from installation day. These failures don’t surface immediately – they show up one, two, three seasons in as the fence works itself loose under loads it was never designed for.
The geometry problems we see most in San Francisco:
- Rails installed under tension. A rail cut too long and forced into place puts constant load on the post, pulling it out of plumb over time. This isn’t a footing problem and no amount of concrete fixes it – the rail has to be re-cut.
- Posts spaced too far apart. Typical residential fence posts are spaced at 8 feet. On taller fences or in high-wind areas – which includes San Francisco lots exposed to the Pacific wind – tying posts at 6 feet or adding mid-span support prevents the sag and lean that spacing at 10 or 12 feet invites.
- Fence line not following grade. On sloped lots, a fence line installed level across the slope leaves gaps under the bottom rail and creates tension at the posts. The correct approach is stepping the fence to follow grade, not forcing it level.
When we install a fence, the geometry is set with the lot in mind – post spacing, rail tension, and grade following all go into the scope before the first post hole is dug. If you’ve bought a fence that’s fighting its own geometry, we can often correct it by re-cutting rails and re-hanging posts rather than replacing the whole run.
For the material and footing specs we use on San Francisco lots, see our Driveway & Pavers in San Francisco page – the same soil and drainage considerations apply to hardscape and fence post bases alike.
Repair or Replace? A Decision Guide
Not every failure justifies a full replacement. Here’s how we decide.
- One post fails, the rest are sound. Repair. Sister-post or re-plumb the single post.
- Two or three adjacent posts fail. Investigate the soil and drainage before repairing – a shared cause is likely.
- More than 30 percent of posts fail. Replacement is usually more economical than piecemeal repair.
- Hardware is corroded across the whole fence. Factor in replacement of all hardware, not just the failed ones – the rest are on the same clock.
- Panels warped beyond correction. Replace the warped panels; keep the frame if it’s sound.
- Gate frame is warped. Replace the gate; bracing a distorted frame doesn’t hold.
As project scope grows – fence replacement into new hardscape, gate rebuild into a new entry structure – a fence project sometimes turns into a broader outdoor scope. That’s the same logic that governs a Home Additions & ADU in San Francisco project: writing the scope in one place keeps the price honest.
Common Mistakes to Avoid
- Re-plumbing a post without fixing drainage. The post comes back to plumb, then leans again within a season or two because the soil it sits in still swells. Drainage first, then re-plumb.
- Bolting a sister post to rotten wood. A new post attached to a hollow old one is a temporary brace, not a repair. The new post has to reach sound material or fresh concrete.
- Sticking with zinc-plated hardware to save money. It fails in three to five years in San Francisco’s fog belt and costs more in the long run than hot-dipped galvanized or stainless.
- Sealing a warped panel instead of replacing it. Sealant doesn’t undo grain distortion. If the panel cupped permanently, replacement is the fix.
- Adjusting the hinge when the post is leaning. Lifting the gate at the latch tells you which is wrong. If the post is out of plumb, no hinge work fixes the sag.
- Installing a gate frame without a diagonal brace. A rectangle frame sags under its own weight every time. The brace goes in during install, not after the gate sags.
- Spacing posts at 10 or 12 feet on a wind-exposed lot. On San Francisco’s west side, longer spans invite sag and lean. Eight feet, tighter in high wind.
See the difference
 Before
 After
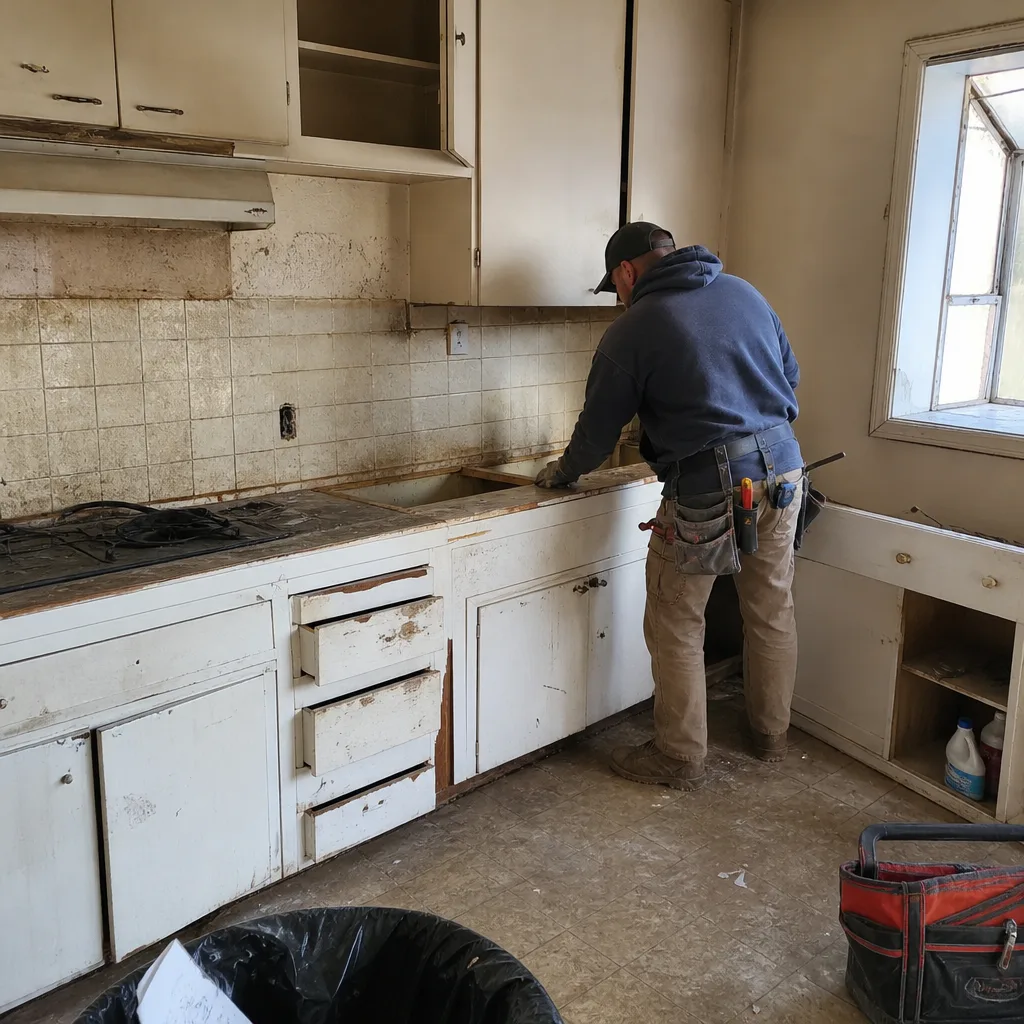 Before
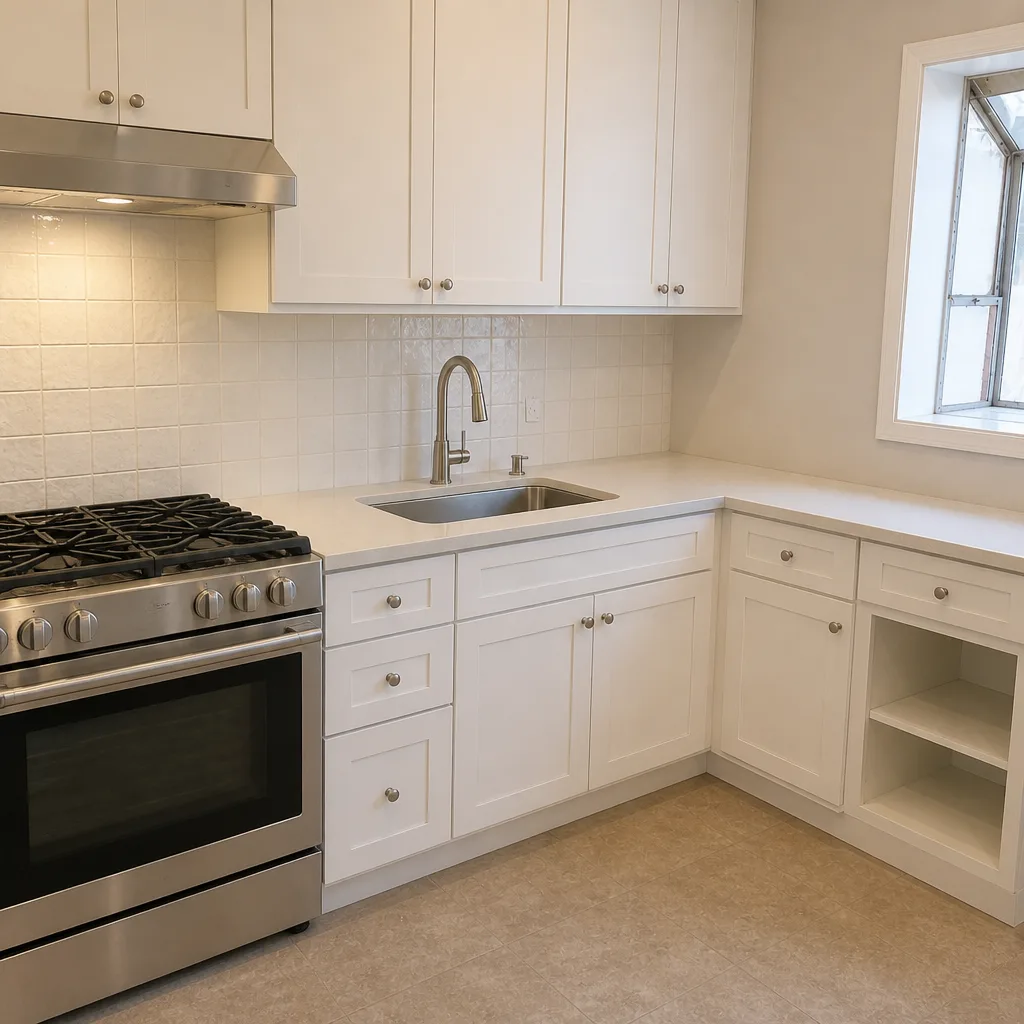 After
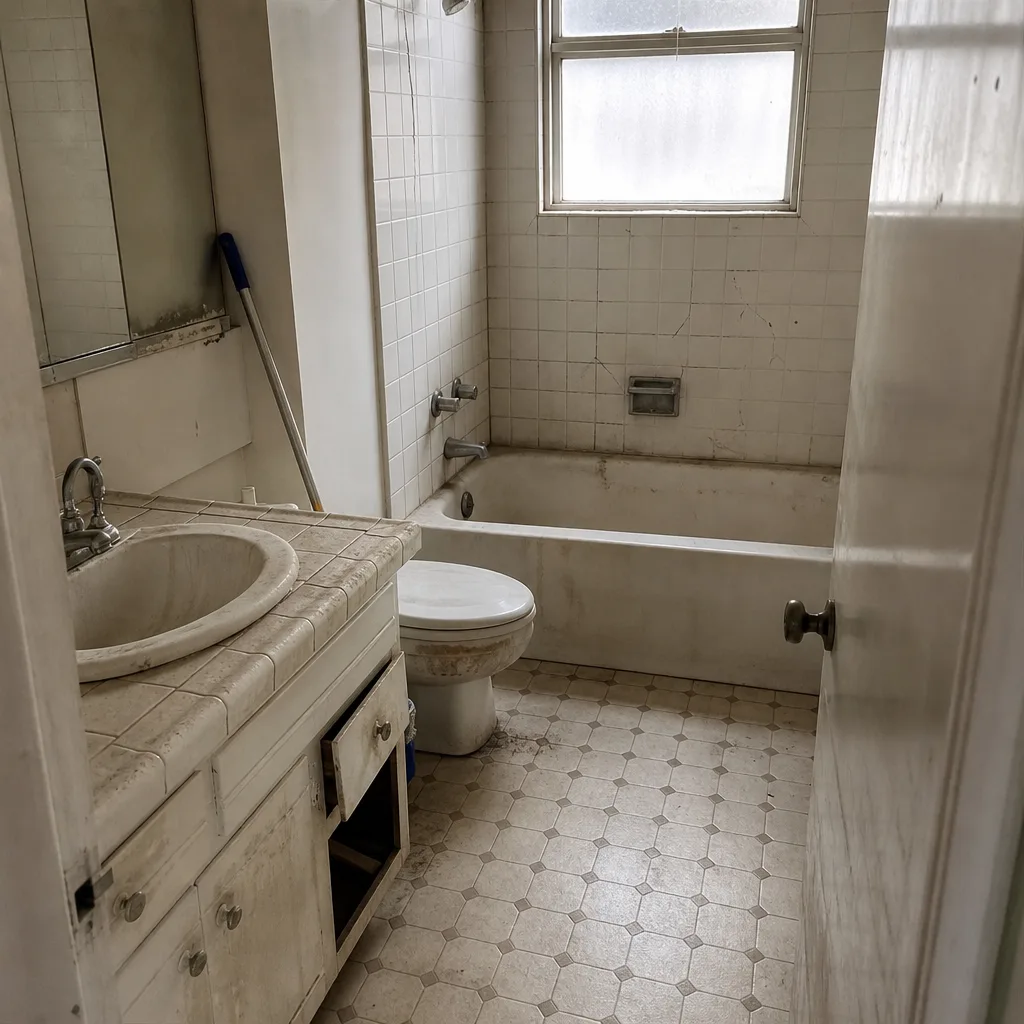 Before
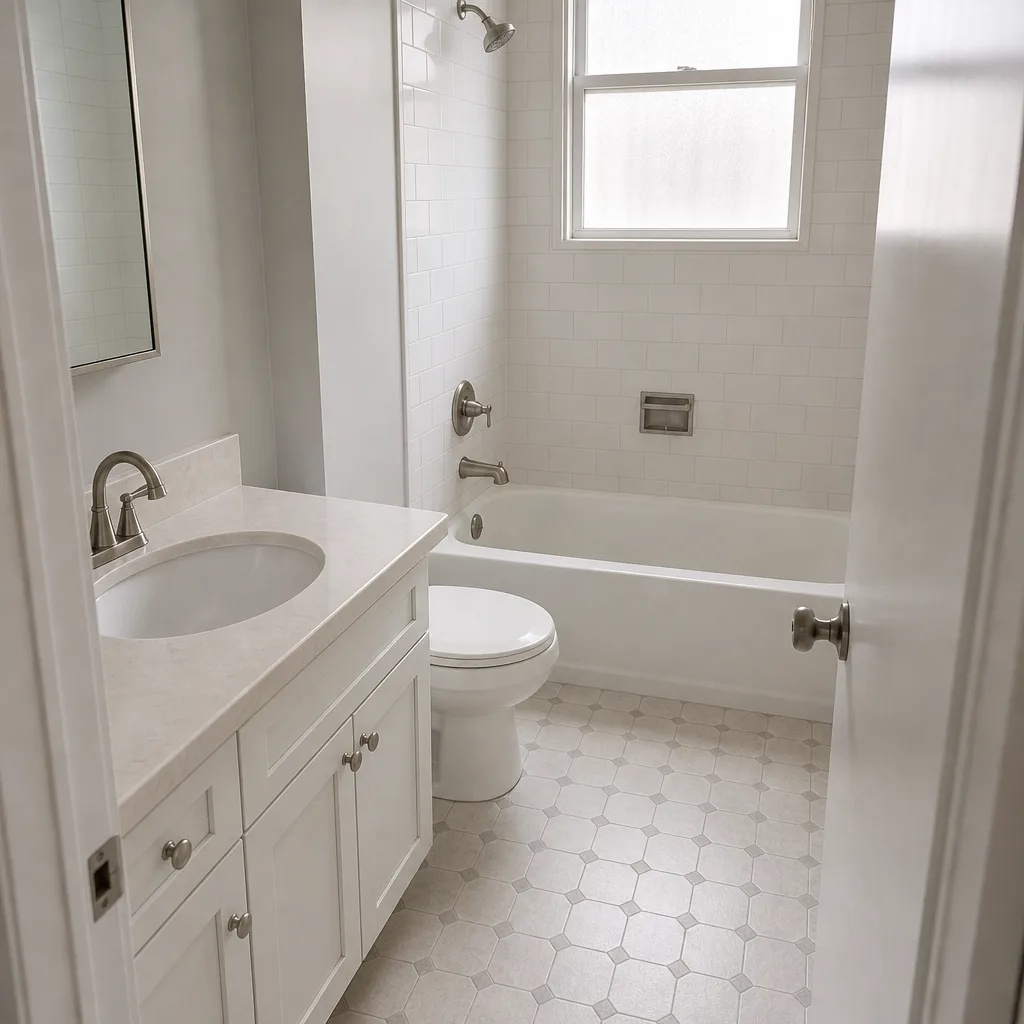 After
When to Call a Professional
Call us when a post is leaning and you can’t tell why, when more than one post in a run has failed, or when the gate sag has resisted hinge adjustment. Post footings and structural repairs involve digging near utility lines and setting concrete below grade – the kind of work where a wrong call means a second failure in the same spot. We’ve also seen homeowners sink hundreds of dollars into hardware and panel replacements before diagnosing the underlying cause, which is the most avoidable repair cost on any fence.
Rowan Construction Group San Francisco offers free estimates in San Francisco – call (844) 797-6388. Bring a photo of the failing post, gate, or panel and we’ll tell you what we think is happening before you spend a dime on repair.
Frequently Asked Questions
Fence post repair in San Francisco typically runs $250 to $600 for a single post, depending on whether the footing needs to be reset, whether drainage work is involved, and whether the repair is a re-plumb or a sister-post. Hardware replacement on the failed post adds $40 to $120 depending on galvanized versus stainless. Call (844) 797-6388 for an exact quote – estimates are free, and the written price comes before any work starts.
No. Under Clause 1 of the Haven Standard, the written price is agreed before any tool is picked up, and no work proceeds on a change until a change order is signed. That’s the discipline that has kept our projects within a few percent of the agreed price across 4,000-plus jobs. If we find rot deeper than the initial inspection showed, you get a signed change order before we touch the repair.
Lift the gate at the latch end. If the hinge moves relative to the gate or post, it’s a hinge fix. If the post itself is out of plumb when you hold a level against it, it’s a post fix. If the gate frame has no diagonal brace and has already squared into a parallelogram, it’s a replacement. Most of what we see is hinge or post, not replacement.
Fence posts rot at the base because that’s where wood, soil, and trapped moisture meet. In San Francisco’s wet season, water collects around the post at grade and the wood stays damp for weeks. Posts set with untreated wood in direct soil contact – a common pattern on older fences – rot from the outside in at grade, and sometimes hollow from the inside before any surface sign shows.
Hot-dipped galvanized hardware with a G185 coating or stainless steel holds up best in San Francisco’s coastal fog. Standard zinc-plated hardware fails in three to five years here, while G185 coatings last two to three times longer and stainless handles salt air best on lots near the water. The hardware spec goes in the written scope so it’s not a guess three years out.
Often yes. If the footing is intact and the cause is soil heave or rail tension, re-plumbing the post and correcting drainage or re-cutting the rail can fix it permanently. If the post is rotted below grade, a sister post is the correct repair rather than reusing the failed one. The key is diagnosing which cause is active before deciding.
The Bottom Line
Fence failures in San Francisco come down to three causes – footings that don’t match the soil, hardware that corrodes faster in the marine climate, and frame geometry that was never right. Each has a different fix, and treating the wrong cause burns repair budget on a fence that fails again in two years. Diagnose with a footing probe, a soil moisture check, and a rail tension test, then match the repair to the cause. For a written price before any work starts, call Rowan Construction Group San Francisco. You can also start at our Rowan Construction Group San Francisco home page to see the full range of trades we work in.
Written by the team at Rowan Construction Group San Francisco.