Last updated November 17, 2026








Free written scope consultation - allowances, timeline, and change-order rules on paper before a single trade is scheduled
Bathroom Remodeling Troubleshooting: Common Problems and How to Fix Them
A shower that leaks into the subfloor almost never fails at the grout. It fails at the curb-to-pan connection or the liner fold, both hidden behind finished tile and both expensive to reach once the tile is up. That single fact is why so much bathroom money gets spent twice. In our experience, most remodel failures in San Francisco trace back to one of three decisions made before a single tile was set: a substrate that couldn’t handle moisture, a drain assembly that couldn’t handle flow, or a contract that didn’t define who owned a hidden condition. This guide diagnoses problems by root cause so you can fix them correctly the first time, not patch the symptom and wait.
Quick Answer
To troubleshoot a bathroom remodel problem, first isolate the root cause before opening any wall or retiling any surface. Test the shower pan with a 24-hour flood test to separate a liner failure from a grout failure, test exhaust airflow with a tissue or anemometer to confirm the fan is actually moving air, and pressure-test or isolate a single fixture before assuming a supply line is at fault. Fixing the correct cause the first time costs a fraction of correcting the wrong one after tile and drywall are back in place.
Styles & brands we work with
- Kitchen remodeling
- Bathroom remodeling
- Home additions & ADU
- Roofing
- Windows & doors
- Driveway & pavers
- Fence
Table of Contents
- Diagnosing a Shower or Tub Leak: The Flood Test Method
- Tile and Grout Failures: Three Causes, Three Fixes
- Exhaust Fans, Moisture, and Mold Risk
- Plumbing Rough-In Errors Found After the Walls Close
- Documenting a Failed Remodel Before You Call Anyone
- Substrate and Waterproofing Mistakes That Cause Most Failures
- Common Mistakes to Avoid
- Frequently Asked Questions
Diagnosing a Shower or Tub Leak: The Flood Test Method
If water is showing up on a ceiling below, staining a baseboard, or loosening a floor tile next to the shower, do this test before you touch the tile. It isolates a liner failure from a grout or surface failure, and the result tells you how big the repair is.
- Plug the drain with a test plug or a rubber stopper.
- Fill the pan with water to just below the top of the curb, usually an inch below the curb line.
- Mark the waterline with tape so you can read any drop.
- Wait 24 hours and check the mark and the ceiling or floor below.
If the water level drops and the ceiling below shows moisture, the waterproofing liner or the curb-to-pan connection has failed. This is a rebuild of the pan, not a reseal, and often runs $4,000 to $12,000 in San Francisco once you account for demolition, a new presloped pan, a new liner, backer board, and setting new tile. If the level holds but the surrounding floor still wicks moisture after showers, the failure is at the surface: cracked grout, a failed sealant joint, or tile set with spot-bonded thinset that traps water behind it.
San Francisco’s older housing stock adds a wrinkle. Many homes in the Sunset and Richmond districts have a concrete slab at the ground floor, so a slow pan leak has nowhere to drain and spreads sideways into adjacent flooring before it ever shows below. If you see cupped engineered wood or a soft spot at the bathroom threshold, treat that as a pan-leak symptom even without a ceiling stain. Testing before demolition is the cheapest diagnostic in this guide, and it’s the one most homeowners skip.
Tile and Grout Failures: Three Causes, Three Fixes
Cracked grout looks the same no matter what caused it, which is why so many repairs are the wrong repair. There are three distinct root causes, and each needs a different fix. Getting the diagnosis right is the difference between a $200 reseal and $3,000 in structural work.
- Seasonal movement. Cracks that appear along inside corners, where two walls meet, or where a wall meets the floor are usually movement cracks. These aren’t failures at all. The correct fix is to remove the rigid grout at those change-of-plane joints and replace it with a flexible sealant. Behind the sealant you set a backer rod so the joint holds. This is a maintenance item, not a rebuild.
- Substrate deflection. Cracks that spread across the field of tile, run over broad areas of the floor, or show up as a hollow sound when tapped mean the floor is flexing. The fix is structural, not cosmetic: stiffening the joists or adding a second layer of subfloor to bring deflection within tolerance before any new tile goes down. Retiling over a moving floor just cracks the new tile too.
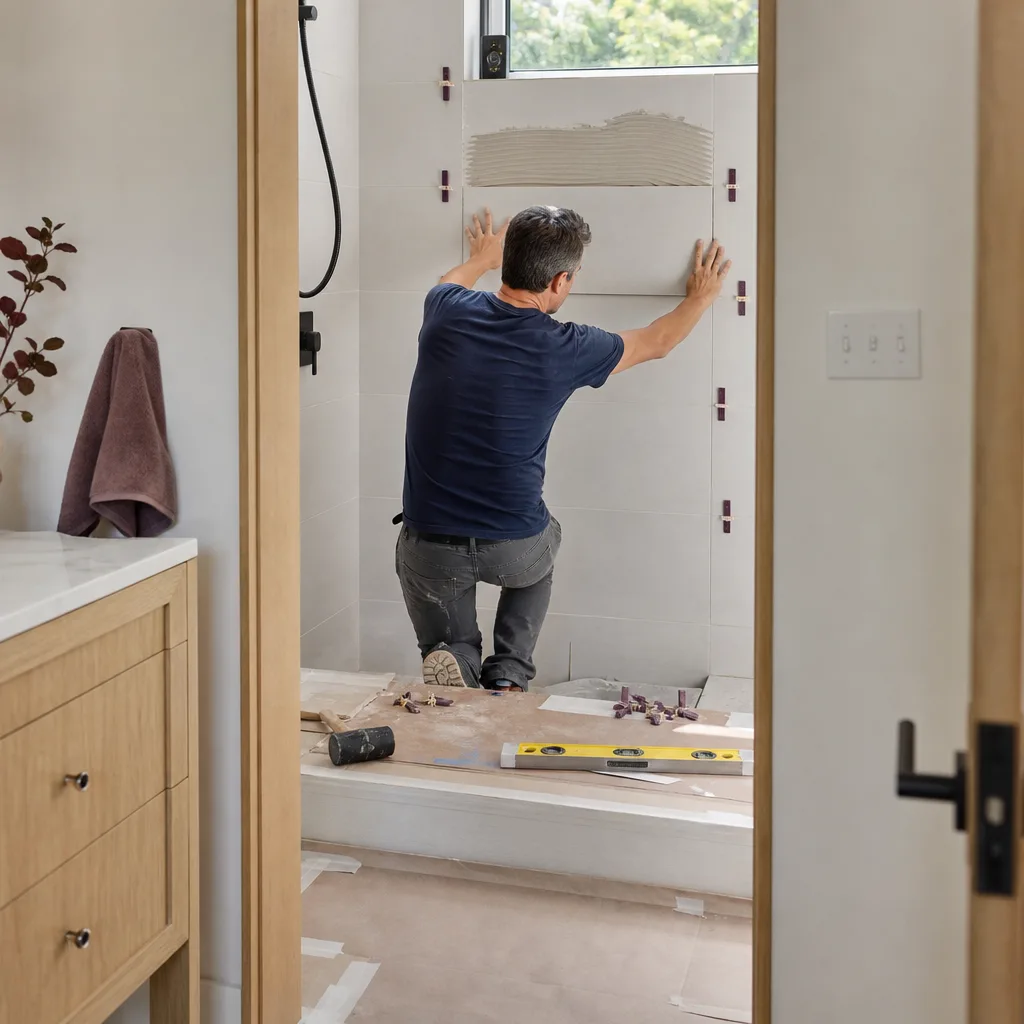
- Improper thinset coverage. Hollow-sounding tiles, tiles that rock, or grout that keeps crumbling at the edges point to spot-bonded thinset. The tile was buttered with five dabs instead of full coverage. The only fix is to remove the affected tile and set it again with full coverage.
In San Francisco, the seasonal-movement crack is the one we see most often in Victorians and Edwardians, where wood-frame corners move with the seasons. Learn to distinguish the sound of a hollow tile from the sound of a solid one using a plastic screwdriver handle, tapped across the floor in a grid. That test alone tells you whether you’re resealing or rebuilding.
Exhaust Fans, Moisture, and Mold Risk
Many homes in San Francisco have an exhaust fan that spins but doesn’t move adequate air. The motor runs, you hear it, and the mirror still fogs for ten minutes after the shower. That’s a fan that isn’t doing its job, and it’s a hidden cause of bathroom mold that gets blamed on grout.
To test actual airflow, hold a single square of toilet paper against the grille. It should pull tight against the grille and hold. If it flutters or falls, the fan isn’t pulling enough. A ducted fan should move around 80 to 110 cubic feet per minute for a typical bathroom; a bathroom larger than 100 square feet needs more. The two most common reasons a fan underperforms are both in the duct:
- Excess duct length and turns. A fan rated for a certain CFM drops well below that if it has to push air through a long, twisting run or multiple elbows.
- Duct termination in the wrong place. A duct that dumps into the attic or roof cavity sends warm humid air into cold wood. In San Francisco’s cool, foggy climate, that moisture condenses on the underside of the roof deck and can rot framing over a few winters. The duct must terminate outside, ideally at a wall or roof cap with a backdraft damper.
Here’s a local fact that surprises people: San Francisco’s mild summers do not eliminate bathroom mold risk. Our outdoor air stays cool and damp through the marine layer months, which means interior moisture doesn’t dry out the way it would in Sacramento. A bathroom with a weak fan and a cold exterior wall is a good candidate for mold in the wall cavity, and you may only notice it after a remodel when the wall board comes off. If you’re remodeling, run the fan test before you close the walls, and upgrade the fan and duct while it’s easy.
Plumbing Rough-In Errors Found After the Walls Close
Low water pressure or a fixture that runs weak after a remodel can be caused by a rough-in error hidden behind finished tile. The key to troubleshooting is isolating the problem to a single fixture versus the whole supply system before you open a wall.
- Test one fixture first. If only the shower runs weak and the sink is fine, the problem is at the shower: a flow restrictor in the showerhead, a partially closed shut-off valve, or a clogged screen. Unscrew the showerhead and check. This is the fix for most “low pressure” complaints, and it’s free to test.
- Test at the supply line. If every fixture in the bathroom runs weak while the kitchen is fine, the issue is a valve, a kink, or a partially closed shut-off behind the vanity. It’s still not a wall issue.
- Test the whole house. If pressure is low everywhere, it’s a pressure-regulator or service-line issue, which is a plumber’s call, not a remodel problem.
When the pressure drop started with the remodel and affects a single shower, the right move is to call a licensed plumber before opening the wall so they can check the shower valve cartridge and the rough-in valve body without damaging tile. A Moen or Delta valve cartridge is a common culprit on a new install, and most cartridges are serviceable from the trim plate without any demolition. If the plumber confirms the issue is in the wall, they can tell you exactly where to cut, so you open a 12-inch access panel instead of removing a whole wall. The American Standard and Moen fixtures we specify are chosen partly because their cartridges are serviceable from the front, which keeps this exact scenario cheap.
Documenting a Failed Remodel Before You Call Anyone
If a contractor left you with a leaking shower or a floor full of cracked tile, the most valuable thing you can do is document the condition before anyone touches it. The documentation is what supports a warranty claim, a change-order claim, or a complaint to the Contractors State License Board (CSLB). Do it in this order.
- Photograph the problem. Shoot the visible symptom from a distance, then close-up. Include a ruler or a coin for scale. Photograph inside any access panel and around the drain. Turn on the lights and use a flash.
- Log the dates and conditions. Note when the problem appeared, whether it’s after every shower, and any related damage like a soft floor or stained ceiling. Add a photo of the ceiling below if you have one.
- Scan your contract and written scope. The written scope tells you what was promised. If it doesn’t define who owns a hidden condition, a second opinion can tell you whether the failure was within the scope of work.
- Get a second licensed contractor’s written assessment. Bring the assessment to the original contractor first. The written record, not an angry call, is what moves a resolution.
- If it’s unresolved, contact the CSLB. You can file a complaint against a licensed contractor, and the documentation above makes your case clear.
The reason we lead with documentation is that most disputes are about responsibility, not about the facts. A written assessment from a second contractor names the failure in trade terms, which settles the argument faster than a phone call ever will. This is the same logic behind our Rowan Construction Group San Francisco home practice of a written record on every visit. If you’re weighing a rebuild, our guide to Home Additions & ADU in San Francisco covers how the same documentation discipline applies to larger projects.
Substrate and Waterproofing Mistakes That Cause Most Failures
Most of the leaks and cracks in this guide come back to one layer of the build: what’s under the tile. The finished tile is the least important part of the waterproofing system. The liner, the curb, the presloped pan, and the backer board do the work, and any one of them done wrong will fail the whole assembly. These are the failure modes we see most often in San Francisco remodels.
- No preslope under the liner. The pan must slope to the drain before the liner goes down, not after. A flat pan sitting on top of the liner holds water against it permanently. The fix requires rebuilding the pan.
- Nailed through the liner. Fasteners driven through the liner at the curb or the threshold are a direct leak path. Waterproofing must be continuous across the curb and up the wall.
- Backer board set tight to the floor. Cement backer board should stop above the floor with a gap, and the gap should be sealed or covered by the waterproofing membrane. Setting it tight wicks water up the wall.
- Spot-bonded thinset. Five dabs on the back of a tile is not full coverage. The tile should be back-buttered to full contact, or you’ll get hollow tiles and a place for water to sit behind the tile.
- No vapor barrier in a cold exterior wall. On San Francisco’s cool exterior walls, moisture can condense inside the stud bay if the vapor barrier is missing or reversed. This is a wall system issue, not a tile issue, and it has to be corrected before the tile goes back on.
If your remodel is in progress and the walls are still open, this is the moment to check these five conditions with your own eyes. Once the tile is set, the check costs thousands. If you’re moving beyond a bathroom and into a larger project, the same substrate and waterproofing judgment applies to outdoor surfaces too; our Driveway & Pavers in San Francisco page covers how base preparation determines whether a hardscape drains or holds water.
Common Mistakes to Avoid
- Resealing before leak testing. Caulking over a failing liner hides the symptom and lets water rot the subfloor for another year. Flood test first, then decide.
- Ignoring a slow pan leak because it doesn’t drip. In a slab-on-grade San Francisco home, the pan leak may spread sideways rather than fall through the ceiling, so the ceiling stain never appears. A soft floor at the threshold is your warning.
- Hiring anyone to open a wall before a plumber isolates the fixture. A single weak shower is usually a cartridge or a flow restrictor, not a buried pipe. Diagnose the fixture first.
- Running the exhaust duct into the attic. This is one of the most common remodel mistakes, and in San Francisco’s cool marine climate it condenses on the roof deck and rots framing over several winters.
- Skipping the written second opinion. A written assessment from a second licensed contractor is the document that wins a warranty discussion. An angry phone call doesn’t.
- Retiling over a deflecting floor. New tile on a moving floor cracks again. Stiffen the floor first or you’ll spend the money twice.
- Assuming the map of who-pays-for-what is in the contract. If the written scope doesn’t name hidden conditions, a change order negotiation turns into a dispute. Our Fence Installation in San Francisco page shows the same principle in a simpler project, where a written scope prevents surprises before the first post goes in.
See the difference
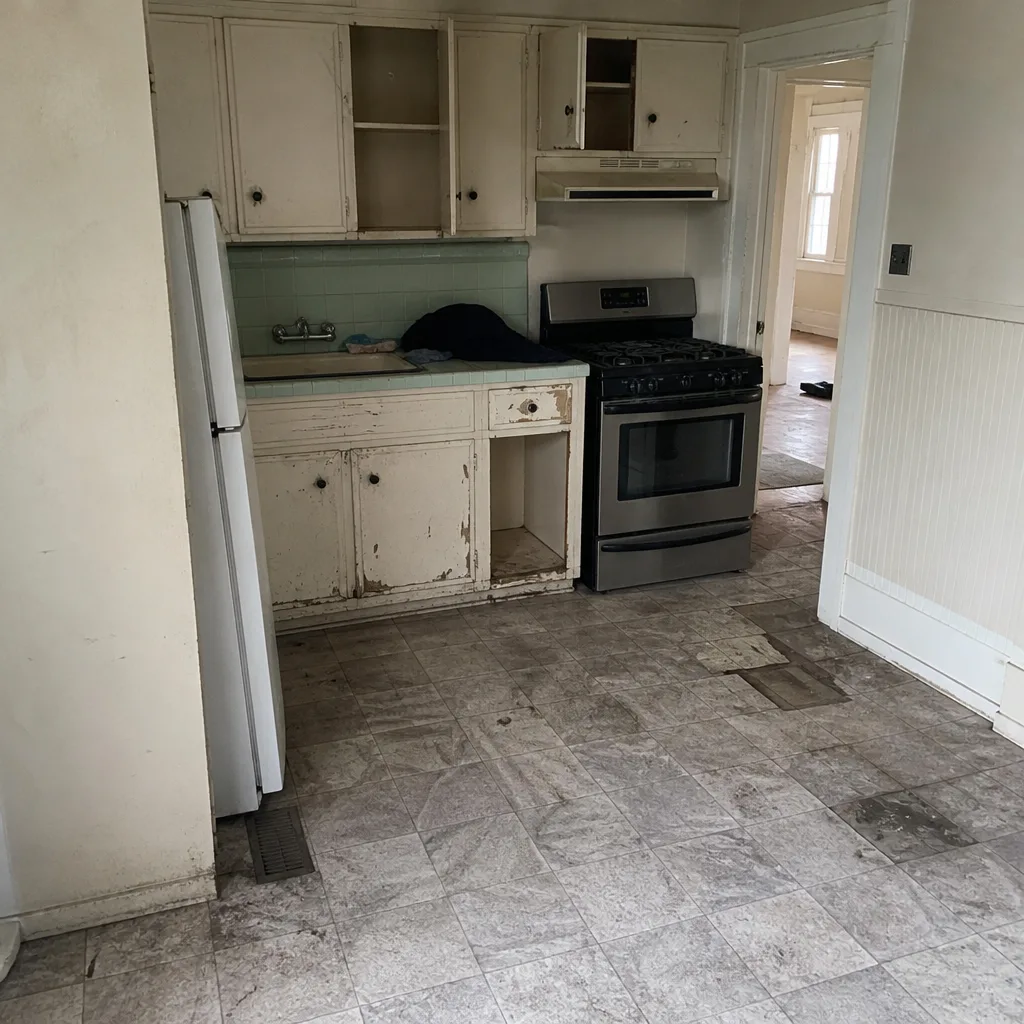 Before
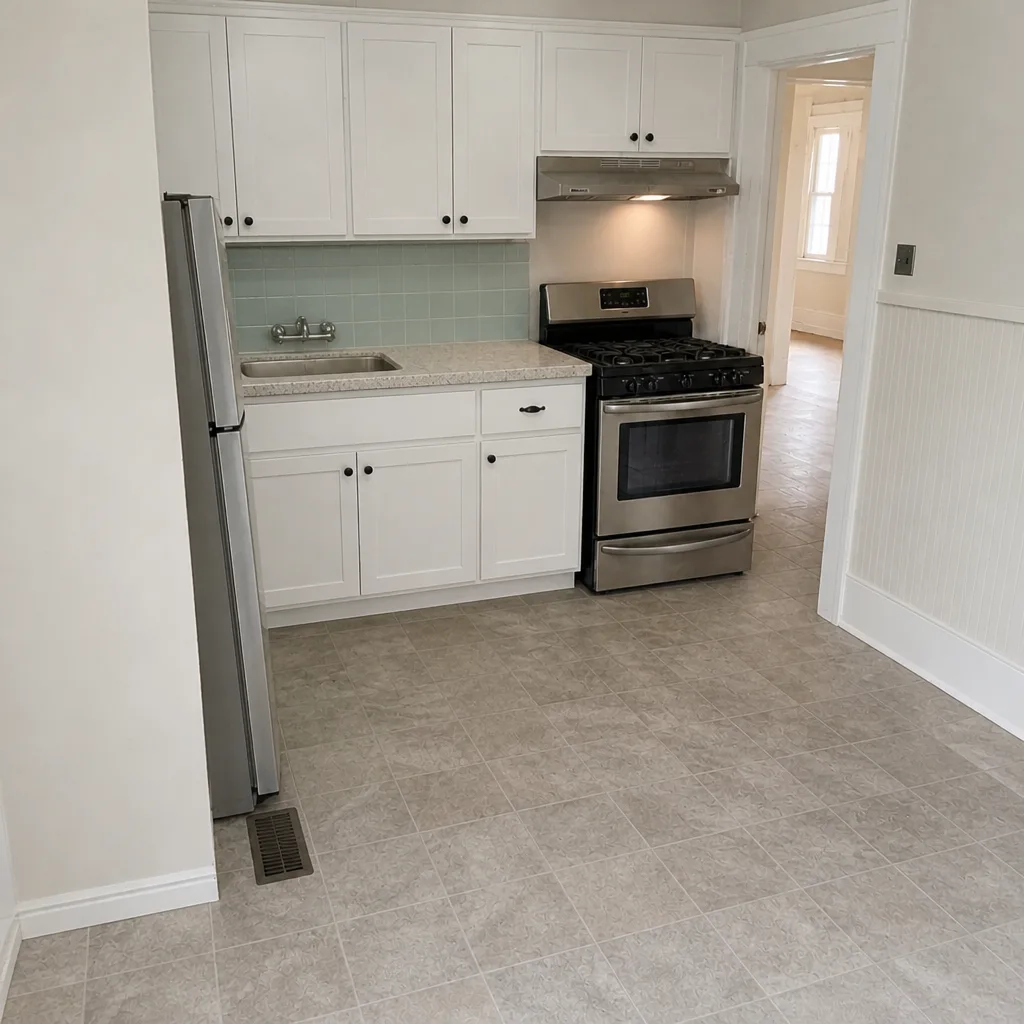 After
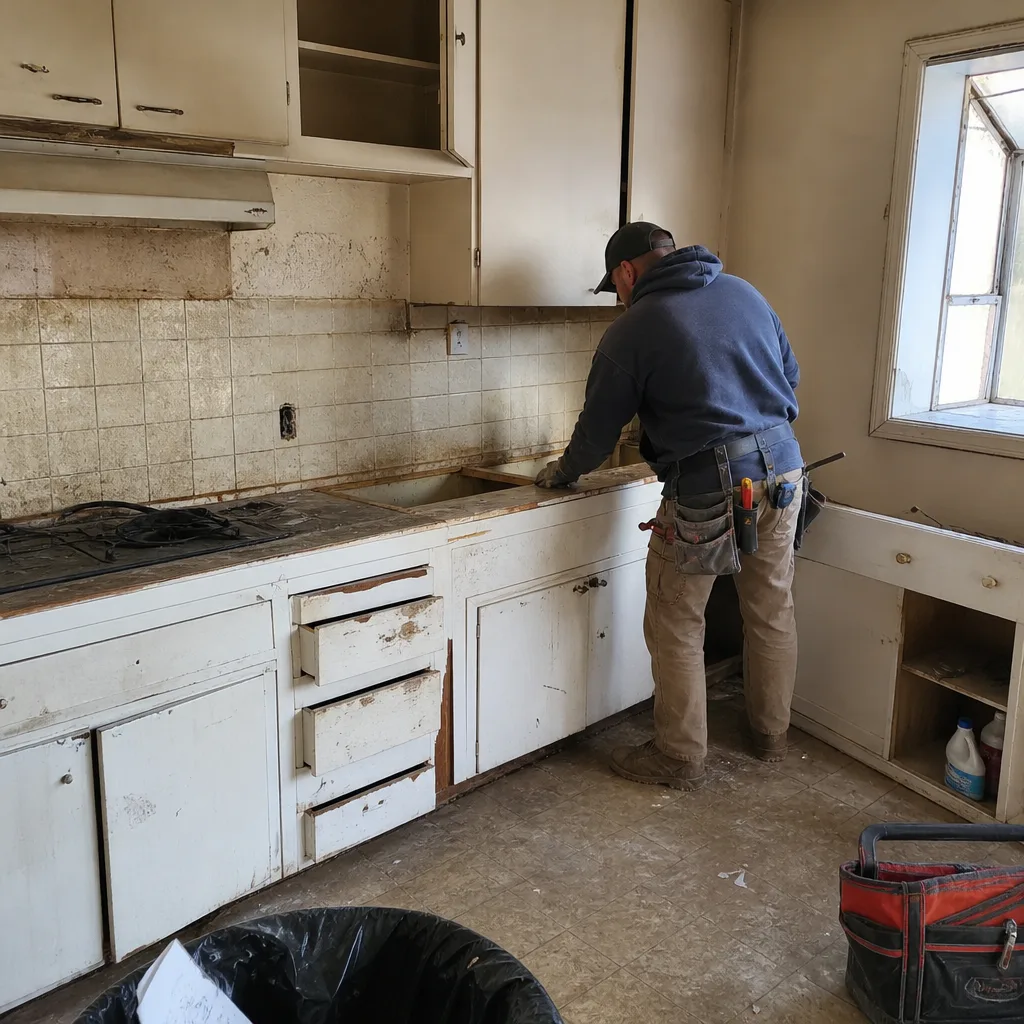 Before
 After
 Before
 After
When to Call a Professional
Call a professional when the problem is behind the tile, when the diagnosis requires opening a finished surface, or when the underlying issue is structural or electrical in a wet location. A cracked grout joint at an inside corner is a reseal you can manage. A shower pan that fails a flood test is a rebuild, and a rebuild done without a presloped pan fails the same way in a couple of years. When the exhaust fan fails the tissue test and the duct runs through the ceiling cavity, the fix involves rated duct, proper termination, and often electrical work. When the contract doesn’t define who owns a hidden condition and the original contractor is unresponsive, a documented second opinion is the professional move. Rowan Construction Group San Francisco offers free estimates in San Francisco and a Free Second Opinion on any written estimate. Call (844) 797-6388.
Frequently Asked Questions
Grout is not the waterproofing layer. It’s the wear layer. The waterproofing is the liner or membrane behind the tile, and that’s where most leaks start. Run a 24-hour flood test and watch the waterline and the ceiling below. If the level drops or the ceiling shows moisture, the liner or the curb-to-pan connection has failed, and no amount of grout sealer fixes it. Call (844) 797-6388 for a free estimate on the repair.
No. Hairline cracks at inside corners and where walls meet the floor are usually seasonal movement, not failure, and the correct fix is flexible sealant at those joints, not a rebuild. Cracks that spread across the field of tile or sound hollow mean substrate deflection or spot-bonded thinset, and those need structural or tile work. Distinguish them with a tap test before you assume the worst. Call (844) 797-6388 for a free estimate on a proper repair.
Hold a square of toilet paper against the grille. It should pull tight and hold. If it flutters or falls, the fan isn’t moving enough air, usually because of excess duct length, too many elbows, or duct that terminates in the attic instead of outside. In San Francisco’s cool, damp climate, a weak fan is a common cause of hidden mold in wall and roof cavities. Call (844) 797-6388 for a free estimate on correcting the fan and duct.
It shouldn’t. Our price is written before anyone starts, and on every one of our projects no work proceeds on a change until a signed change order is in place. Under Clause 1 of the Haven Standard, the price is written before work begins. If a hidden condition turns up once the wall is open, that’s the moment for a documented change order, not an open-ended bill. Call (844) 797-6388 for a free estimate.
Yes. Bathroom remodels that move plumbing, electrical, or ventilation require permits in San Francisco, and the work needs inspection at each stage before it’s covered. Ask any contractor to show you the permit before work starts; an unpermitted bathroom is a liability when you sell. Call (844) 797-6388 for a free estimate on a permitted bathroom remodel.
Document it before anyone touches it. Photograph the leak, log the dates and conditions, scan your written scope, and get a second licensed contractor’s written assessment. Bring that assessment to the original contractor first, and if the issue isn’t resolved, file a complaint with the CSLB. The written record is what supports a warranty or change-order claim. Call (844) 797-6388 for a free second opinion on the original estimate.
The Bottom Line
Bathroom remodel failures are almost always root-cause problems, not finish problems. A shower leak is usually a liner or curb-to-pan failure, so flood test before you reseal anything. A cracked grout line is usually seasonal movement, so reseal the change-of-plane joints with flexible sealant rather than rebuilding. A weak exhaust fan is usually a duct problem, and in San Francisco’s damp climate that means mold risk in wall cavities, so test it before the walls close. Low fixture pressure is usually a cartridge or flow restrictor, not a buried pipe. When the problem is behind the tile or structural, that’s a professional’s job. And when a remodel goes wrong, document it in writing before you call anyone, because the written record wins the argument. If your next bathroom project is a higher-end rebuild, our guide to Rowan Construction Group San Francisco home shows how we approach the same documentation discipline across every trade.
Call Rowan Construction Group San Francisco for Your Free Estimate

If a failed bathroom is behind you or a remodel is ahead of you, we put the number in writing before anyone picks up a tool. Rowan Construction Group San Francisco offers a flat written price, a written scope and warranty, and a Free Second Opinion on any written estimate you bring us line by line. No change proceeds without a signed change order, so a hidden condition never turns into an open-ended bill. A live person answers calls at (844) 797-6388, and every visit includes a documented photo record as a standard deliverable. Call (844) 797-6388 for a free estimate and a careful assessment of what’s actually failing.
Written by the team at Rowan Construction Group San Francisco.