Last updated November 17, 2026


Free written scope consultation - allowances, timeline, and change-order rules on paper before a single trade is scheduled
Driveway & Pavers Troubleshooting: Common Problems and How to Fix Them
Replacing a sunken paver without probing the base beneath it is the paver equivalent of painting over a water stain. The problem is already two layers deeper, and the new paver will drop again within six months. We’ve opened up driveways across San Francisco where three rounds of surface patching hid the same failing subbase underneath. Here’s what most homeowners don’t hear: the visible defect almost never matches the actual cause. This guide walks through the three-tool field diagnosis a contractor uses to confirm what’s really wrong, how to tell edge restraint failure from subbase failure from bedding sand migration by touch, and the dollar-per-square-foot math for deciding between a band-aid repair and full section rebase.
Quick Answer
Most driveway paver failures in San Francisco come from one of four root causes: a failed edge restraint, a settling or compacted-out subbase, bedding sand migrating into voids, or drainage that lets water pool under the surface. The symptom you see (a sunken paver, a wobbly row, white streaking, sand washing out) tells you which layer failed, but you have to probe the base to confirm it. Surface repairs over a failing subbase re-fail within one wet season; matching the repair to the actual layer is what makes the fix hold.
Styles & brands we work with
- Kitchen remodeling
- Bathroom remodeling
- Home additions & ADU
- Roofing
- Windows & doors
- Driveway & pavers
- Fence
Table of Contents
- The Three-Tool Field Diagnosis
- The Four Root Causes Behind Every Paver Failure
- Edge Restraint Failure vs. Subbase Failure vs. Sand Migration
- Polymeric Sand Washout in Wet Winters
- Efflorescence: What the White Streaks Actually Mean
- Repair vs. Rebase: The Dollar Comparison
- San Francisco Conditions That Accelerate Failure
The Three-Tool Field Diagnosis
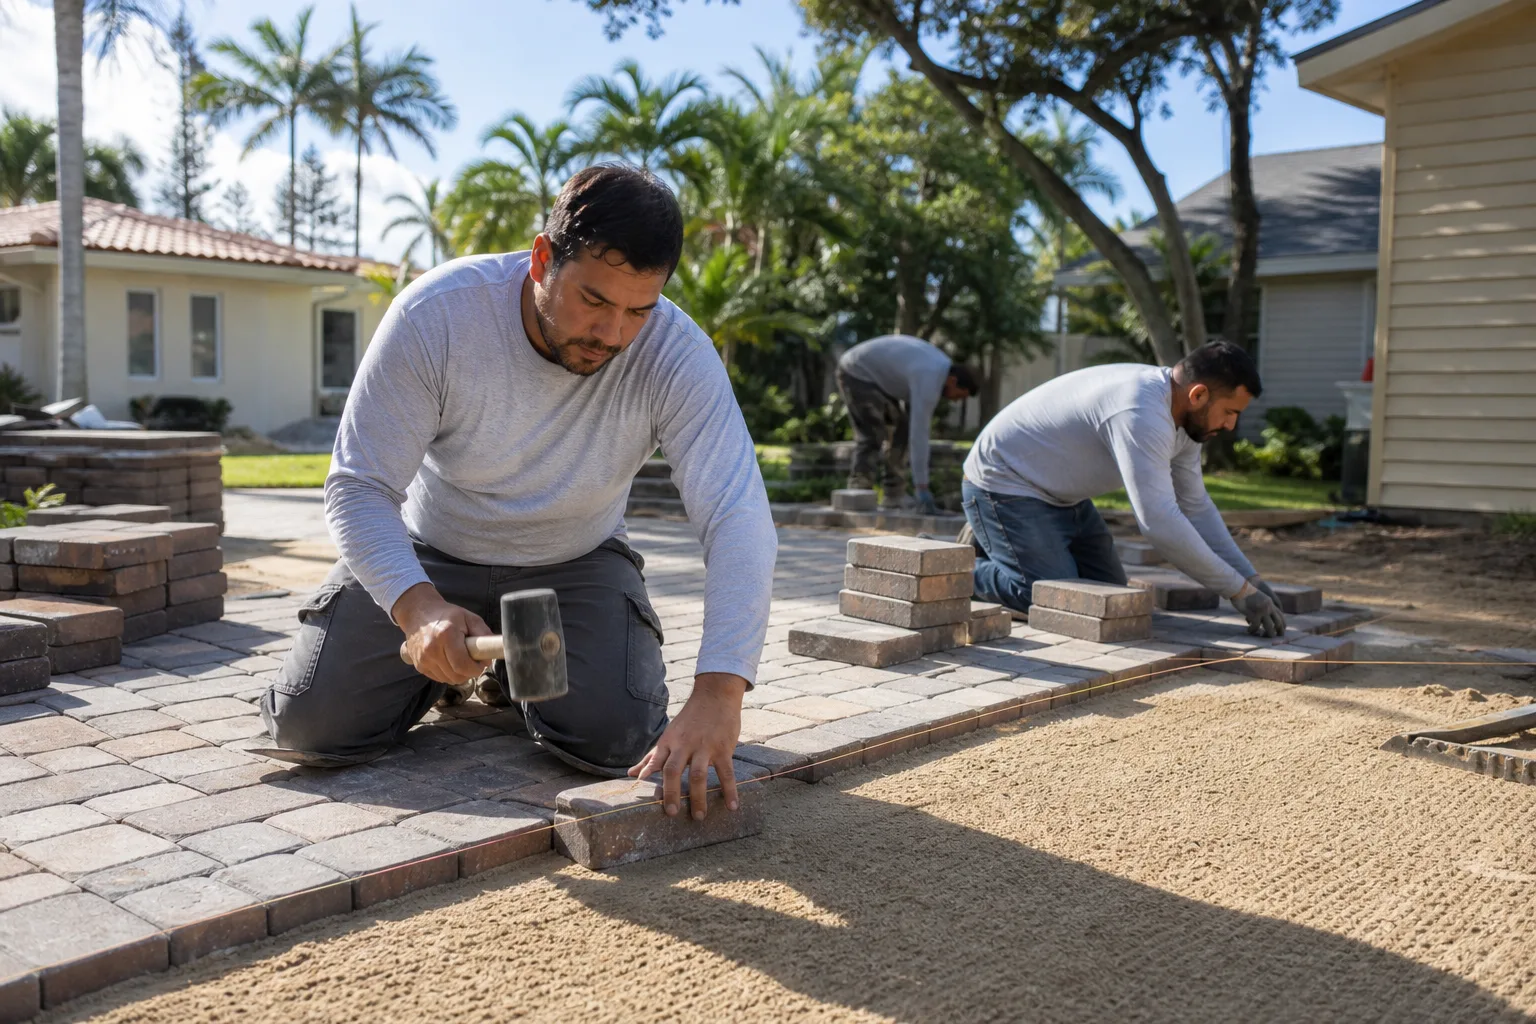
Before anyone lifts a paver, we run three field tests. Each one isolates which layer failed, and each takes a few minutes. This is the diagnostic sequence we use on every Driveway & Pavers in San Francisco call-out, and it’s the reason the written quote you get matches what the crew actually finds when they open the surface.
- Screwdriver probe test for subbase voids. Push a long screwdriver through the joint sand straight down into the base. If it sinks freely past the bedding layer into soft, loose material, you have a void under the pavers. Resistance means the subbase is intact. A screwdriver that sinks 4 to 6 inches with no effort is a red flag for a subbase that was never compacted properly or has since settled.
- Four-foot level for differential settlement. Lay a 4-foot level across the paver field in two directions. A gap under the middle of the level reads as crown (the pavers are high in the center); a rocking level reads as a hollow. More than 1/8 inch of differential over 4 feet is measurable settlement, and it tells you the movement runs deeper than a single paver.
- Moisture meter reading on the bedding sand. Pull one paver near the low spot and read the bedding sand with a pin-type moisture meter. Sand that reads above roughly 20 percent wood-moisture-equivalent after 48 hours without rain means water is trapped below the surface. That’s a drainage problem, and re-sanding alone will not fix it.
The results point to specific fixes. A void means the section comes out and the subbase gets recompacted. Differential settlement means the edge restraint or a base transition is failing. Wet bedding sand means water has nowhere to go, and the drainage has to be corrected before the surface goes back down. No single test is enough on its own; together, they map the failure to its layer.
The Four Root Causes Behind Every Paver Failure
Nearly every failure we open up in San Francisco traces to one of these four causes. Naming the cause correctly is what separates a repair that holds from a repair that re-fails.
- Failed edge restraint. The perimeter of a driveway is held in by a restraint (usually aluminum or plastic L-channel, sometimes steel) that stops the field from spreading. When that restraint loosens, pulls out of the soil, or bends, the pavers creep outward, joints open, and the field spreads. You’ll see the outermost pavers drifting, wide joints at the perimeter, and sometimes a visible gap between the paver field and the curb or garage apron.
- Subbase settlement. The compacted aggregate base under the bedding sand settles or was never compacted to spec. This is the most common cause of sunken pavers, and it’s the one most likely to be misdiagnosed as a single-paver problem. The probe test catches it.
- Bedding sand migration. The thin sand layer the pavers sit on migrates into voids below, into joints, or out at the edges. The pavers lose support, rock underfoot, and joints open. Sand washout at the surface is the visible symptom, but sand loss underneath is the cause.
- Poor drainage. Water that can’t sheet off the surface or drain through the joints pools under the pavers, softens the subbase, and accelerates all three failures above. In San Francisco, with roughly 20 to 23 inches of rain concentrated between November and March, this is the accelerant behind a lot of what we see.
Two or more of these often stack. A failed edge restraint lets water in at the perimeter, which softens the subbase, which lets bedding sand migrate, which drops the pavers. Fixing only the visible symptom leaves the other layers failing.
Edge Restraint Failure vs. Subbase Failure vs. Sand Migration
You can tell these three apart before anyone opens the surface. Here’s how.
Edge restraint failure
Visually, look at the perimeter. Pavers along the outermost row drift outward, joints between them widen, and there’s a visible gap between the paver field and the curb, retaining wall, or garage apron. Touch test: press down on the outermost paver with your palm. If it rocks slightly but the pavers one row in are solid, the restraint has failed and the field is spreading. A swollen edge almost always comes with organic growth in the joints, because the open joints let in water and seed.
Subbase failure
Visually, you’ll see a depression (a low spot, often a bowl shape) that captures several pavers, not just one. Joints around the sunken pavers stay tight; the pavers didn’t spread, they dropped. Touch test: stomp on the sunken pavers with a firm foot. A hollow, spongy feel with no movement in the surrounding pavers tells you the base is gone and the pavers are floating on a void. The screwdriver probe confirms it, sinking freely under the sunken section.
Bedding sand migration
Visually, joints widen uniformly across the field rather than just at the perimeter, and in the wet months you’ll see sand migrating out of the joints and collecting at low points or in the gutter. Touch test: run a finger along a joint; the sand surface will be well below the paver face by 1/4 inch or more in the worst areas. Individual pavers rock gently underfoot, but the sunken sections are shallow and spread out, not bowl-shaped.
What each diagnosis means for the repair
- Edge restraint only: reset and re-anchor the restraint, re-tighten the perimeter, re-sand. Limited scope.
- Subbase failure: remove the affected pavers and bedding sand, recompact or rebuild the subbase, rebed, and re-set the pavers.
- Sand migration alone: re-sand with a stabilizing product (see below), inspect for the drainage issue that drove the sand out, and address it if present.
Getting this wrong is where money gets wasted. On a recent San Francisco job off Portola Drive, the homeowner had been paying a handyman to replace individual pavers at the low spot every spring. Each repair held for one rainy season and re-failed. The probe test showed the subbase under that section was a void; the true fix was opening roughly 120 square feet, rebuilding the base, and re-setting. One repair, not five.
Polymeric Sand Washout in Wet Winters
Polymeric sand is the sand that goes into the joints and cures to a stiff, water-resistant binder. It’s what keeps pavers locked and the joints stable. In San Francisco’s wet winters, it fails for three reasons: the wrong product for the climate, application in the wrong temperature window, or application over wet joints. All three are fixable.
Why washout happens
- The sand was applied when the joints were wet, so it never bonded properly. Polymeric sand needs dry joints to cure.
- The product was applied below its minimum cure temperature. Most polymeric sands need 50°F and rising, with no rain for 24 hours. San Francisco winters hit the low 50s often, but a cold front will drop below that overnight.
- The product is a sand-based formula that breaks down under repeated freeze-thaw cycles and heavy rain. San Francisco doesn’t get many freezes, but it does get sustained rain for weeks on end, and standard polymeric sand that isn’t rated for it will soften and wash out.
Products that hold up in San Francisco rain
Two products we’ve seen hold up reliably in San Francisco’s wet-winter patterns:
- Techniseal HP+ (High Performance). A poly-sand that cures harder and is rated for wet climates. Cures in the 32°F to 95°F range, which fits San Francisco’s coastal window. Requires the joints be dry and the surface kept dry for 24 hours after application.
- Alliance Gator Bond. A single-component polymeric sand with a similar wet-climate rating. Cures in roughly the same temperature window and holds its bond after repeated rain cycles.
The application temperature window
Both products need the surface temperature (not air temperature) to be 50°F and rising at application, and both need 24 hours of no rain to cure. In San Francisco, that means scheduling re-sanding in late spring or early fall, not the middle of the wet season. Check the surface temperature with an infrared thermometer, not the forecast; a shaded driveway on the north side of the Sunset District can read 10 to 15 degrees cooler than the air temperature. A cloudy 55°F day can be a 45°F surface, and the sand won’t cure.
Polymeric sand applied correctly will last several wet seasons. Applied wrong, it can fail within one. If your joints have emptied and the sand is washing onto the sidewalk, the problem is the application, not the product. Call (844) 797-6388 for a free estimate on re-sanding and the drainage check that goes with it.
Efflorescence: What the White Streaks Actually Mean
Efflorescence is the white, chalky mineral residue that appears on the face of pavers. It’s salts migrating from the base or bedding sand up through the paver and crystallizing at the surface as the moisture evaporates. On its own, it’s cosmetic. But it’s often a signal, and reading it correctly matters.
What causes it
- Moisture moving upward through the paver from a wet subbase or bedding layer.
- Salts in the aggregate base, bedding sand, or in the mixing water of the concrete pavers themselves.
- Poor drainage that leaves water under the pavers, which is the same condition that fails the subbase.
Light efflorescence that clears after a dry spell is normal and mostly harmless. Persistent efflorescence that returns after every rain, or appears only in one section of the driveway, is a sign that water is trapped under that section. On the wet side of San Francisco (the Sunset and Richmond districts, where fog drip and ground moisture are higher), we see this more often than on the sheltered east side.
Cleaners that remove it without voiding warranties
- Specialty efflorescence remover (muriatic-acid-based or a proprietary non-acid equivalent). The acid-based product is effective but must be diluted to the manufacturer’s spec, applied to a wet surface, and rinsed thoroughly. Undiluted acid will etch the paver face and void most paver warranties. Follow the label.
- Non-acid efflorescence cleaner (citric-acid or proprietary). Slower but safer on colored pavers and on the surrounding concrete.
- Plain water and a stiff brush for light, fresh efflorescence. Often enough for the first appearance after a new install.
Does efflorescence mean a drainage problem?
Sometimes. One-time efflorescence on a new install is normal curing. Recurring efflorescence in a specific section is a drainage flag and should be diagnosed with the moisture meter. If the bedding sand reads wet after a dry spell, fix the drainage before cleaning the surface, or the efflorescence will return. For a broader look at how drainage and elevation interact on San Francisco properties, our guide to Fence Installation in San Francisco covers how grade and perimeter water movement affect adjoining hardscape.
Repair vs. Rebase: The Dollar Comparison
This is the question that decides most paver budgets. A surface repair (replace individual pavers, re-sand, reset the edge) is cheaper per job but may re-fail. A full section rebase (remove pavers, rebuild the subbase, rebed, re-set) costs more up front but is often the only cost-effective path when the subbase is the culprit.
Here are the ranges we quote in San Francisco, per square foot, for a typical residential driveway:
- Spot repair (individual paver replacement, re-sand of a joint area): roughly $8 to $15 per square foot for the affected patch, with a job minimum around $400 to $600.
- Partial section re-sand and edge reset: roughly $3 to $6 per square foot across the re-sanded area.
- Full section rebase (remove pavers, rebuild subbase, rebed, re-set): roughly $18 to $30 per square foot, including labor and material, excluding any drainage correction.
- Full driveway replacement (new base and new pavers): roughly $22 to $38 per square foot, depending on paver selection and base depth. Belgard and Techo-Bloc both sit in the mid to upper range; budget concrete pavers sit lower.
The math that decides it
If a surface repair holds, it’s the cheapest option. If it re-fails within a season (which a subbase-caused failure almost always does), you pay for the repair twice, then pay for the rebase anyway. Two failed spot repairs at $600 each, followed by a rebase of the same 100 square feet at roughly $2,200, comes to about $3,400 for a job that would have been $2,200 if diagnosed correctly the first time. That’s the real cost of treating the symptom. In our experience, a subbase failure that’s caused three or more paver failures in the same area over two years is a rebase, not a repair. A failed edge restraint or a single drifted paver is a repair.
San Francisco Conditions That Accelerate Failure
San Francisco’s climate and building stock put specific pressures on driveways that a general paver guide won’t mention. Here’s what we account for on every call-out in the city.
- Wet-winter rain concentration. Roughly 20 to 23 inches of annual rain falls almost entirely from November through March. That’s not a lot of total rain, but it arrives in concentrated storms with weeks of saturated ground between them. Drainage design has to move water off the surface quickly, not just “eventually.”
- Hillside and terraced lots. Homes on the slopes (Noe Valley, Bernal Heights, parts of Pacific Heights) have driveways cut into graded lots, which means water from uphill sections pools at the low end of a driveway unless the subbase and drainage handle it. Differential settlement is more common on sloped driveways than flat ones.
- Fog belt moisture. The Sunset and Richmond districts sit in the fog belt, with higher ambient moisture and less sun-drying. Bedding sand stays wet longer, polymeric sand cures slower, and efflorescence recurs more.
- Pre-1970s base construction. Many San Francisco driveways were built on a thin, uncompacted base under old concrete or asphalt, then resurfaced with pavers later. The probe test almost always finds the void under a resurfaced driveway of that age.
- Permeable requirements on new work. New and substantially reconstructed driveways may need to meet San Francisco’s stormwater and permeable-surface rules, which can affect subbase depth, joint sand selection, and drainage detailing. We pull the permits and pass the inspections before work starts, and it’s worth confirming what applies to your property before you quote.
- Narrow urban driveways. Tight lots in the Mission and Inner Richmond often have driveways only 8 to 10 feet wide, with a garage apron pinching the low end. That geometry concentrates water at the apron joint, which is where edge failure most often begins.
For a broader view of how these exterior trades fit together on a San Francisco property, our Rowan Construction Group San Francisco home page lays out all seven residential trades, and our Home Additions & ADU in San Francisco guide covers the sitework and drainage questions that come up when a driveway has to be reconfigured for a new structure.
Common Mistakes to Avoid
- Replacing a sunken paver without probing the base. The paver drops again within one wet season because the void beneath it is still there. Probe first, replace second.
- Re-sanding with the wrong product for the climate. A standard polymeric sand that isn’t rated for wet climates will wash out in San Francisco’s November-to-March rain. Use a wet-rated product and apply it in the temperature window.
- Ignoring edge restraint until the field spreads. A loose restraint lets water in, opens joints, and starts the whole chain. It’s the cheapest fix when caught early and one of the more expensive when it’s been spreading for two seasons.
- Cleaning efflorescence before diagnosing the moisture. If recurring efflorescence points to trapped water, cleaning the surface without fixing the drainage means it comes back in the next wet season.
- Applying polymeric sand over wet joints. A cloudy San Francisco morning with damp joints is the most common cause of failed polymeric sand in the city. The joints have to be dry, and the surface has to stay dry for 24 hours after.
- Replacing the whole driveway to fix a perimeter problem. When the failure is an edge restraint or a single 50-square-foot section, replace the section and reset the edge. Replacing 400 square feet when 50 failed is unnecessary spend.
- Skipping the permit check on substantial reconstruction. San Francisco stormwater and permeable-surface rules can apply to a rebuilt driveway. Confirm what the property requires before work starts.
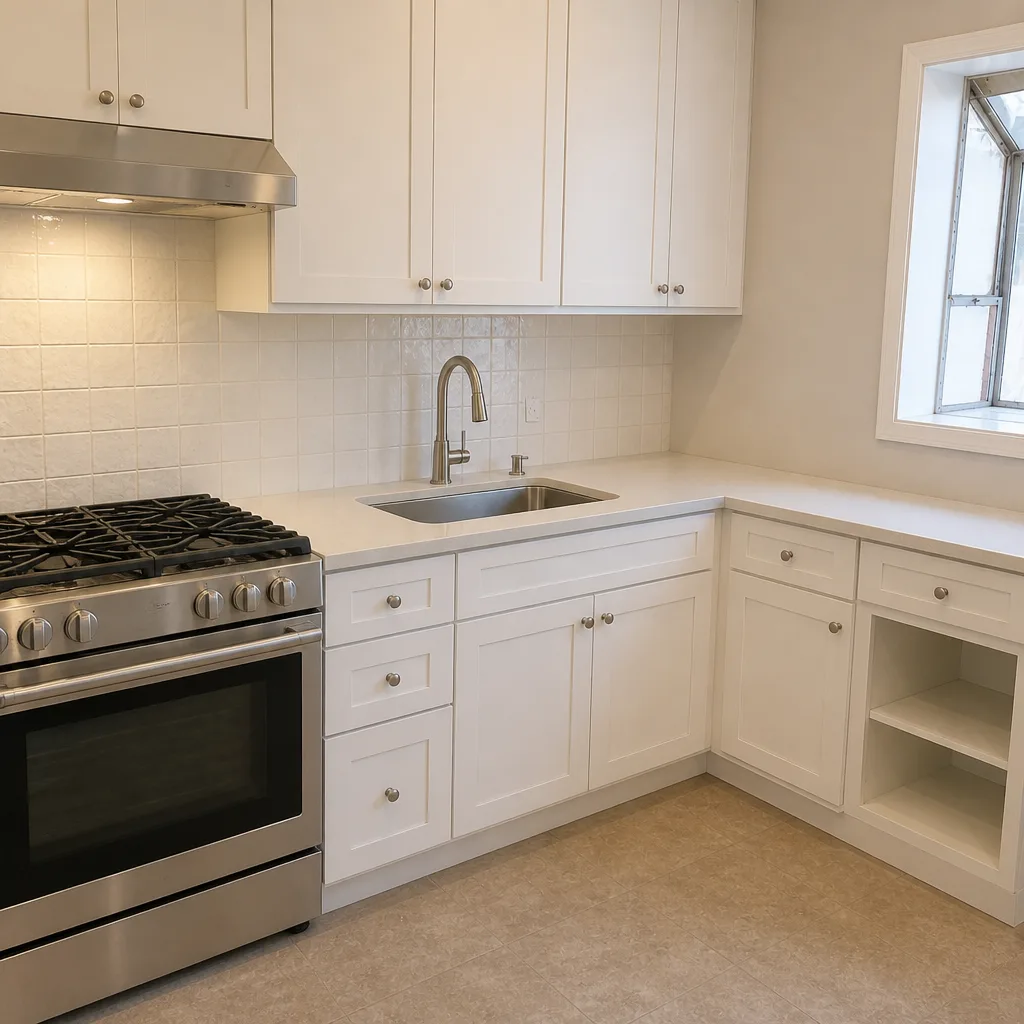
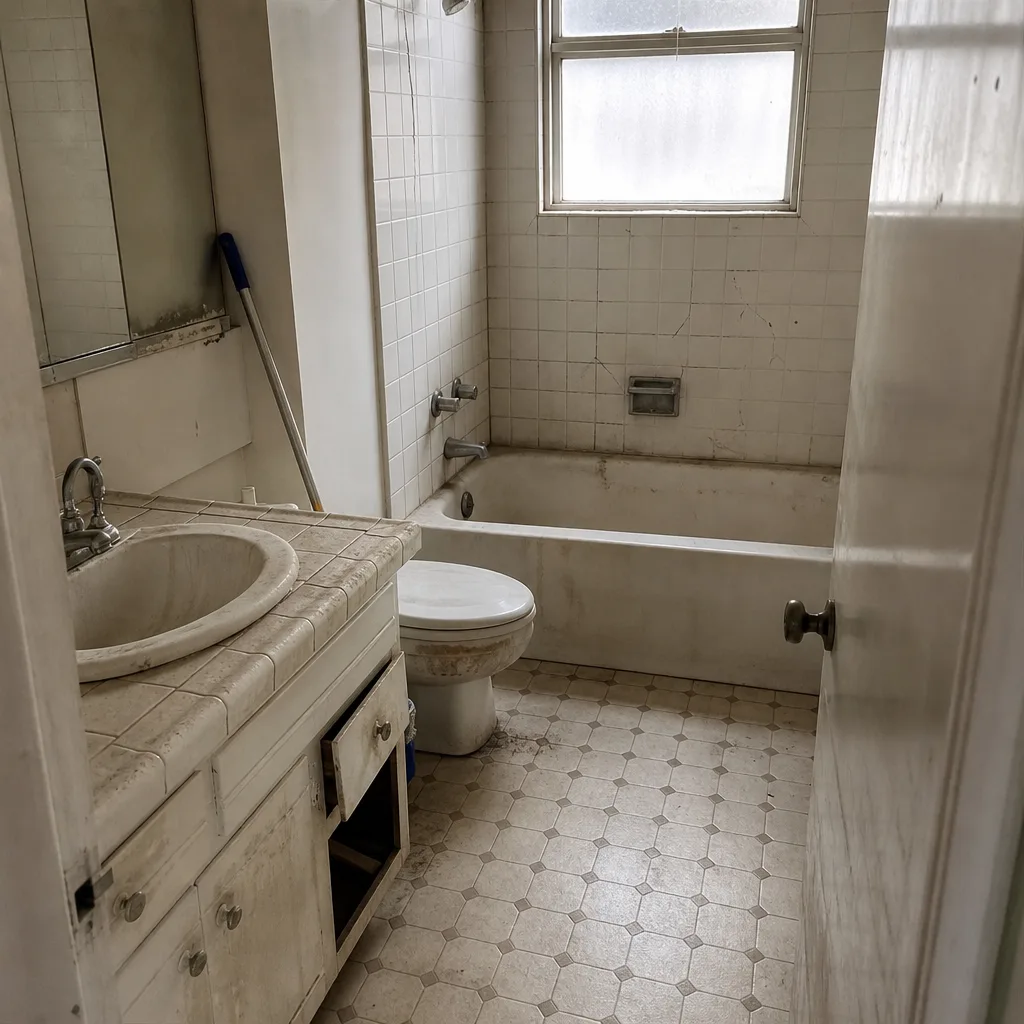
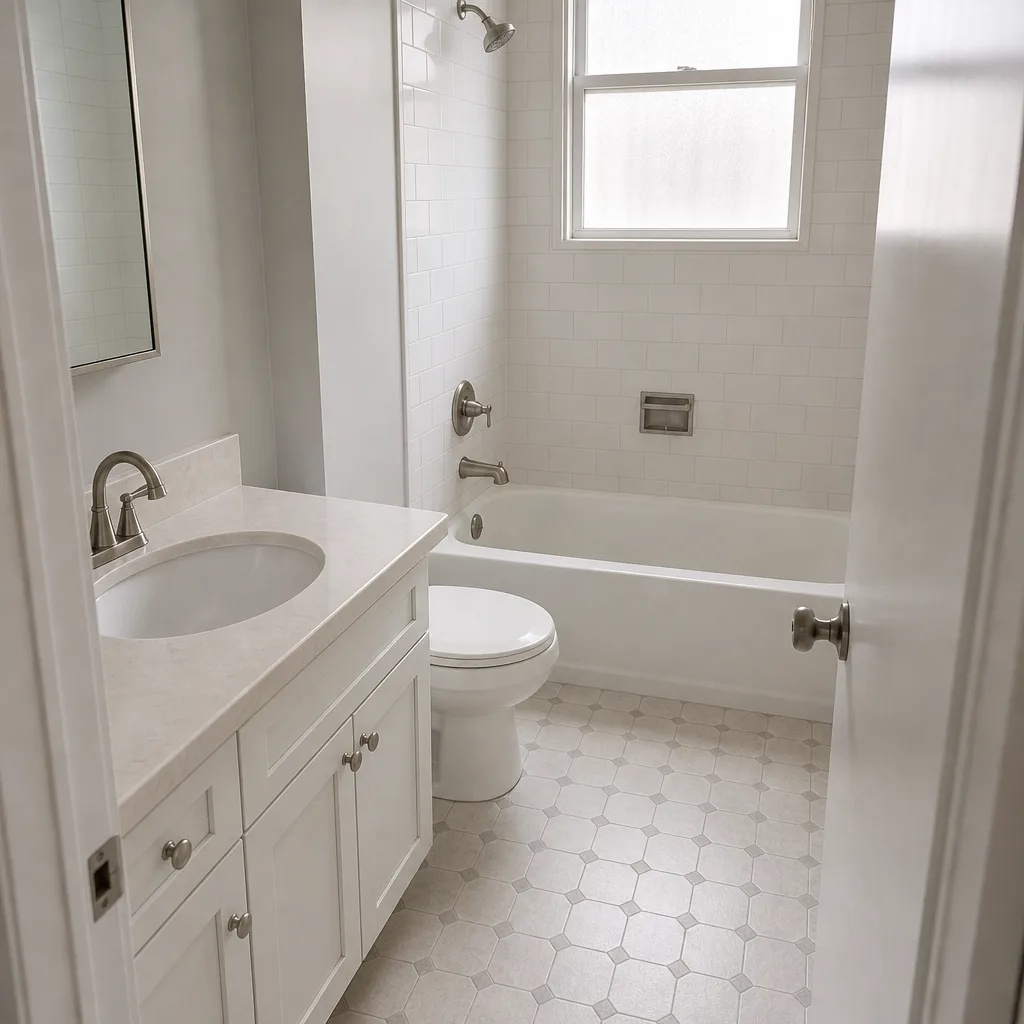
See the difference
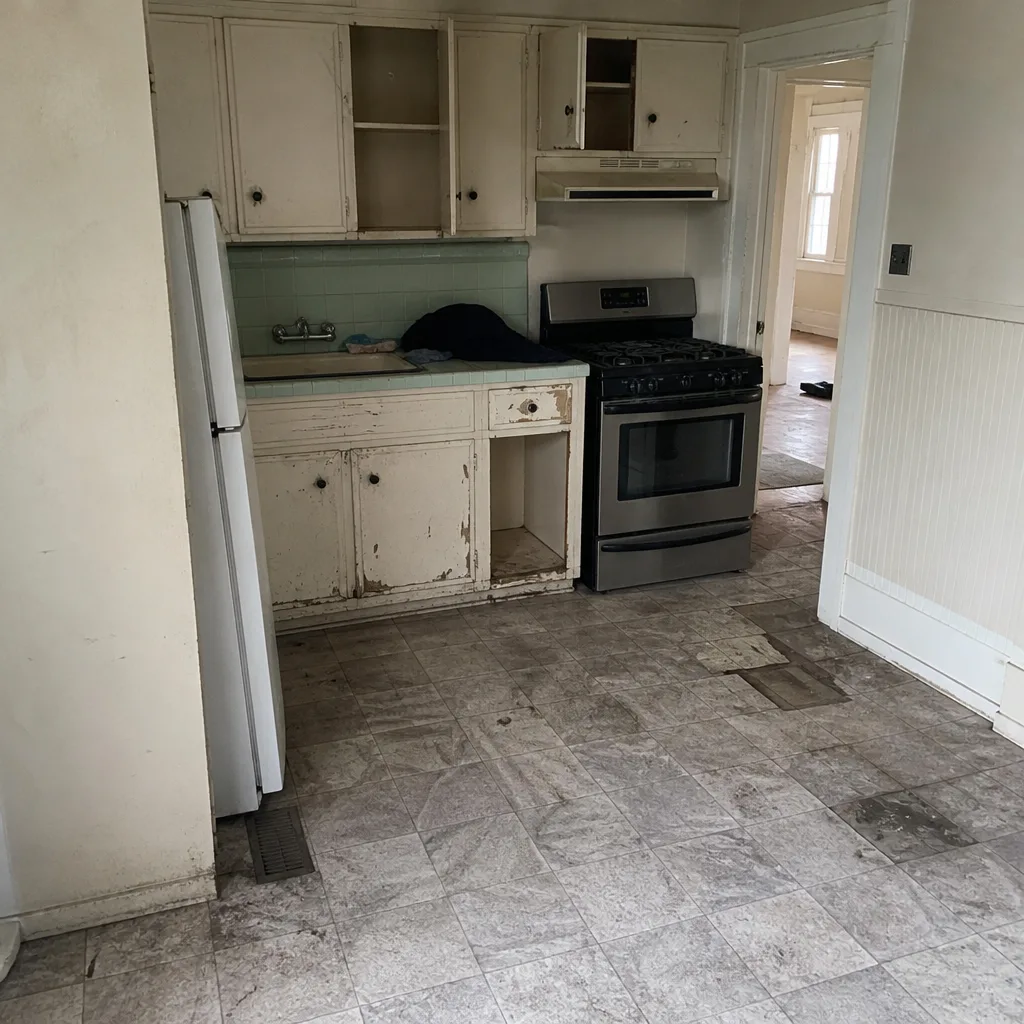 Before
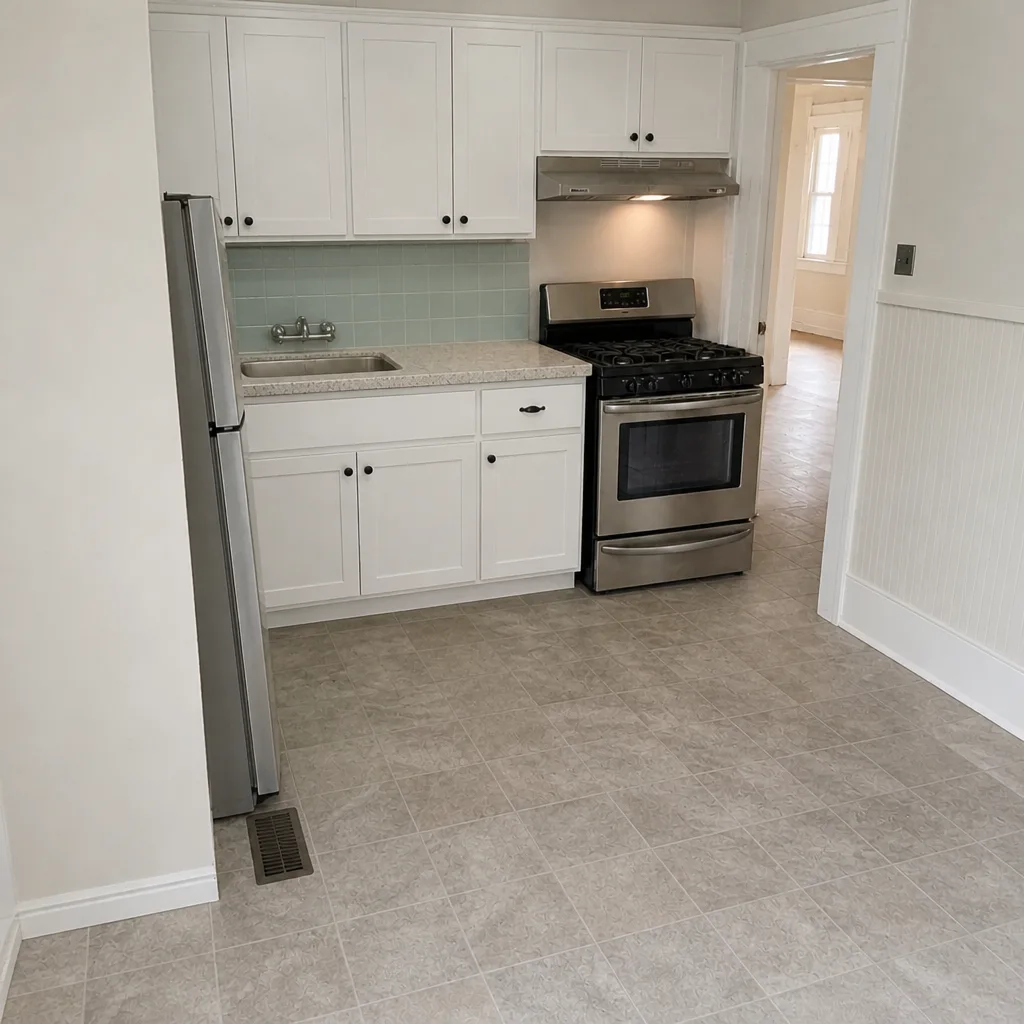 After
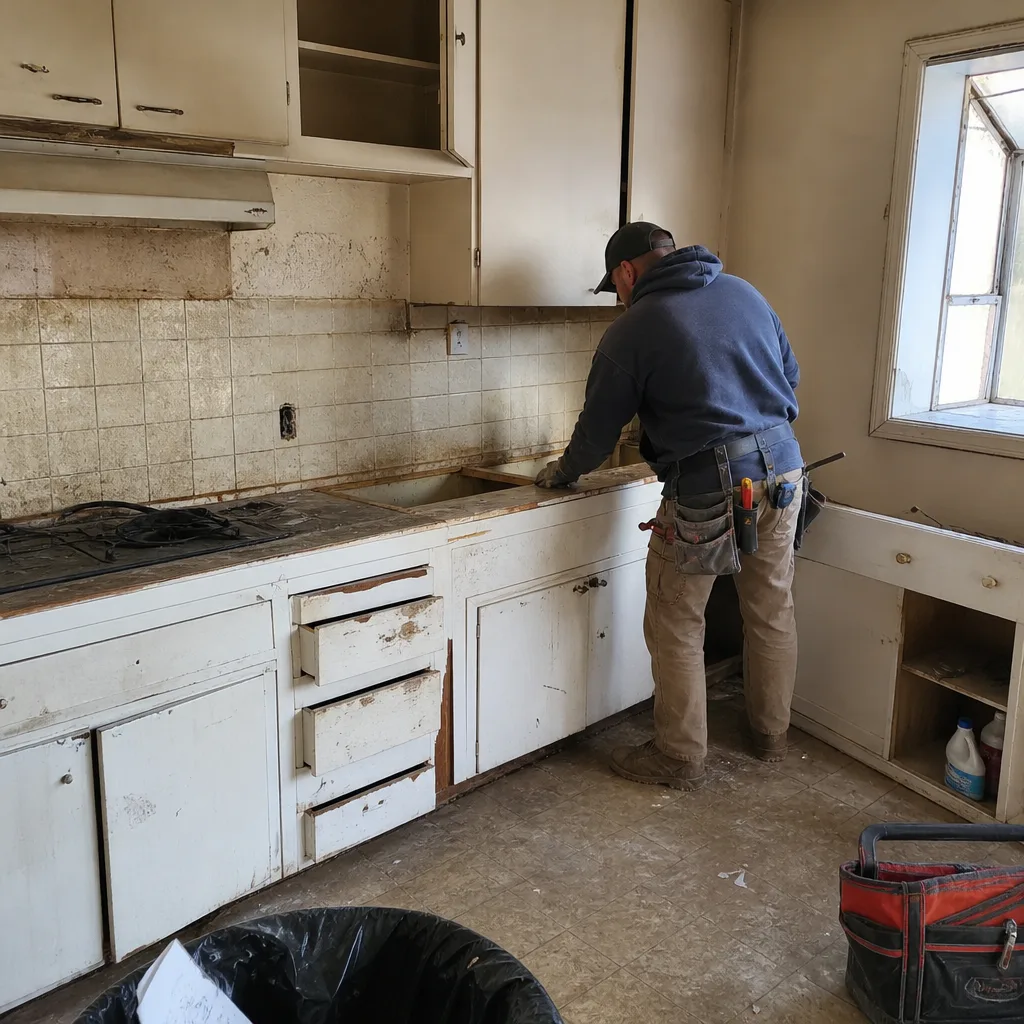 Before
 After
 Before
 After
When to Call a Professional
Call a professional when the probe test sinks freely with no resistance, when differential settlement exceeds 1/8 inch over 4 feet, when bedding sand reads wet after a dry spell, or when the same section has failed twice in two years. These are the conditions where a surface repair will re-fail and a full diagnostic saves you the second and third repair cost. High-tension elements aren’t the only safety concern on exterior work; in San Francisco, steep-lot drainage and excavation around utility lines and gas service also warrant a trained crew with permits in place. Rowan Construction Group San Francisco offers free estimates in San Francisco. Call (844) 797-6388 to schedule yours.
Frequently Asked Questions
Spot repair of individual pavers typically runs $8 to $15 per square foot with a job minimum around $400 to $600, while a full section rebase runs roughly $18 to $30 per square foot. Full replacement sits at about $22 to $38 per square foot depending on paver selection. Call (844) 797-6388 for an exact quote on your driveway; estimates are free.
The subbase under that section has settled or was never compacted to spec, and replacing the pavers without rebuilding the base leaves the void in place. The screwdriver probe test confirms it: if the screwdriver sinks freely, the section needs rebase, not a new paver. We diagnose the layer before quoting the repair.
It won’t. Every Rowan project is quoted with a flat written price and a written scope before anyone picks up a tool, and no change proceeds until a change order is signed. If the repair uncovers a deeper condition than the diagnostic found, you see the change order and the number before the crew continues.
Three likely causes: the product wasn’t rated for wet climates, the joints were wet when the sand was applied, or the application happened below the minimum cure temperature. Techniseal HP+ and Alliance Gator Bond both hold up in San Francisco’s wet winters when applied to dry joints at 50°F surface temperature and rising. Call (844) 797-6388 for a re-sand estimate.
Yes. When a driveway rebuild or substantial reconstruction triggers San Francisco stormwater or permeable-surface requirements, we pull the permit and pass the inspection before finishing the surface. The written quote lists the permit as a line item so the scope is complete.
Efflorescence itself is cosmetic, but recurring efflorescence in one section usually means water is trapped under that section. Clean it with a specialty efflorescence remover, and check the bedding sand with a moisture meter if it comes back after every rain. Our teams use a documented photo record on every visit, so you can see what we found under the surface and what we did about it.
The Bottom Line
Paver failures are layer problems, not surface problems. The visible symptom (a sunken paver, a wobbly edge, sand washing out, white streaks) tells you which of the four root causes to look for, and the three-tool field diagnosis confirms it before anyone quotes the repair. In San Francisco, wet winters, hillside lots, aging resurfaced bases, and fog-belt moisture all accelerate the same four failure modes, and re-sanding or replacing pavers without addressing the layer underneath wastes the repair. Match the repair to the layer, use a wet-rated polymeric sand applied in the right temperature window, and rebase when the subbase is gone. Under Clause 1 of The Haven Standard, the price is written before anyone starts. Call (844) 797-6388 to schedule a free estimate.
Written by the team at Rowan Construction Group San Francisco.