Last updated November 17, 2026






Free written scope consultation - allowances, timeline, and change-order rules on paper before a single trade is scheduled
DIY vs Professional Windows & Doors: What’s Safe to Do Yourself
In San Francisco, replacing a window with one that’s a different size – even by two inches – requires a building permit under California Building Code Section 102.2. Installing an identical-size unit in kind generally does not. That two-inch line is the most expensive line in this whole conversation, because getting the classification wrong turns a weekend project into a compliance problem, and no amount of sweat equity pays for that. This guide maps exactly where the DIY line actually falls for window and door work in San Francisco, what’s genuinely safe to handle yourself, and where technique requirements make failure likely enough that the labor savings disappear.
Quick Answer
Replacing weatherstripping, swapping hardware on existing prep, installing interior casing, and adjusting a threshold are safe DIY tasks. Anything that touches the building envelope – new window units, size changes, door slab replacement, flashing integration – belongs to a licensed contractor with permit documentation, because the financial downside of a DIY error (water intrusion, failed inspection, denied insurance claim) is larger than the labor you’d save. In San Francisco, the classification hinges on whether a permit is triggered, not on how hard the physical work feels.
Styles & brands we work with
- Kitchen remodeling
- Bathroom remodeling
- Home additions & ADU
- Roofing
- Windows & doors
- Driveway & pavers
- Fence
Table of Contents
- Where San Francisco Draws the Permit Line
- Tasks That Are Genuinely Safe to Do Yourself
- Tasks Where DIY Failure Rates Are High
- The Cost of a Professional Error vs. a DIY Error
- Labor-Only Contracts: What They Are and Why Some Contractors Decline
- A Decision Framework for Your Specific Project
- Common Mistakes to Avoid
- When to Call a Professional
Where San Francisco Draws the Permit Line
San Francisco’s Department of Building Inspection (DBI) does not regulate window and door work by difficulty. It regulates by what the work does to the building. That distinction matters because homeowners often assume the permit question is about scope and expense, when it’s really about whether the alteration changes the building’s regulated characteristics. A same-size, same-U-factor replacement in kind doesn’t change those characteristics. A two-inch size increase does. So does a U-factor change in a Title 24 compliance project, any work visible from the street in a historic district, and any modification to a structural header.
Under Rowan Construction Group San Francisco home practice, we walk every prospective window and door project through the same four questions before quoting. They map to the DBI triggers:
- Does the rough opening change? A different unit size – width, height, or both – requires a permit. Same-size in-kind replacement generally does not.
- Is this a Title 24 compliance project? If the project triggers Title 24 (typically whole-building alterations or additions), the new unit’s U-factor and SHGC must be documented on the compliance forms. That documentation burden falls on whoever specifies the unit.
- Is the building in a historic district or Article 10/11 landmark? Exterior changes visible from the public right-of-way typically require review, regardless of size.
- Is any structural header being modified? Any change to the framing that carries load above the opening requires a permit and, usually, engineering.
Notice what’s missing from that list: cost, physical difficulty, and whether you feel capable. San Francisco doesn’t care about any of those. It cares about the four above, and so should you.
Tasks That Are Genuinely Safe to Do Yourself
Plenty of window and door work is finish-level. It doesn’t touch the envelope, doesn’t affect thermal performance, and doesn’t trigger a permit. These are the tasks where a careful homeowner with the right tools and a free weekend will produce a result indistinguishable from a pro’s, and where the labor savings are real.
- Weatherstrip replacement. Adhesive-backed or kerf-mounted weatherstripping on existing doors and windows wears out every 5 – 8 years. Pulling the old strip and replacing it with the same profile is a two-hour job per door and doesn’t affect the assembly’s rated performance.
- Hardware swaps on existing prep. Replacing a lockset, deadbolt, handle, or sash lock where the bore and mortise already exist is straightforward. New hardware in new locations is where the job gets harder – see the section on high-failure tasks below.
- Interior casing installation. The interior trim around a window or door is finish carpentry. Mitered corners, back-primed trim, and a brad nailer are the whole toolkit. No envelope implications, no permit.
- Minor threshold adjustment. A door that drags on a threshold is often a matter of adjusting the threshold saddle height or planing a fraction off the door bottom. There are limits – if the door no longer seals, you’ve traded an annoyance for an energy and water problem.
- Touch-up painting and interior caulking. Standard maintenance, safe to handle.
What ties these together: none of them change what the assembly is rated to do. You’re restoring existing performance or improving appearance, not altering the envelope.
Tasks Where DIY Failure Rates Are High
These are the tasks where the technique requirements – sequence, tolerance, and integration with the existing assembly – separate a working installation from one that looks fine until the first big storm. In San Francisco, where wind-driven rain hits west-facing walls in the Outer Richmond and Sunset with real force, the first big storm is rarely far away.
Window shimming and plumb/level/square sequencing
A window unit has to be shimmed so the frame is plumb, level, and square, and the sequence matters: shim, check, adjust the next shim, recheck. Skip the sequence and the sash binds, the weatherseal doesn’t compress evenly, and the operating hardware wears early. We’ve seen DIY installs where the unit was level but out of square by a quarter inch – invisible on install day, obvious by the first Santa Ana wind event that pushes rain past the seal.
Exterior flashing integration with the existing WRB
The water-resistant barrier (WRB) behind the siding has to lap over the flashing, and the flashing has to lap over the window flange, in that order, shingle-style. Get the lap direction wrong and water gets behind the assembly instead of shedding off it. This is the single most consequential detail on exterior window installation, and it’s the one most DIY installs get wrong because it’s invisible once the siding goes back on.
Door slab hanging to achieve even reveal
Hanging a door slab so the reveal around the perimeter is even – typically 2 – 3mm on the strike side and 1 – 2mm on the hinge side – requires adjusting the hinge mortises and the strike plate in tandem. Most DIY attempts end with a door that swings fine but shows an uneven gap on one side, which then leaks air. Fixing it means re-mortising, which means the door has to come off the frame.
Same-size window replacement in EIFS or stucco walls
Exterior insulation finish systems (EIFS) and three-coat stucco – the standard wall assembly on most San Francisco homes built before 1980 – require careful integration at the window opening. The WRB, the weep screed, and the stucco base all have to work together. Cutting into that assembly without understanding the layering is how a small window replacement turns into a wall repair.
The Cost of a Professional Error vs. a DIY Error
Here’s the comparison most DIY guides skip. When a professional gets it wrong, the contractor’s liability insurance and workmanship warranty stand behind the work. When a homeowner gets it wrong, the homeowner’s insurance may or may not cover the resulting damage, and the deductible comes out of the homeowner’s pocket either way.
Run the numbers on a common failure: a missing or mislapped flashing detail around a replacement window, discovered when the interior drywall below the window shows water staining after the first winter storms. Typical outcomes:
- Professional install, same failure. Return visit under warranty, professional diagnosis of the assembly, repair of the flashing and any affected framing, restoration of interior finishes. The homeowner pays nothing beyond the original contract price.
- DIY install, same failure. Homeowner insurance claim (if the policy covers it, which depends on whether the loss is characterized as construction defect vs. sudden water damage). Deductible typically $2,500 – $5,000. Framing repair, drywall, paint, and re-installation of the window are on the homeowner. Possible premium increase at renewal. Possible coverage dispute.
What that tells you: the value of a professional installation isn’t the labor savings foregone. It’s the transfer of a low-probability, high-consequence risk off the homeowner’s balance sheet. For work that affects the envelope, that transfer is worth more than the labor hours. For finish-level work, there’s nothing to transfer, which is why finish-level tasks are the ones genuinely worth DIY.
The same logic applies to the wider trades. Driveway & Pavers in San Francisco and Fence Installation in San Francisco sit on the same principle – the boundary between “you can do this” and “you really can’t” is drawn by what the work has to withstand, not by how much effort it takes.
Labor-Only Contracts: What They Are and Why Some Contractors Decline
A labor-only contract is one where the homeowner supplies the materials – in this case, the windows and doors – and the contractor provides installation labor. The idea is appealing: the homeowner controls product specification and capture any product savings, and the contractor is paid for labor alone. In practice, labor-only contracts for windows and doors are a liability problem for everyone involved, and many San Francisco contractors decline them outright.
The reasons cluster around three issues:
- Product specification liability. If the homeowner supplies a unit that doesn’t meet Title 24 requirements for the project, the contractor who installs it is still the one who pulled the permit. The DBI inspection will fail on performance compliance, and the contractor has no recourse – the product was already bought.
- Title 24 documentation burden. Every compliance project requires the U-factor and SHGC data from the actual installed unit. If the homeowner bought online, the manufacturer’s compliance paperwork may not be present. The contractor is left chasing documents they never had.
- Warranty and callbacks. A window that fails prematurely – fogged glazing, failed sash, poor weatherseal – is a warranty issue with the manufacturer, not the installer. But the homeowner calls the installer first. Labor-only contracts don’t clarify who is on the hook for trips to diagnose intermittent issues that turn out to be product defects.
When we do take labor-only work – and sometimes we do, on finish-level or well-documented projects – we require the product specification in writing before the crew arrives, and we document the condition of the units at delivery. That’s the same discipline we apply on every project under The Haven Standard. A Home Additions & ADU in San Francisco project where the homeowner wants to supply finish windows runs into exactly this set of questions, and we prefer to answer them before a purchase order goes out.
A Decision Framework for Your Specific Project
Here’s the operating rule we use, in the order the questions need to be answered:
- Does the work change the unit size, the U-factor, the visible appearance from the street in a historic district, or the structural header? If yes to any, you’re in permit territory and the work belongs to a licensed contractor. If no to all four, proceed.
- Which layer of the assembly does the work touch? Finish layer (casing, paint, hardware, weatherstrip): safe to DIY. Envelope layer (flashing, WRB, glazing, jamb, sill): belongs to a contractor.
- What’s the downside if it fails? Interior appearance only: DIY. Wall framing, interior drywall, or insurance claim: contractor.
- Is the building in a historic district? Check before you buy anything. Article 10 or Article 11 properties can require review for exterior changes that would otherwise be permit-exempt.
If you can answer all four cleanly and the answers point to finish-level work, you have a genuine DIY project. When the answers point to the envelope, the math doesn’t favor self-performing – the professional warranty and liability coverage are the point.
Common Mistakes to Avoid
- Assuming “same size” means “no permit needed” without checking unit specifications. A same-size unit with a different U-factor can still trigger permit requirements in a Title 24 project. Confirm the compliance forms before you buy.
- Replacing weatherstripping with the wrong profile. SF fog and wind-driven rain demand a proper compression seal. An incorrect profile leaves a gap you can’t see until the wet season.
- Caulking over failing flashing. Caulk is a maintenance material, not a flashing repair. If water is getting behind the assembly, caulk hides the problem for one season and makes it worse for three.
- Skipping the WRB inspection before closing the wall. In San Francisco, some renovation projects allow a WRB inspection as part of a permit sequence. If you replace siding on a permitted project, whether the WRB was inspected before cover-up affects the final sign-off.
- Buying online windows without compliance paperwork. Products from online retailers rarely come with the manufacturer’s Title 24 documentation. The contractor (or the homeowner, in a DIY project) has to produce it for final inspection.
- Hanging a door slab without checking hinge-side reveal first. The reveal is the diagnostic. If you can’t achieve even reveal on the hinge side, the frame is out of plumb or the slab is warped – and re-mortising on a warped slab won’t fix it.
- Choosing a contractor on price alone for a labor-only contract. The cheapest installer on a homeowner-supplied product is usually the one who won’t be around when the callback comes. You want the contractor who documents specification and inspects units at delivery.
When to Call a Professional
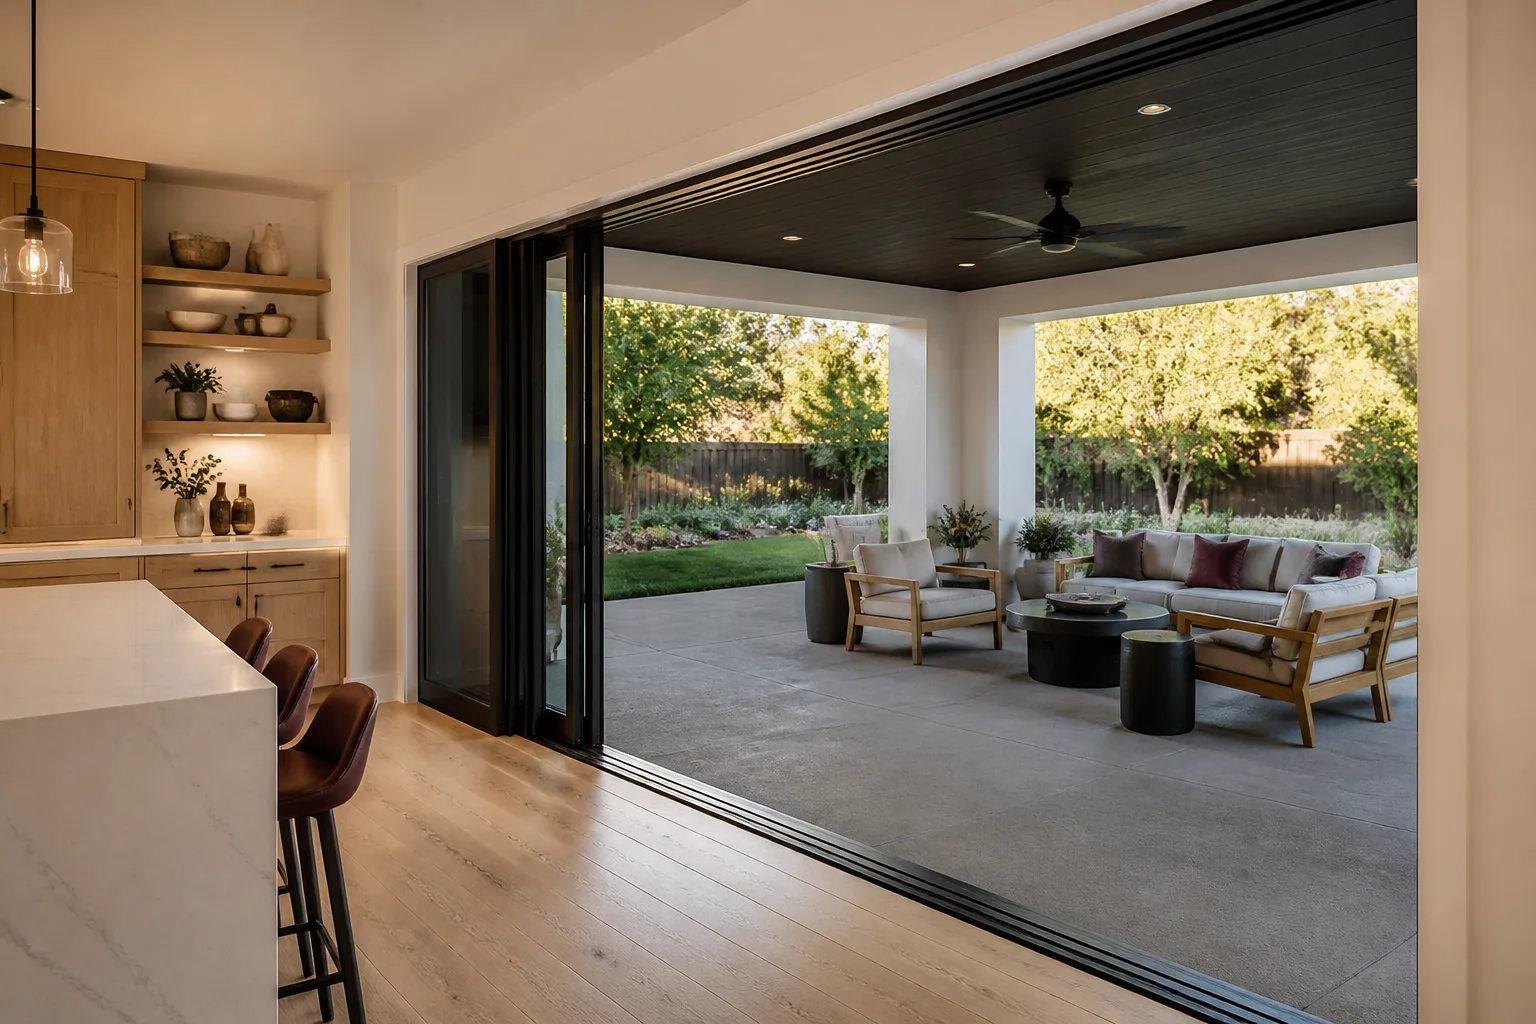
Call a professional whenever the work touches the building envelope, changes the unit size, alters the U-factor on a Title 24 project, or involves a historic district. That covers most window and door projects that aren’t purely finish work. Call a professional, too, if you’re considering a labor-only contract and want the specification and documentation handled correctly – and if a DIY project has revealed water staining, soft framing, or failed flashing that goes beyond the weatherstrip.
Rowan Construction Group San Francisco offers free estimates in San Francisco – call (844) 797-6388. Our technicians have up to 19 years of experience, and every written estimate is a flat price with a written scope before any work starts. If you already have a written estimate from another contractor, we’ll review it line by line at no charge under our Free Second Opinion offer – you keep the document, you keep the comparison, and you decide with the numbers in front of you.
See the difference
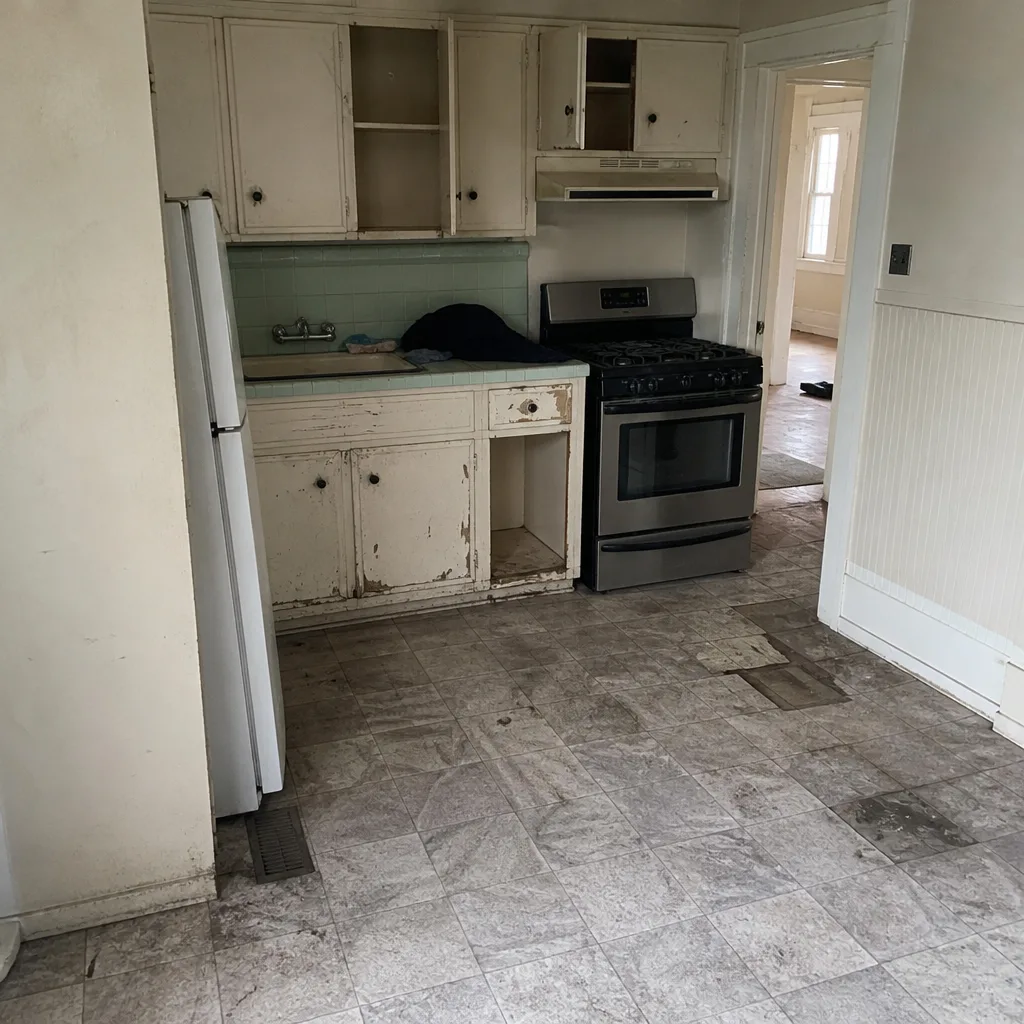 Before
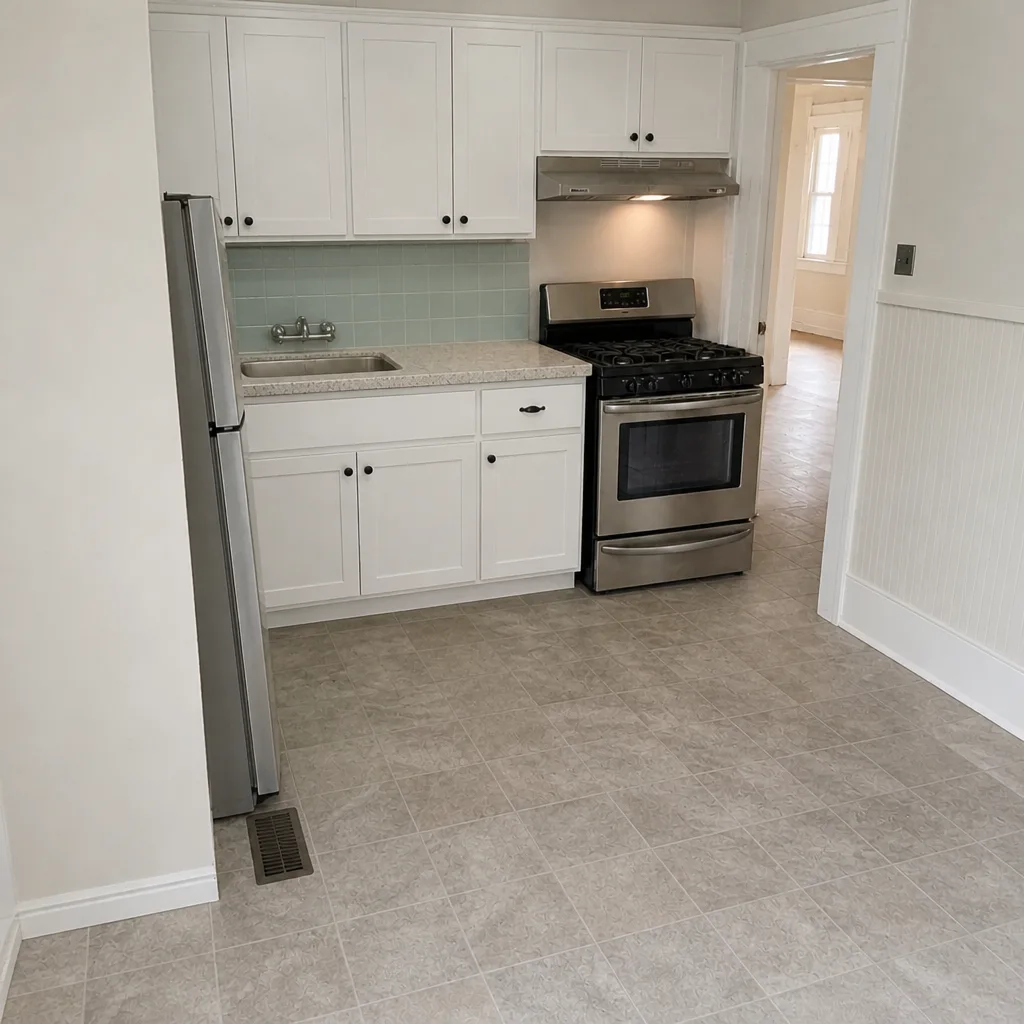 After
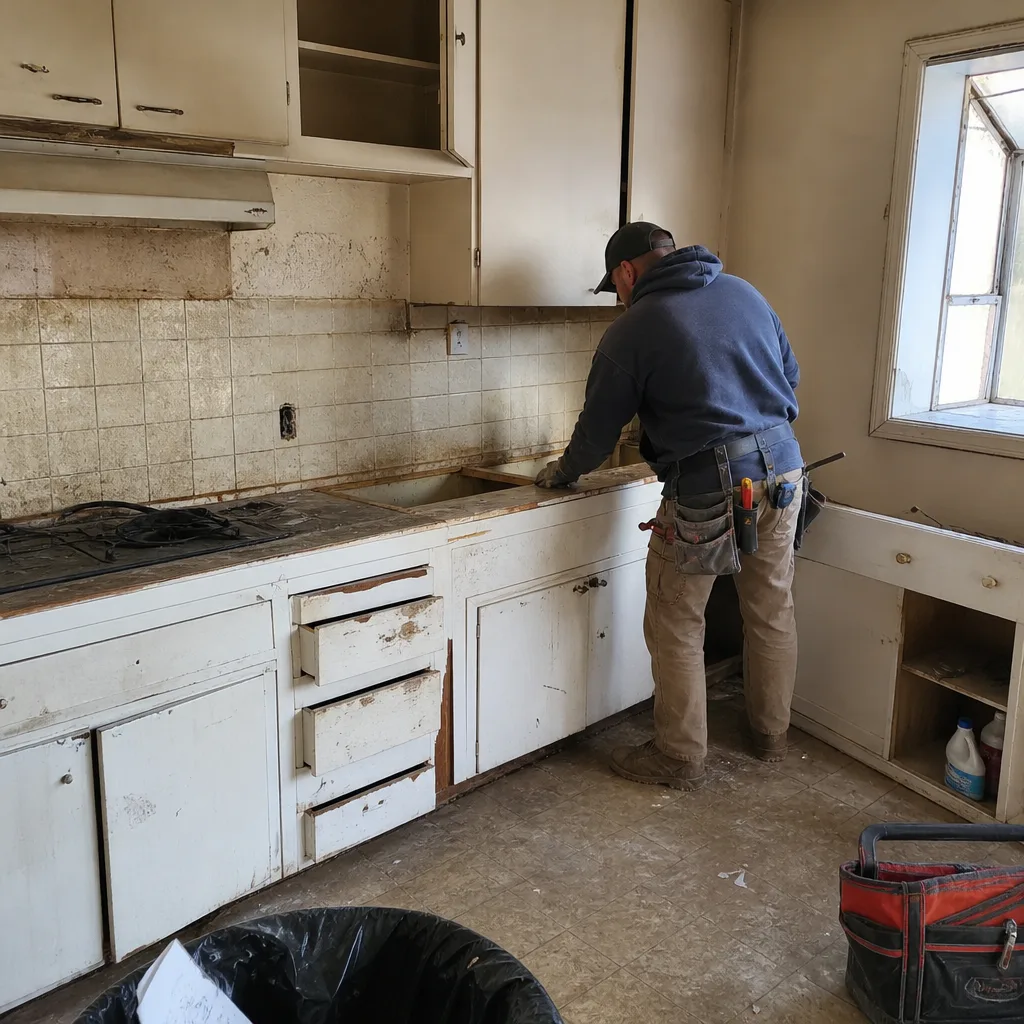 Before
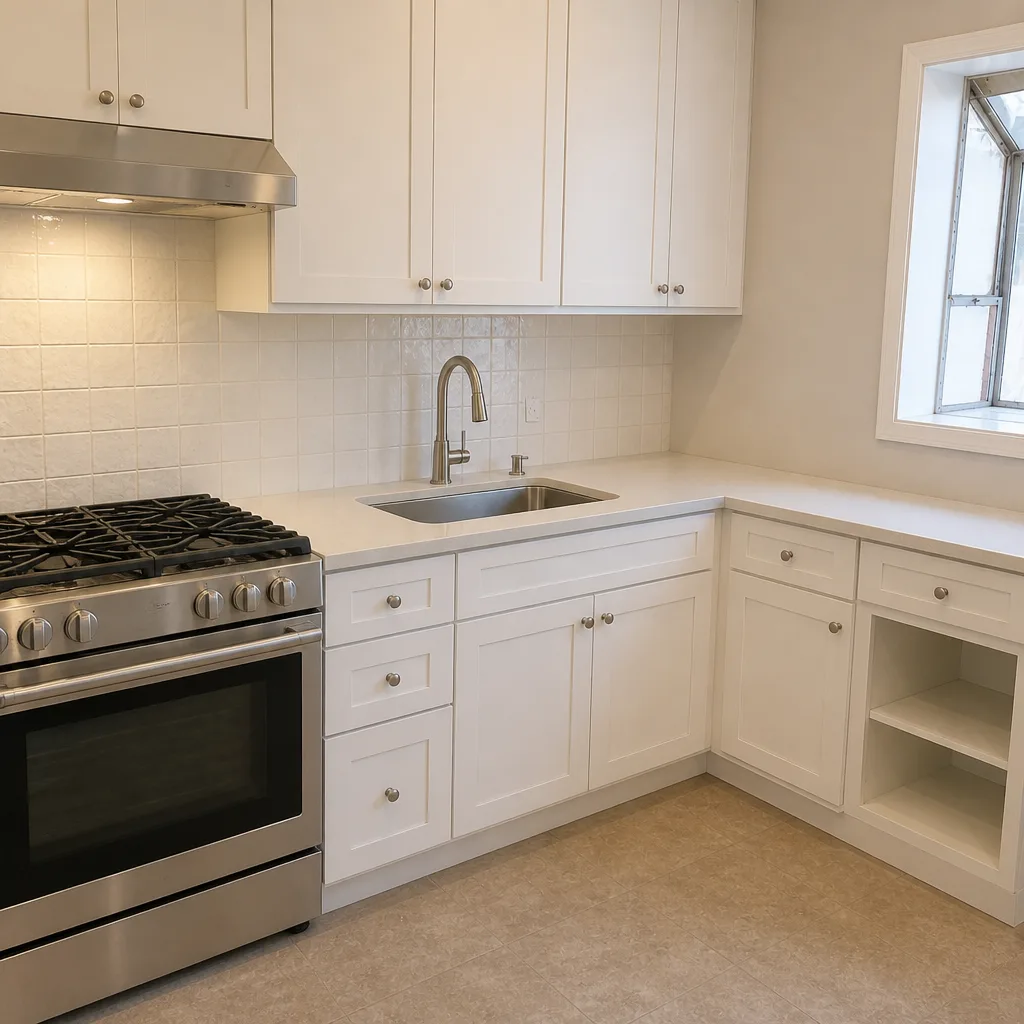 After
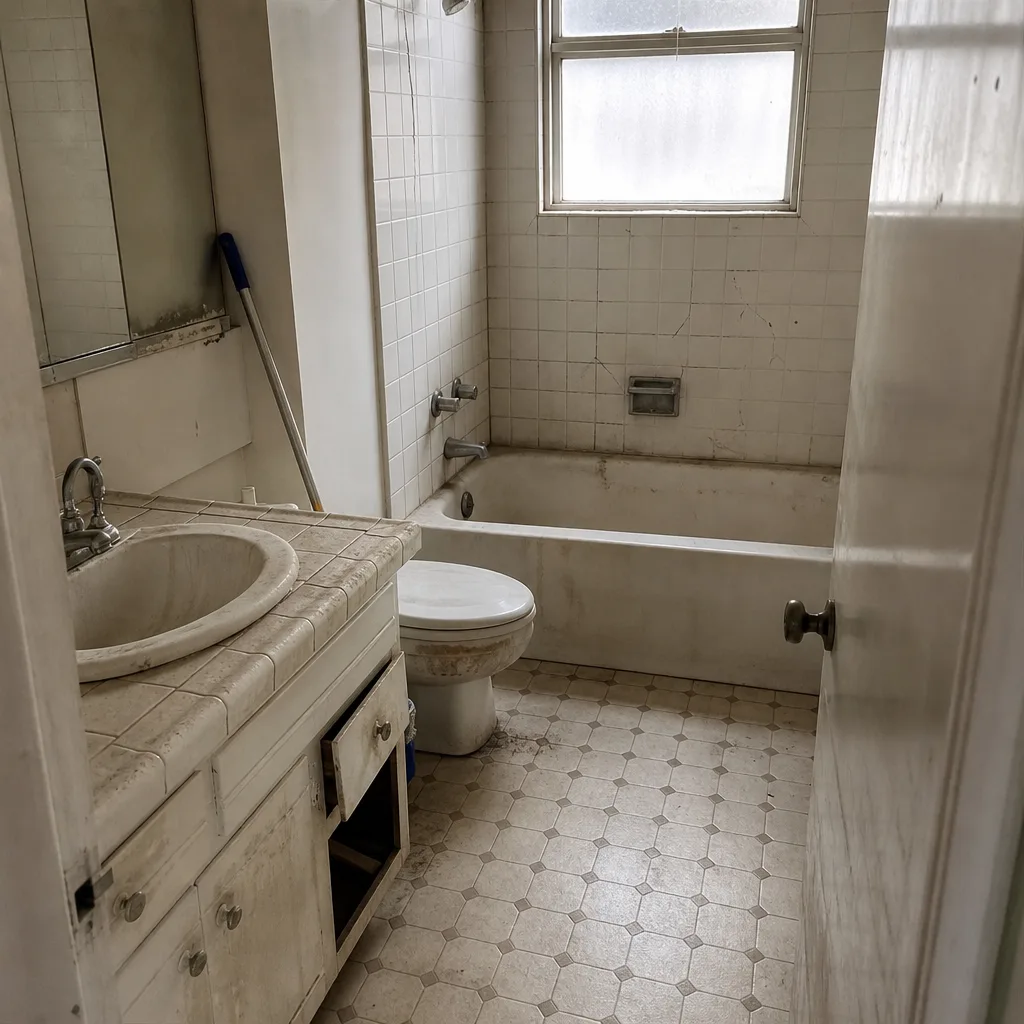 Before
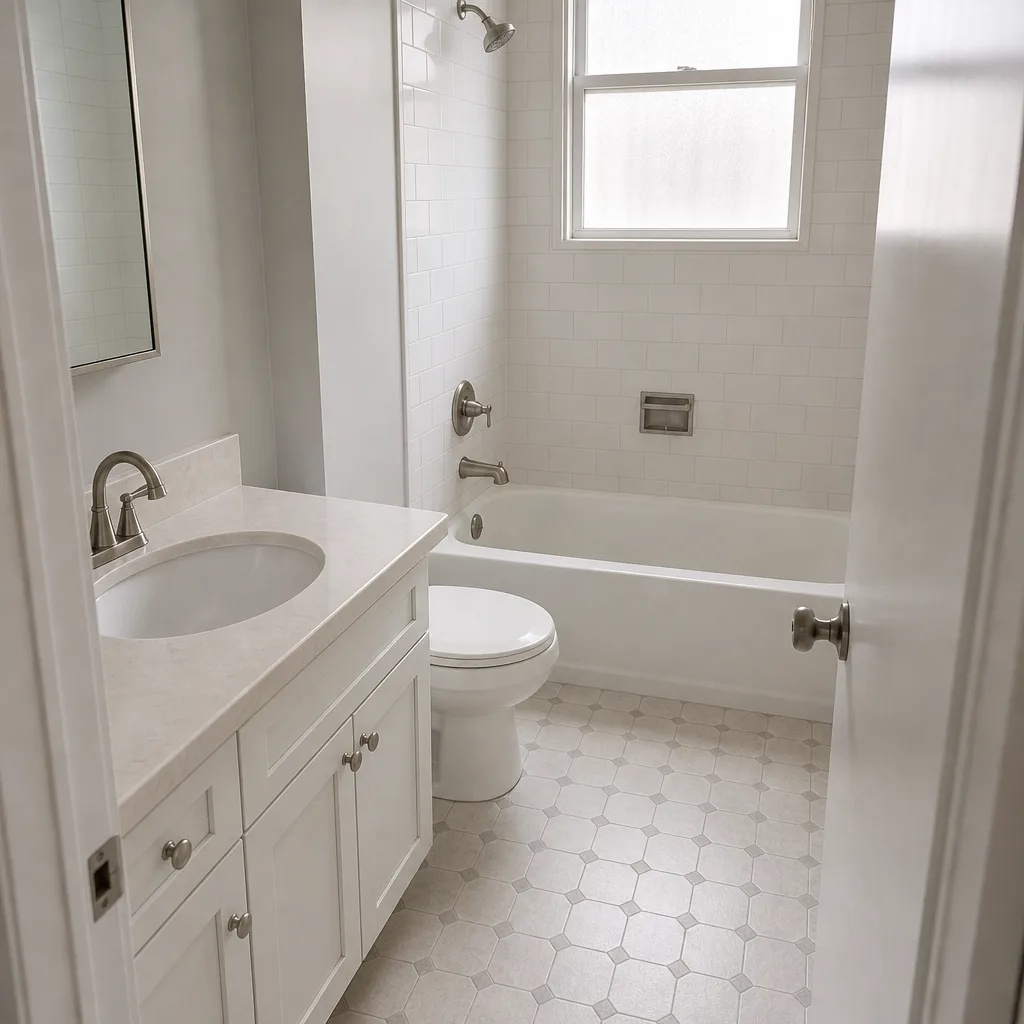 After
Frequently Asked Questions
It depends on whether the replacement changes the unit size or affects a regulated characteristic. A same-size, same-U-factor replacement in kind generally does not require a permit. A size change – even by two inches – requires a building permit under CBC Section 102.2. Work visible from the street in a historic district and any structural header modification also require permits. Call (844) 797-6388 for a free estimate if you’re unsure which category your project falls into.
You can buy them yourself, but installing them is the harder question. If the installation requires a permit (size change, Title 24 project, historic district, header modification), a licensed contractor needs to be involved for the permit and inspection. If it’s a same-size in-kind replacement with no permit trigger, a homeowner with proper tools and technique can do the work – but the flashing detail is where most DIY installs fail. Call (844) 797-6388 for a free second opinion on the scope.
Incorrect flashing integration with the existing WRB. The WRB has to lap over the flashing, and the flashing has to lap over the window flange, in shingle-style order. Getting the direction wrong looks fine until the first wind-driven rain, and by then the wall is open. Water damage to wall framing is a homeowner insurance claim with a deductible that often exceeds the labor saved. Call (844) 797-6388 for a written estimate before the mistake happens.
Yes. Weatherstrip replacement on existing doors and windows is finish-level work that doesn’t touch the envelope and doesn’t require a permit. The one caution is buying the correct profile for your existing frame – kerf-mounted vs. adhesive-backed are not interchangeable. For that task, DIY is a genuine savings.
Product specification liability and Title 24 documentation burden. If the homeowner supplies a unit that doesn’t meet the project’s compliance requirements, the contractor who pulls the permit still has to pass inspection on it. When we do accept labor-only work, we require product specification in writing before the crew arrives – that’s Clause 1 under The Haven Standard. Call (844) 797-6388 for a free estimate and we’ll scope the specification questions first.
Check the San Francisco Planning Department’s Article 10 and Article 11 designation lists before you buy any product. Your address will either appear on a designated landmark list or fall within a historic district’s boundaries. If it does, exterior work visible from the street typically requires review regardless of whether the size change would otherwise be permit-exempt. Call (844) 797-6388 for a free estimate and we’ll walk through the review process with you.
The Bottom Line
The DIY line for windows and doors in San Francisco runs along the building envelope, not along physical difficulty. Weatherstrip, hardware on existing prep, interior casing, and minor threshold work are yours to handle. Anything that changes the unit size, affects the U-factor on a Title 24 project, sits in a historic district, or modifies a structural header needs a permit and a licensed contractor. The financial risk of misclassifying a project – water damage, failed inspection, denied insurance claim – is larger than any labor savings. When the answer isn’t obvious, get a written estimate before you pick up a tool. The estimate is free, and the number on paper is the only number that matters.
Related Reading
Get a Written Price Before You Start
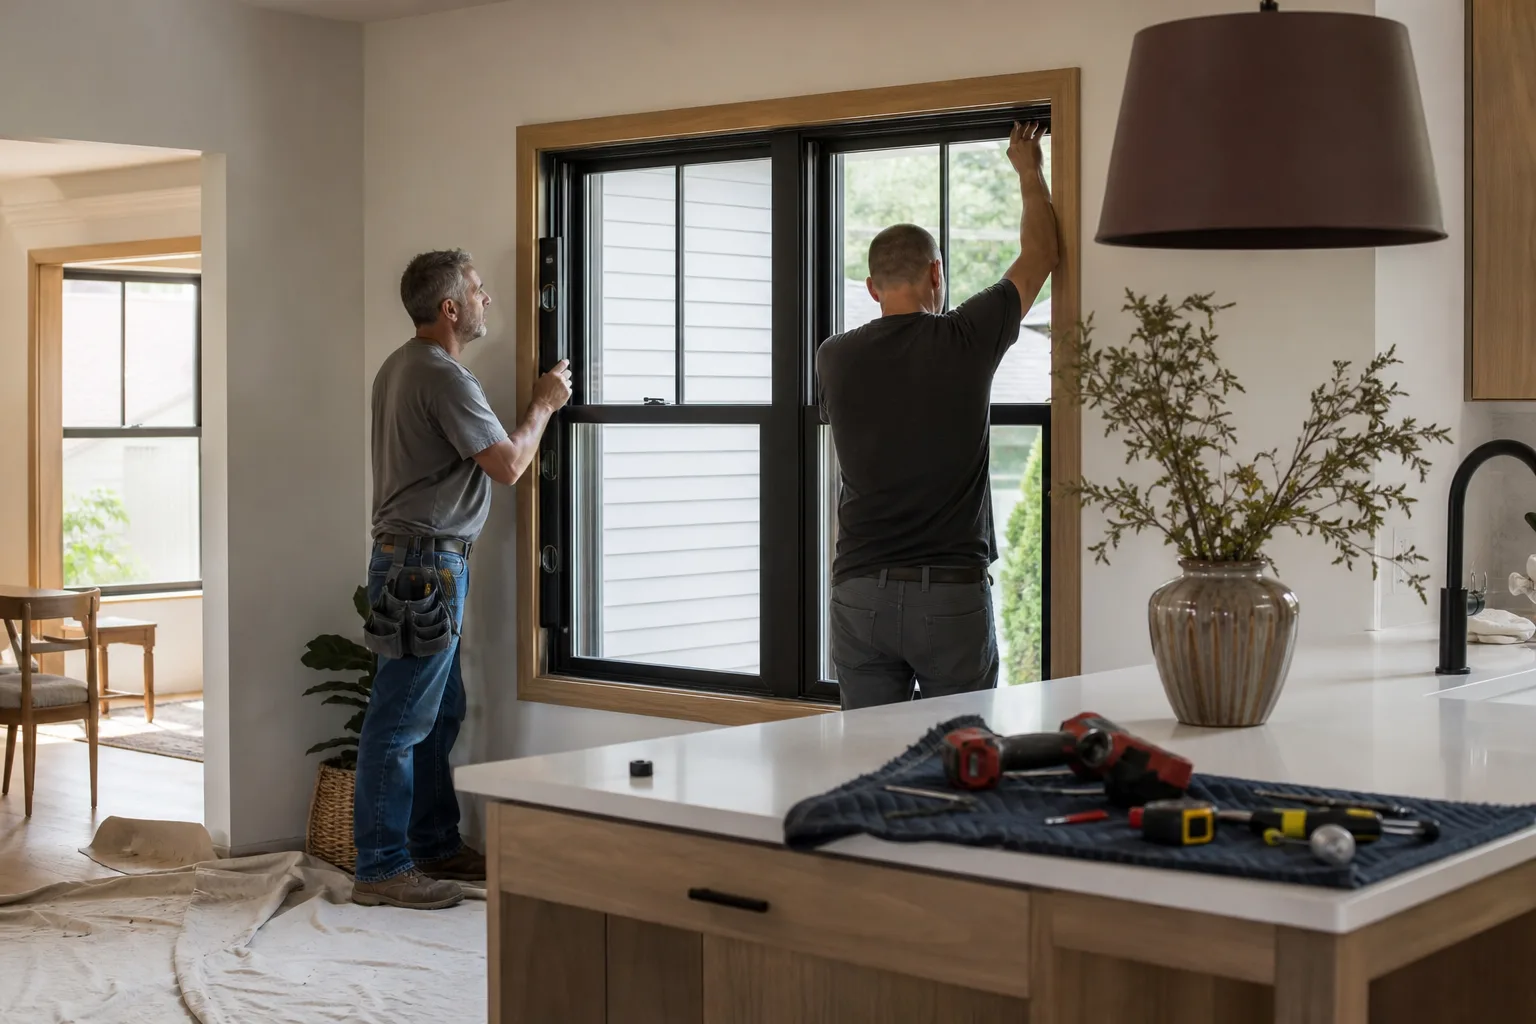
Whether you’re weighing a DIY weatherstrip job or a full window replacement that needs permits and inspection, the point of decision is the same: you want a number on paper before anyone picks up a tool. Rowan Construction Group San Francisco quotes every project with a flat written price and a written scope, and no change proceeds without a signed change order. That’s Clause 1 of The Haven Standard, and it’s why our projects finish within a few percent of the number the customer agreed to. Call (844) 797-6388 for a free estimate – our technicians have up to 19 years of experience, our crews are background-checked and uniformed, and every visit includes a documented photo record as standard. You leave with evidence of what was found and what was done.
Written by the team at Rowan Construction Group San Francisco.