Last updated November 17, 2026

Free written scope consultation - allowances, timeline, and change-order rules on paper before a single trade is scheduled
Driveway & Pavers Maintenance Schedule: What to Do and When
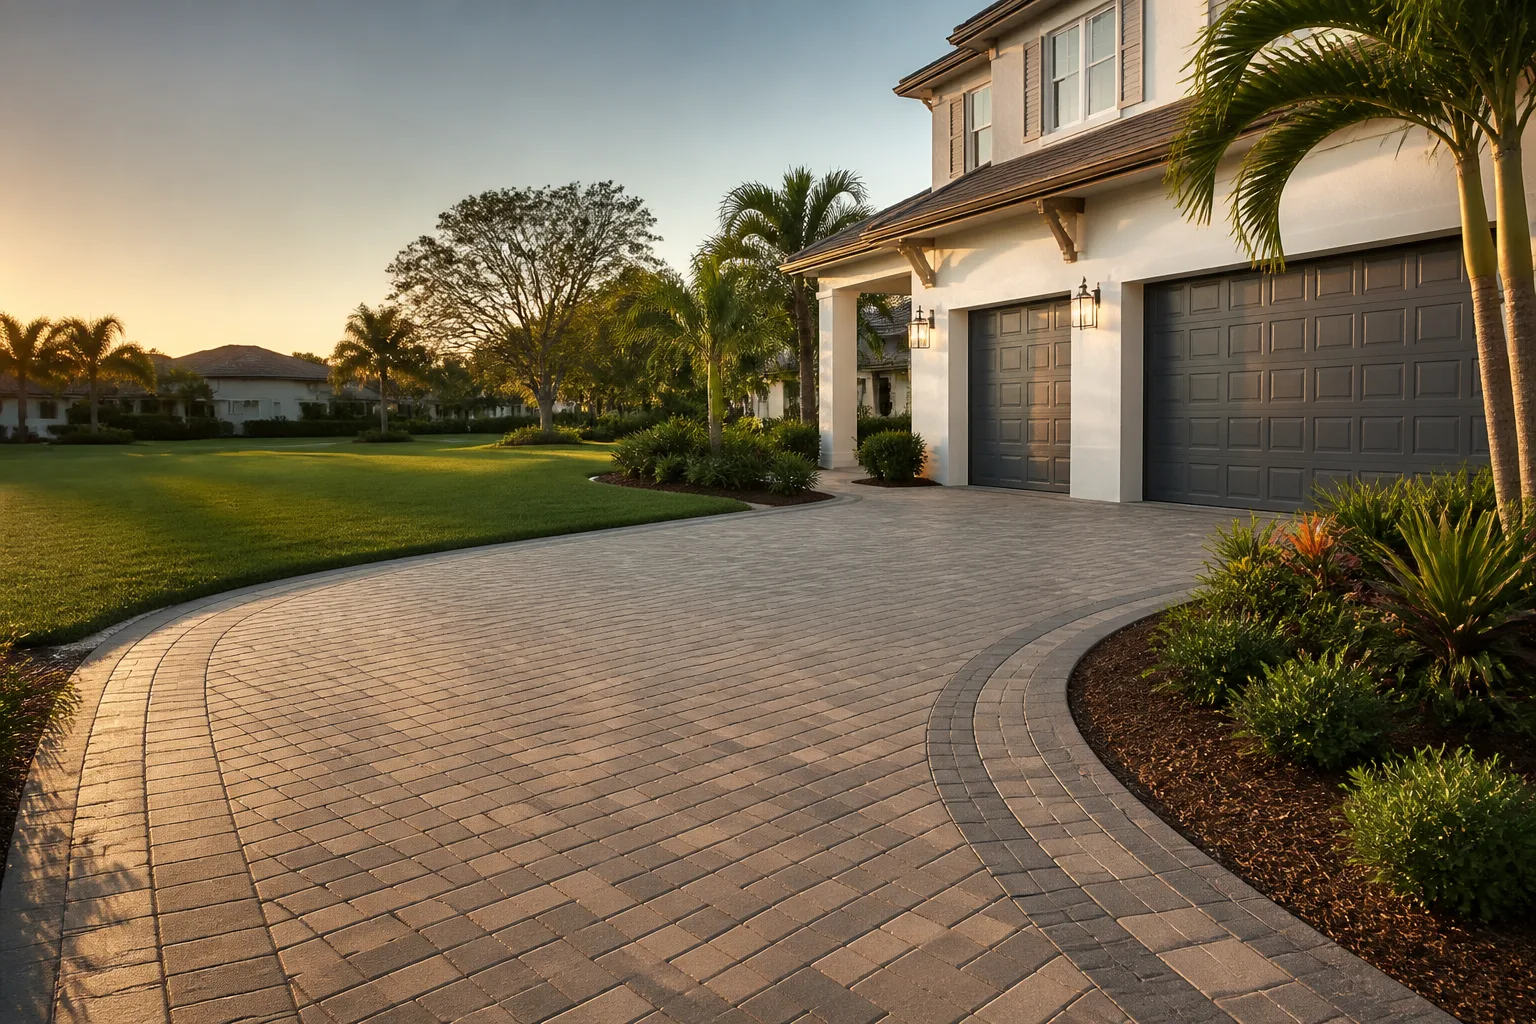
Most driveways fail quietly. Concrete cracks slowly, asphalt oxidizes, and by the time the damage is obvious you’re pricing a full replacement instead of a $50 bag of sand. A paver driveway is different: it tells you what it needs every season, if you know how to read the signals. The highest-ROI task on any paver drive is re-sanding the joints every two to three years. It runs under $200 in materials and it breaks the sand-loss cycle that leads to rocking pavers, edge failure, and subbase remediation that can hit five figures. This guide is built around San Francisco’s actual wet-season and dry-season swing, not a generic national calendar, and it tells you what to check, when to check it, and what it costs when you don’t.
Quick Answer
Maintain a paver driveway on a four-season cycle: inspect joint sand and edge restraints in October before the rains, survey for settlement and treat efflorescence in spring once the surface dries, re-sand joints every two to three years, and reseal based on sealer type (penetrating every 3 – 5 years, film-forming every 2 – 3 years). Photograph each step and keep the record. In our experience across San Francisco, homeowners who follow this schedule spend $50 – $200 a year on upkeep and avoid the $3,000 – $8,000 corrective work that deferred maintenance creates.
Styles & brands we work with
- Kitchen remodeling
- Bathroom remodeling
- Home additions & ADU
- Roofing
- Windows & doors
- Driveway & pavers
- Fence
Table of Contents
- Why Pavers Signal Early and Concrete Doesn’t
- The October Pre-Rain Checklist for San Francisco
- The Spring Post-Rain Checklist
- Re-Sanding Joints: How, When, and What It Costs
- Sealer Intervals by Product Type
- What to Photograph Every Year
- Tasks That Void Manufacturer Warranties
- When a Small Problem Becomes a Structural One
Why Pavers Signal Early and Concrete Doesn’t
A poured concrete slab is a single continuous surface. When it cracks, the crack is the failure, not a warning sign of one. Asphalt behaves similarly: it fades, then alligator-cracks, then the base gives. By the time either surface looks bad, the repair is structural. San Francisco’s clay-heavy soils under many neighborhoods and the seasonal wet-dry swing amplify that: movement that would show up as a hairline crack in concrete shows up as a slightly rocked paver you can feel underfoot in a paver drive, weeks or months before anything is visibly wrong.
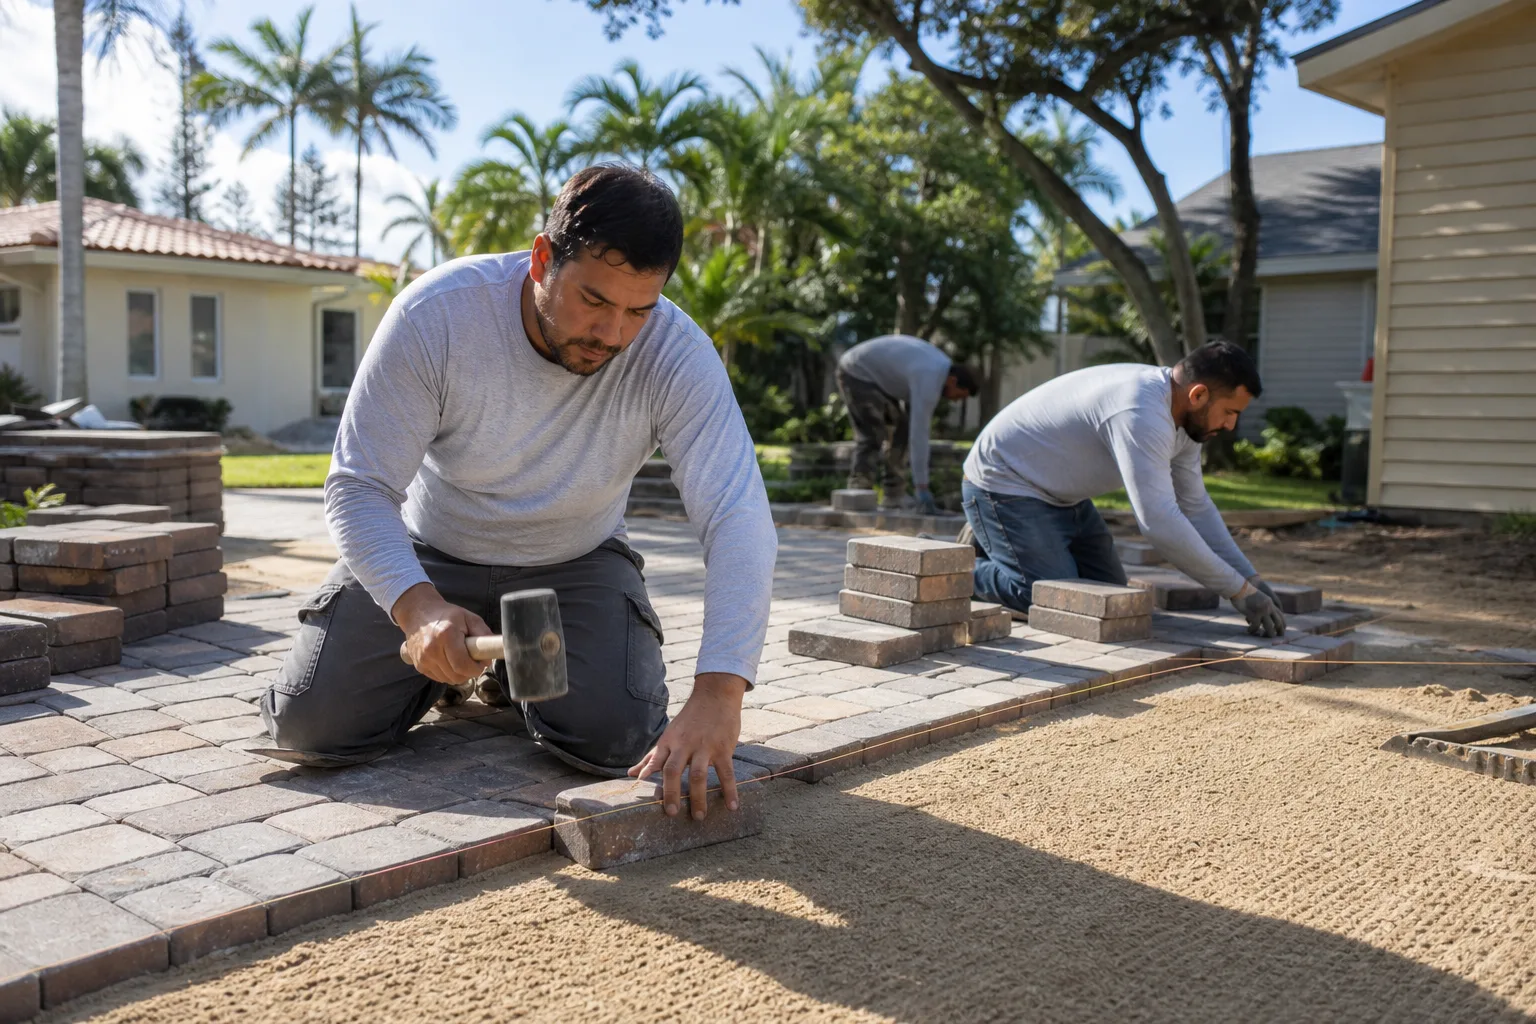
Pavers are unit masonry. Each stone sits on a compacted base with joint sand locking the units together. When joint sand washes out, pavers start to shift individually. When an edge restraint lifts, the whole perimeter loses its brace. Every one of those conditions is detectable with a screwdriver, a straightedge, and ten minutes. The cost of acting on the signal is small. The cost of ignoring it is subbase remediation, which means lifting the field, re-compacting the base, and resetting pavers with new edge restraints. That’s the $3,000 – $8,000 number, and it’s avoidable roughly nine times out of ten when homeowners stay on schedule.
Belgard and Techo-Bloc pavers, the two brands we most often quote, both specify joint sand replacement and edge restraint integrity in their published maintenance guidance. Read the manufacturer warranty before you assume your sealer or your installer covers deferred maintenance. It almost never does. If you want to see how a correctly installed base and edge restraint are set up in the first place, our Driveway & Pavers in San Francisco page walks through the installation the maintenance schedule is protecting.
The October Pre-Rain Checklist for San Francisco
San Francisco’s rainy season runs roughly November through March. October is your last dry-window opportunity to correct anything the summer left behind. Work through this checklist in order; each item has a clear pass/fail.
- Joint sand depth inspection. Drag a screwdriver handle across three random joints in the field and three along the perimeter. Pass: sand sits flush or within 1/8 inch of the paver chamfer. Fail: the blade drops more than 1/4 inch into the joint. Failing joints need a top-off with polymeric sand before the first rain, not after.
- Edge restraint spike check. Walk the perimeter and press down firmly on the restraint (aluminum or plastic edge) at every 12 – 18 inches. Pass: no give, spikes seated, no visible lift. Fail: any movement, a lifted section, or a spike head proud of the restraint. Loose restraints are the single most common cause of a spreading paver field after a wet winter.
- Surface sealer condition test. Pour a half-cup of water on the dry surface. Pass: water beads slightly and absorbs slowly over 30 – 60 seconds. Fail: water soaks straight through in under 5 seconds (sealer has worn through) or pools indefinitely without absorbing (over-application from a prior job, which can trap moisture and cause spalling in freezing nights, rare in San Francisco but not zero in the outer neighborhoods).
- Drainage and slope check. Water should sheet off the drive, not pond. Stand at the low corner after a test pour and confirm flow toward the street or a drain. Ponding at the base of a garage door is a fail.
- Weed germination sweep. Pull what you see. Anything rooted in a joint that reappears within a week signals a sand gap you can now fix before rain compounds it.
If any two items fail simultaneously, that’s the point to bring in a professional rather than chase the fixes one at a time. Under Clause 1 of the Haven Standard, the price is written before anyone starts, so a diagnostic visit costs you nothing to scope.
The Spring Post-Rain Checklist
By April the ground has taken five months of moisture. Spring is when you find out what winter did. In our experience, the outer San Francisco neighborhoods with steeper grades and older drainage infrastructure (parts of Noe Valley, Bernal Heights, and the Sunset slopes) show winter movement more reliably than flatter inner corridors, so check those properties first if you own more than one.
- Differential settlement survey with a straightedge. Lay a 6-foot straightedge (a level works) across the drive in three directions: parallel to the slope, perpendicular, and diagonal. Slide a dime under the edge. Pass: the straightedge touches the pavers with no gap greater than 1/8 inch. Fail: any gap greater than 1/4 inch, or a paver that rocks when you step across it. Mark fails with a piece of chalk before you forget which ones.
- Efflorescence inspection. Efflorescence is the white mineral bloom that surfaces after moisture migrates through concrete and evaporates. It’s cosmetic, not structural, but it tells you water is moving where it shouldn’t. Treat only in a dry window (72 hours of no rain forecast). Efflorescence cleaners are acidic and will etch cement-based joint sand if over-applied, so follow dilution ratios exactly. Treating in wet weather wastes product and can make the bloom worse.
- Weed germination in joints. Spring is when the seed bank wakes up. A weed rooted in a joint is a symptom of a missing sand plug. Pull it, check the joint depth, and top off if needed.
- Sealer condition re-test. Repeat the water bead test. If sealer failed the October test and you haven’t resealed, spring is when you schedule it. Don’t seal and re-sand in the same week; the sand needs to cure first.
- Photo record capture. See the documentation section below. Every spring inspection is also an evidence-gathering trip.
Re-Sanding Joints: How, When, and What It Costs
Re-sanding is the task with the best return on the schedule. Joint sand is what mechanically locks pavers to each other; without it, each unit acts alone, and the base takes loads it was never designed to absorb. Expect to re-sand every two to three years, or sooner on driveways with heavy runoff from an adjacent slope.
Material costs for a 200 sq ft driveway run $40 – $90 for polymeric sand (the joint-stabilizing type specified by most manufacturers) and $20 – $50 for a bag of regular kiln-dried sand if you’re using the non-stabilized product. Polymeric is worth the premium on San Francisco drives where fog moisture keeps joints damp for weeks; it resists washout better than plain sand. If you hire the work, expect $150 – $400 for a 200 sq ft job including cleanup, depending on how many joints need full replacement versus top-off.
The sequence matters:
- Wait for a dry 48-hour window. The surface and the joints must be bone dry.
- Remove the top 1/4 inch of old sand from each joint with a screwdriver, a joint-cleaning tool, or a vacuum with a brush attachment. Do not pressure-wash to remove sand; see the warranty section.
- Pour sand over the field, then work it into joints with a broom or a plate compactor at low amplitude.
- Mist lightly to activate polymeric sand, then leave it. Do not flood it.
- Re-check edge restraints after re-sanding. If the perimeter has any movement, fix the restraint before you walk away.
Do not re-sand a wet surface. Any residual moisture in the joint prevents the polymeric binder from curing properly, and the joint will wash out on the first rain. This is the single most common re-sanding mistake we see in San Francisco.
Sealer Intervals by Product Type
Sealer choice is not a style question. It changes both the reapplication interval and the risk profile of the surface. Two product types dominate:
- Penetrating sealers (siloxane or silane-based, e.g., Prosoco SaltGuard or Techniseal Paver Protector Penetrating). These soak into the paver and leave no film. Reapply every 3 – 5 years. Material cost runs $60 – $120 per 200 sq ft. They don’t change appearance and they can’t peel. If your pavers are natural stone or a textured concrete product, this is usually the better choice.
- Film-forming sealers (acrylic or polyurethane, e.g., Techniseal Wet Look or Foundation Armor AR350). These lay a visible film that deepens color. Reapply every 2 – 3 years. Material cost runs $80 – $160 per 200 sq ft. The film wears unevenly under tire traffic and can trap moisture under its edges if the surface wasn’t dry at application. On a San Francisco driveway that sees morning fog, that moisture-trapping risk is real and is the reason we often steer homeowners toward penetrating products.
Both types require a fully dry surface and a dry forecast for at least 24 hours before and after. Apply with a pump sprayer or a low-nap roller; never pour and spread. Two thin coats outperform one heavy coat on every product we’ve tested, and over-application is the most common cause of the milky film homeowners call us about.
If your property includes a fence line meeting the drive, coordinate the resealing window with any exterior wood work; you don’t want overspray on freshly stained wood. We list fence maintenance timing on our Fence Installation in San Francisco page if you need to sequence both.
What to Photograph Every Year
The photo record is the difference between a warranty claim that gets honored and one that gets argued. It’s also what a future contractor needs to quote accurately without a site visit that costs you a fee. Capture the same eight angles every spring:
- Full-length shot from the garage door toward the street (shows overall slope and field condition).
- Close-up of the joint sand depth at the base of the garage apron.
- Close-up of each corner of the edge restraint, one photo per corner.
- A straightedge laid across any spot with prior settlement, with a coin or bill for scale.
- The drainage path to the street or drain, photographed after a rain so water flow direction is visible.
- Any efflorescence bloom before treatment and after.
- The sealer water-bead test in progress.
- Final shot of the completed seasonal work with the sand-bagged date in the corner (or a handwritten note in frame).
File them by year. When you sell the home, that file is part of the property’s maintenance history. When you call a contractor to quote a repair, you can send eight photos and get an honest range back. The documentation habit is the same one we build into every job under our Rowan Construction Group San Francisco home page: a documented photo record on every visit, included as standard, not an upgrade.
Tasks That Void Manufacturer Warranties
Most paver warranties cover defect in the product, not damage from maintenance. Damage from the following tasks is excluded by every major manufacturer we work with, including Belgard and Techo-Bloc. Protect yourself by knowing the list:
- Pressure washing above 1,500 PSI. High pressure strips the top layer of the paver face (the “face mix” on a two-layer concrete paver) and blows out joint sand. Once the face mix is compromised, the paver can’t be sealed or re-sanded to spec and the warranty is void.
- Wrong-pH cleaners. Muriatic acid or high-alkaline degreasers etch the paver surface and the joint sand. Stick to manufacturer-approved efflorescence cleaners at the specified dilution.
- Re-sanding before the surface is fully dry. Residual moisture in the joint prevents polymeric binder cure and the joint washes out, but the manufacturer reads the failure as installer error.
- Using sand that isn’t specified. Polymeric sand is a system; substituting play sand or bagged sandbox sand in a joint designed for polymeric voids the joint-stabilization warranty.
- Sealing a wet surface or within 24 hours of rain forecast. Moisture trapped under a film-forming sealer causes whitening and peeling. The manufacturer’s warranty excludes application error.
- Removing and re-setting pavers without the specified base compaction. If a landscaper lifts pavers to fix a drain line and reseats them by hand, the base has lost compaction, and the warranty is void at that location.
Rowan’s own 365-Day Done Right Promise is separate from and additional to the manufacturer warranty: if the work isn’t done right, we make it right, and the terms are printed on every quote rather than buried in an asterisk. The two layers of coverage complement each other; you want both in writing.
When a Small Problem Becomes a Structural One
Deferred maintenance has a predictable escalation path. Recognizing the transition points saves the difference between a $200 repair and an $6,000 remediation.
- A rocking paver that returns within a week of re-sanding is a base failure, not a sand failure. Diagnostic visit warranted.
- Three or more pavers displaced at a perimeter edge restraint is a spreading failure. The restraint is gone and the field is unbracing itself.
- Visible heaving under the drive (a ridge you can see from the sidewalk, not just feel underfoot) usually means tree roots or freeze-thaw, both of which are substrate issues.
- Any paver that’s cracked through, not just chipped at a corner, signals point-load failure of the base below it.
- Standing water in one spot 48 hours after rain means the sub-drainage is compromised, which affects the base regardless of the surface.
If you’re also planning to add onto the home, sequence the driveway work first. Subgrade changes affect the drive, not the other way around. Our Home Additions & ADU in San Francisco page covers that sequencing from the build side.
Common Mistakes to Avoid
- Re-sanding in October without checking edge restraints first. Fresh sand in a joint that’s about to lose its perimeter brace washes out in the first storm. Restraint first, then sand.
- Pressure washing the drive before winter. It looks clean for two weeks and blows out seasonal sand. Rent a low-pressure washer or a surface cleaner rated under 1,500 PSI, or skip it and sweep.
- Sealing and re-sanding in the same week. The sand needs to cure before sealer locks it in; otherwise sealer pulls loose sand out of the joint and creates an uneven finish.
- Treating efflorescence in the rain. San Francisco’s fall showers make spring-efflorescence cleaners pointless. Wait for the 72-hour dry window.
- Skipping the photo record because “it looks fine.” The file is the point. A three-year record of photos turned a warranty conversation in favor of one client after a base failure in year four; without the file, the claim is disputed.
- Using muriatic acid to remove rust or tire marks. It etches the paver face and voids the warranty. Use a manufacturer-approved cleaner at the specified dilution.
- Ignoring a small pond at the garage apron. That pond is eroding the joint sand at the most load-bearing part of the drive. Ten minutes of re-sanding now is cheaper than resetting the apron in two years.
See the difference
 Before
 After
 Before
 After
 Before
 After
When to Call a Professional
Some maintenance is homeowner work: sweeping, pulling weeds, topping off joint sand, running the water-bead test. Some is not. Call a professional when you find any of the following: a rocking paver that returns within a week of re-sanding; three or more displaced pavers at an edge restraint; a visible ridge under the drive; a paver cracked through (not just chipped); standing water 48 hours after rain; or any heaving at a transition to a garage apron or stair. Those signals mean base or restraint failure, and the correction requires lifting the field, re-compacting with plate equipment, and re-setting edge restraints. Doing that work with hand tools and no compaction control voids the manufacturer warranty and costs more to fix the second time. Rowan Construction Group San Francisco offers free estimates in San Francisco and will deliver a written price, scope, and warranty before anyone picks up a tool. Call (844) 797-6388.
Frequently Asked Questions
Re-sand joints every two to three years, or sooner if you see more than 1/4 inch of joint depth loss during an October inspection. Polymeric sand lasts longer than plain kiln-dried sand in San Francisco’s fog belt because it resists washout; expect three years on polymeric and closer to two on plain sand. Call (844) 797-6388 for an exact quote; estimates are free.
Penetrating sealer is usually the better match for San Francisco drives because the morning fog keeps pavers damp and film-forming sealers can trap moisture under their edges. Penetrating sealers reapply every 3 – 5 years and cost $60 – $120 per 200 sq ft in materials. Film-forming sealers reapply every 2 – 3 years at $80 – $160 per 200 sq ft. Call (844) 797-6388 for a written quote that names the product and the interval.
Pressure washing above 1,500 PSI damages paver faces and blows out joint sand, and it voids most manufacturer warranties. Stay at or under 1,500 PSI, use a surface cleaner attachment rather than a wand, and expect to re-sand after every wash. If the drive is heavily soiled, a low-pressure wash plus a manufacturer-approved cleaner costs less than repairing damage from high pressure.
Annual upkeep on a typical San Francisco paver drive runs $50 – $200 in materials if you do the routine work yourself. Professional re-sanding for a 200 sq ft job is $150 – $400. Professional sealing is $200 – $450 for the same square footage. The deferral cost when a base failure is ignored is $3,000 – $8,000. Call (844) 797-6388 for a written, line-item estimate.
No. Re-sand first, let the sand cure fully (24 – 48 hours of dry weather, longer for polymeric), then apply sealer in a separate 24-hour dry window. Sealing over fresh sand pulls loose grains into the finish and creates an uneven surface that has to be stripped and redone.
A warranty claim needs three things: proof of correct installation, a maintenance record showing the schedule was followed, and photographic evidence of the failure itself. The maintenance record is what most homeowners can’t produce, which is why we photograph the same eight angles every spring. If you need a second opinion on any written estimate before you sign, Rowan offers that review free; call (844) 797-6388 to schedule it.
The Bottom Line
A paver driveway rewards attention and punishes delay. The schedule is simple: October for pre-rain checks, spring for post-rain survey and treatment, re-sand every two to three years, reseal on the product interval, and photograph the same eight angles every year. That cycle keeps a San Francisco drive in service for decades at $50 – $200 a year in materials, and it protects the warranty you paid for at installation. Act on a signal the first time you see it. The cost of doing that is small, and the cost of waiting is the number you don’t want to see on a quote.
Schedule Your Free Estimate

If your inspection turns up a failed edge restraint, a settled field, or a base problem you want a real number on, call Rowan Construction Group San Francisco at (844) 797-6388 for a free estimate. We’ll write the price, scope, and warranty before anyone picks up a tool, back it with the 365-Day Done Right Promise, and photograph everything so your maintenance record stays complete. No call-for-a-quote, no change without a signed change order, no surprise. Book a written estimate and bring a competitor’s quote if you have one; the second opinion is free.
Written by the team at Rowan Construction Group San Francisco.